- Home
- Dijon Limestone Paving Tiles (TUMBLED)
Dijon Limestone Paving Tiles (TUMBLED)
More stone is often already on the water. Call 01903 889888 and we'll tell you exactly when this will be back in stock — or send us a message.
Product Description
Why Choose Dijon Limestone Paving for Your Project?
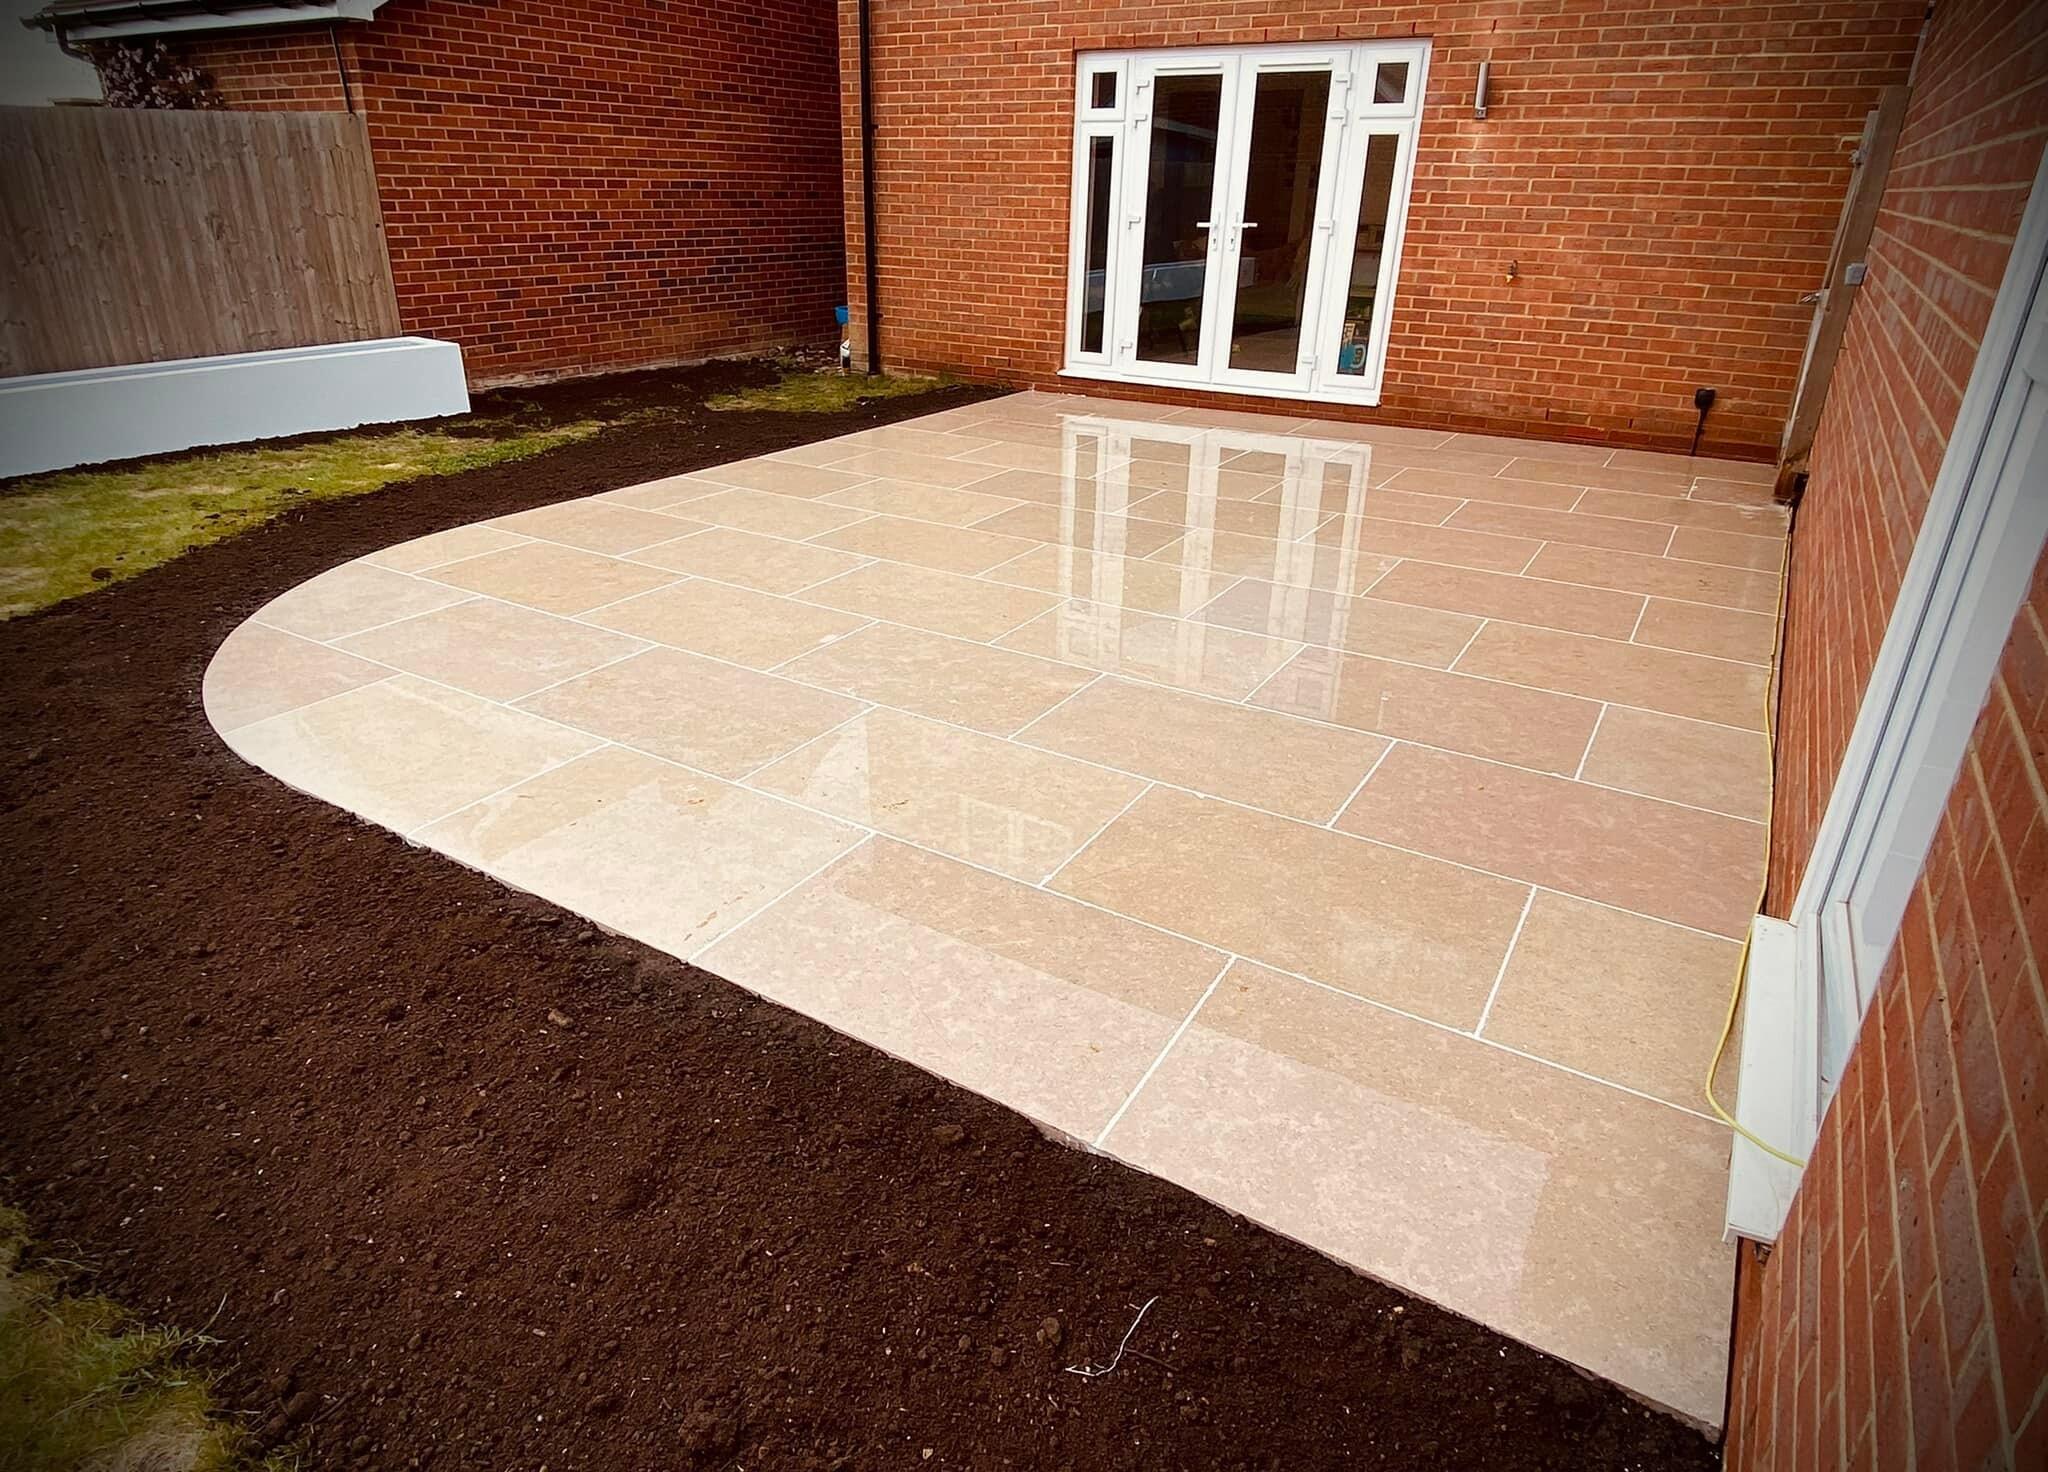
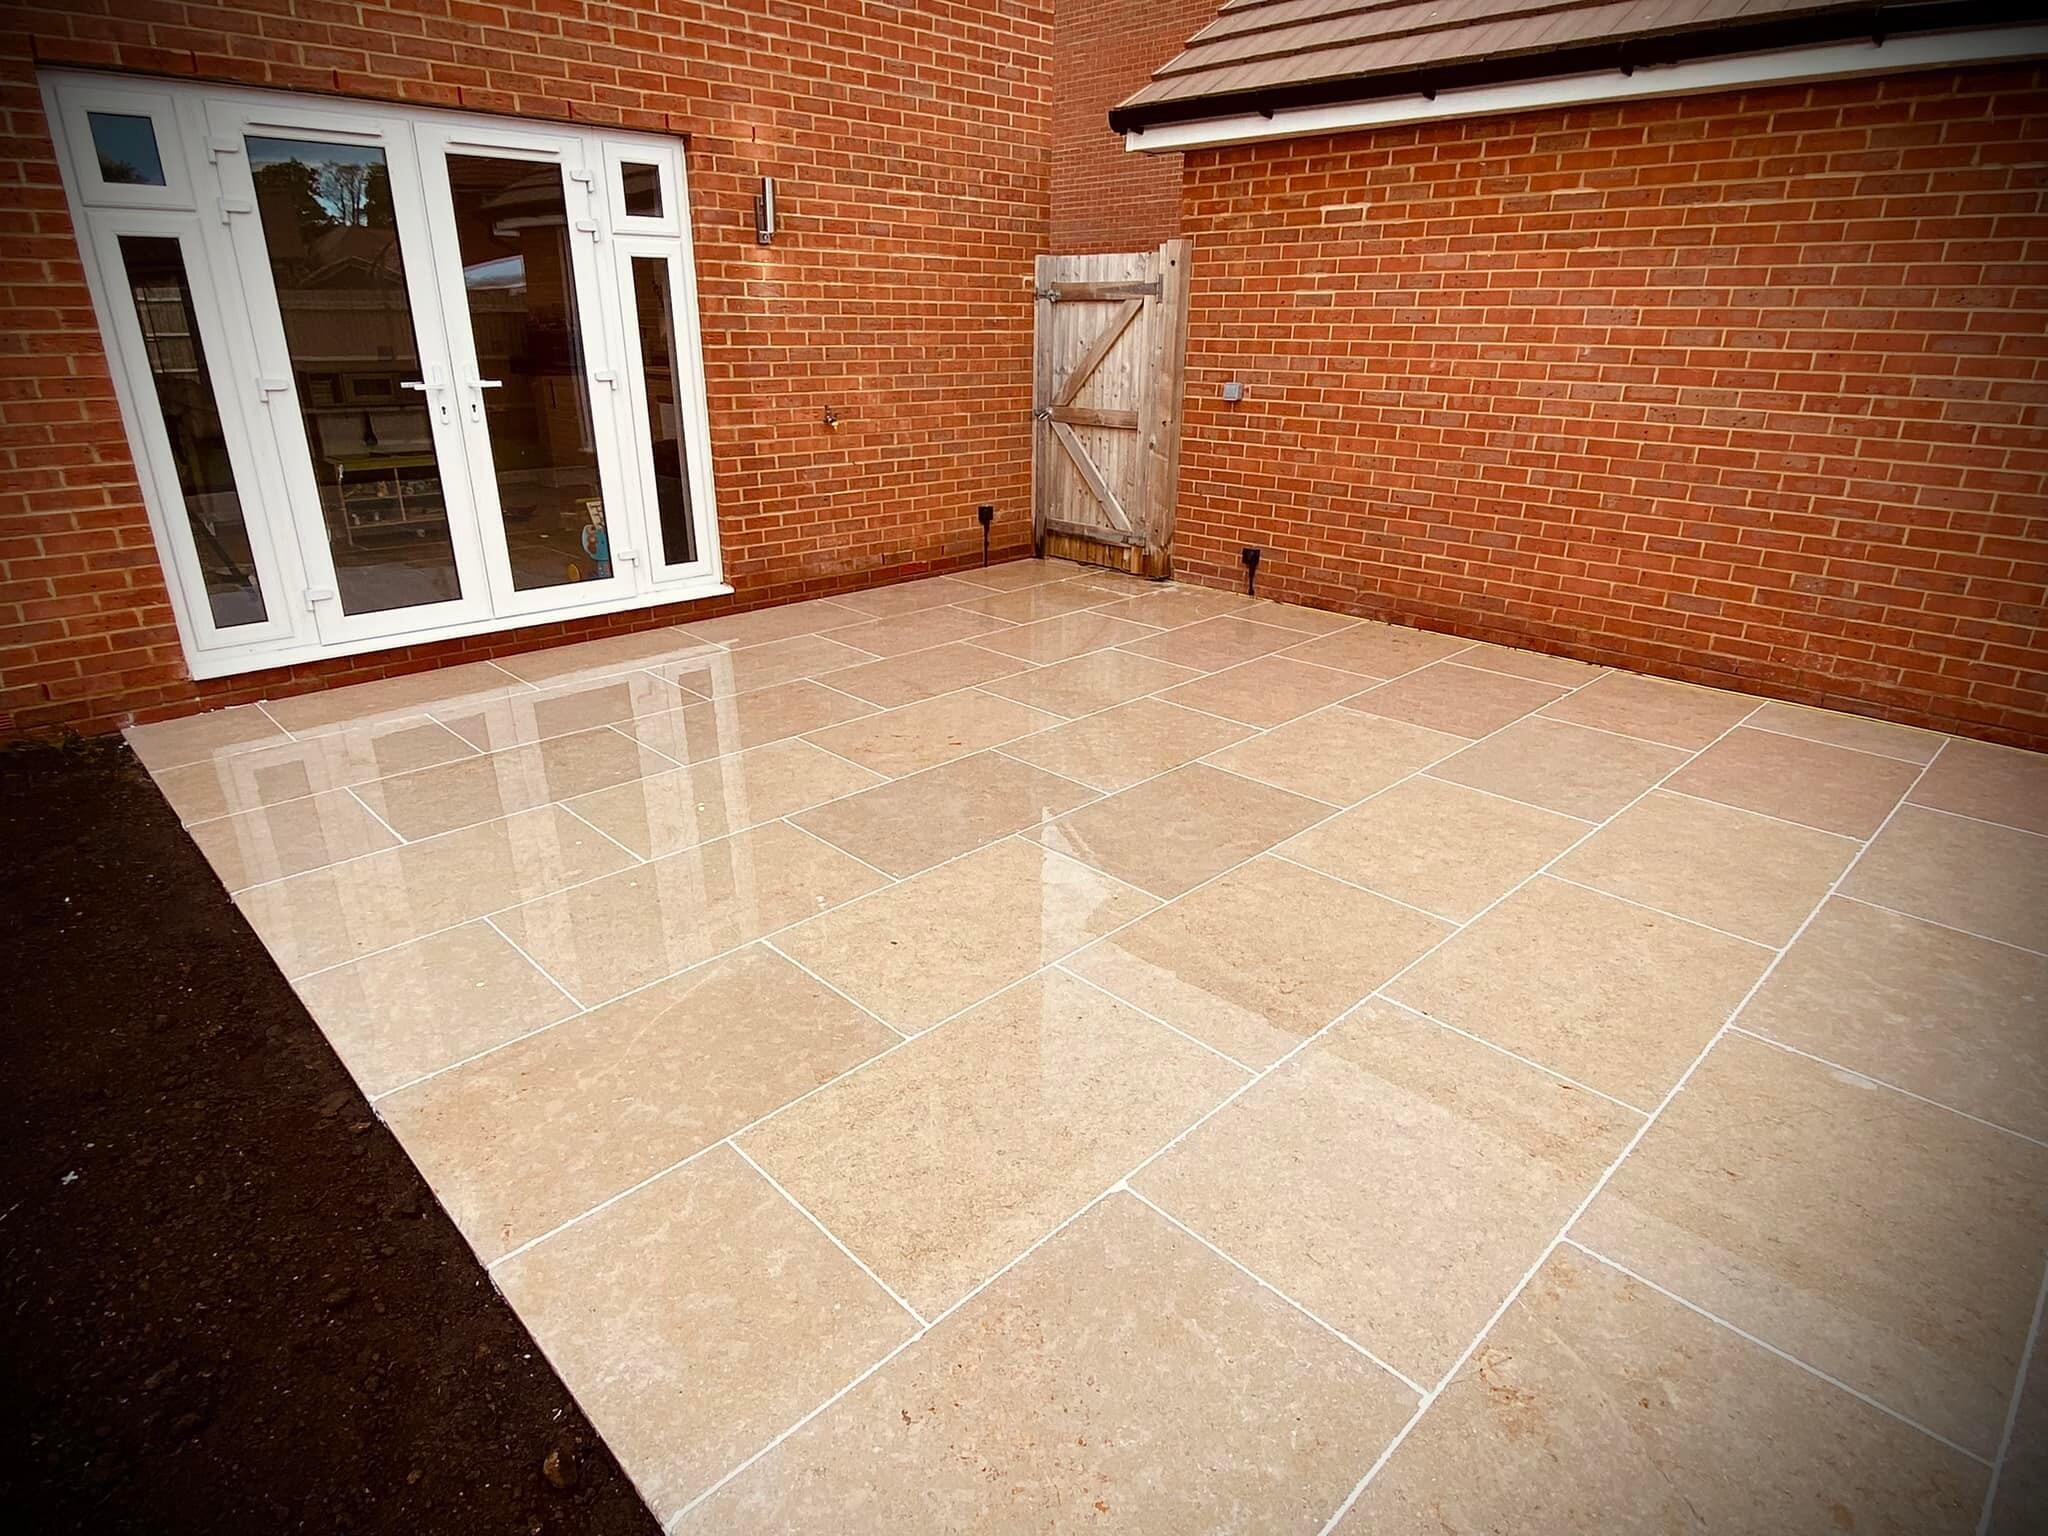
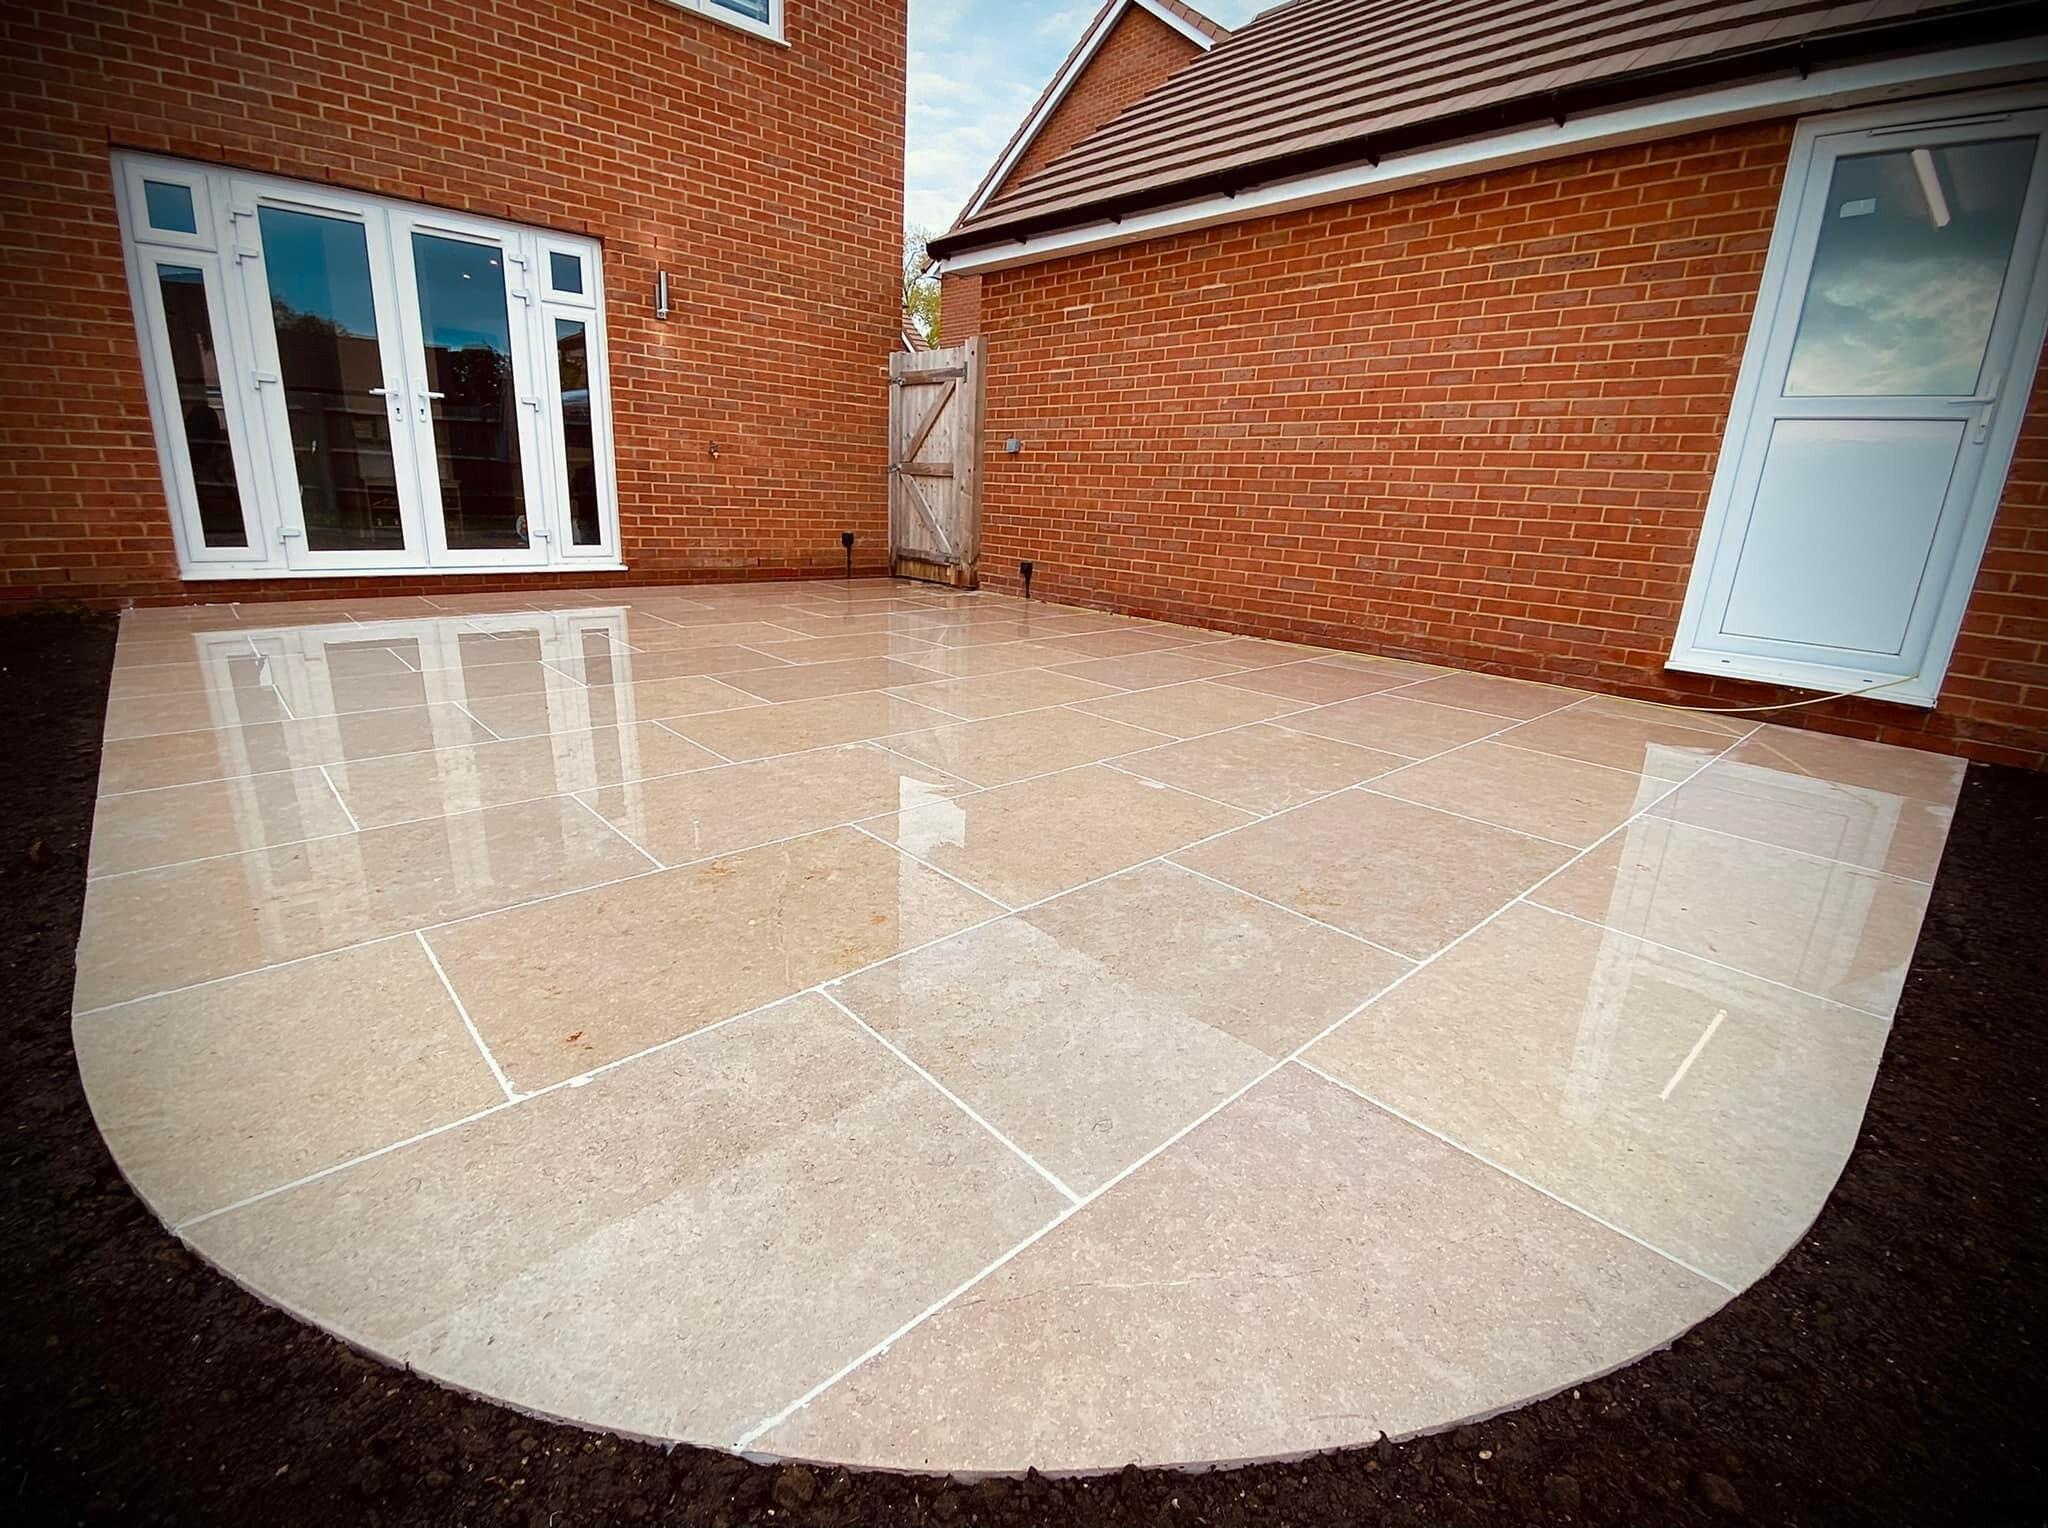
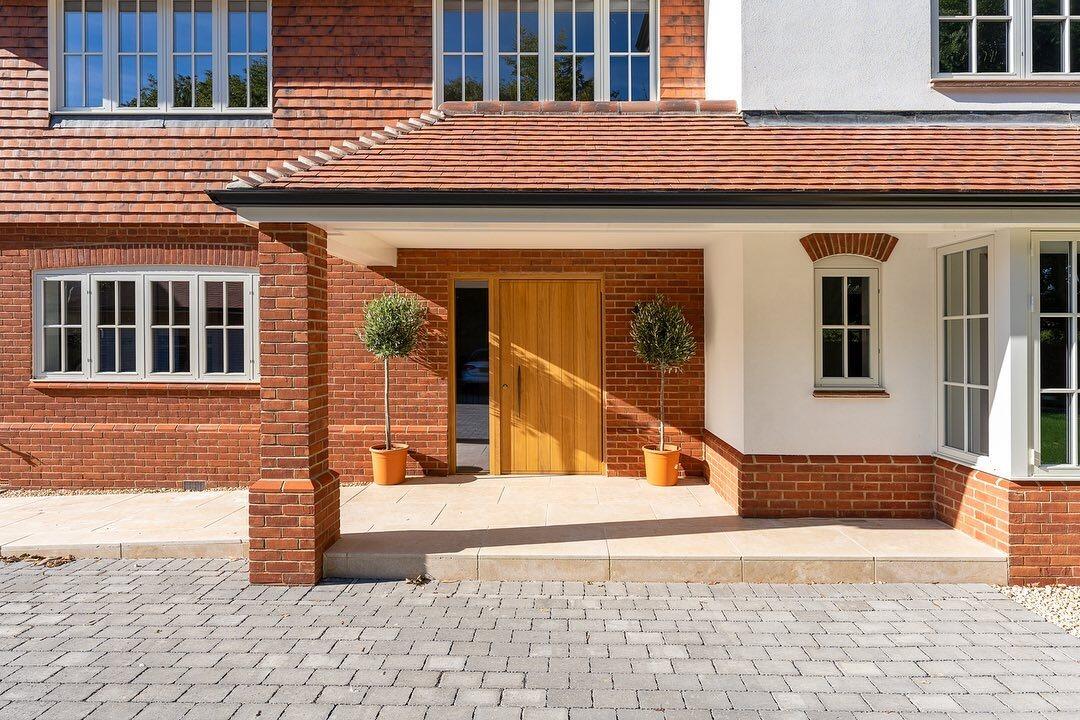
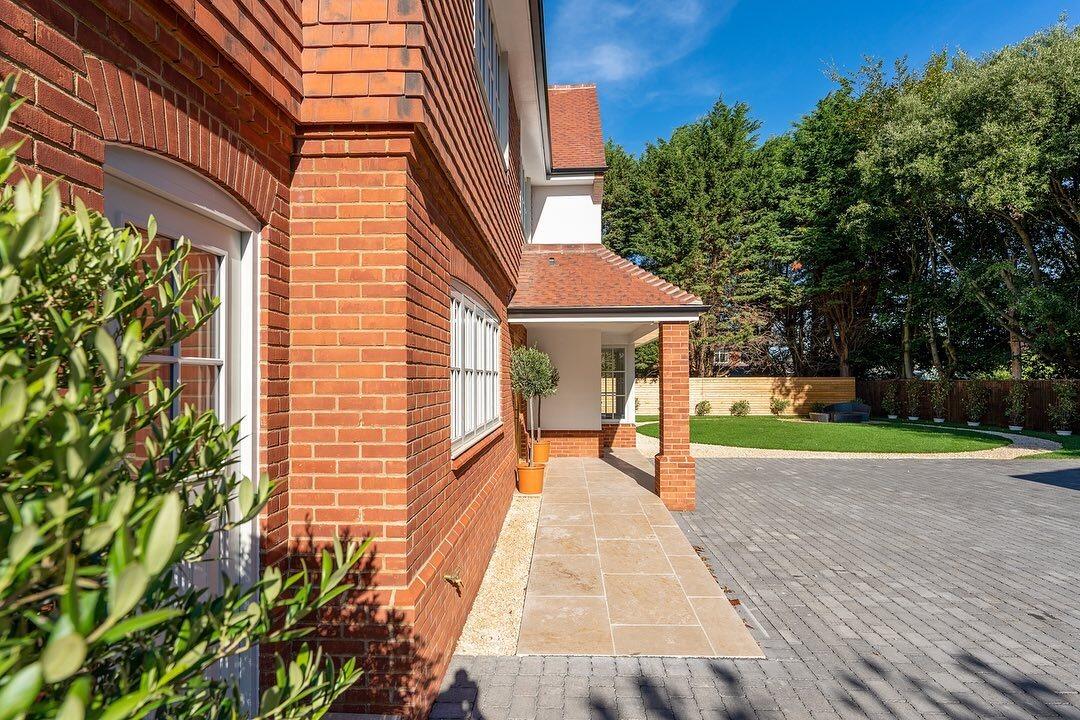
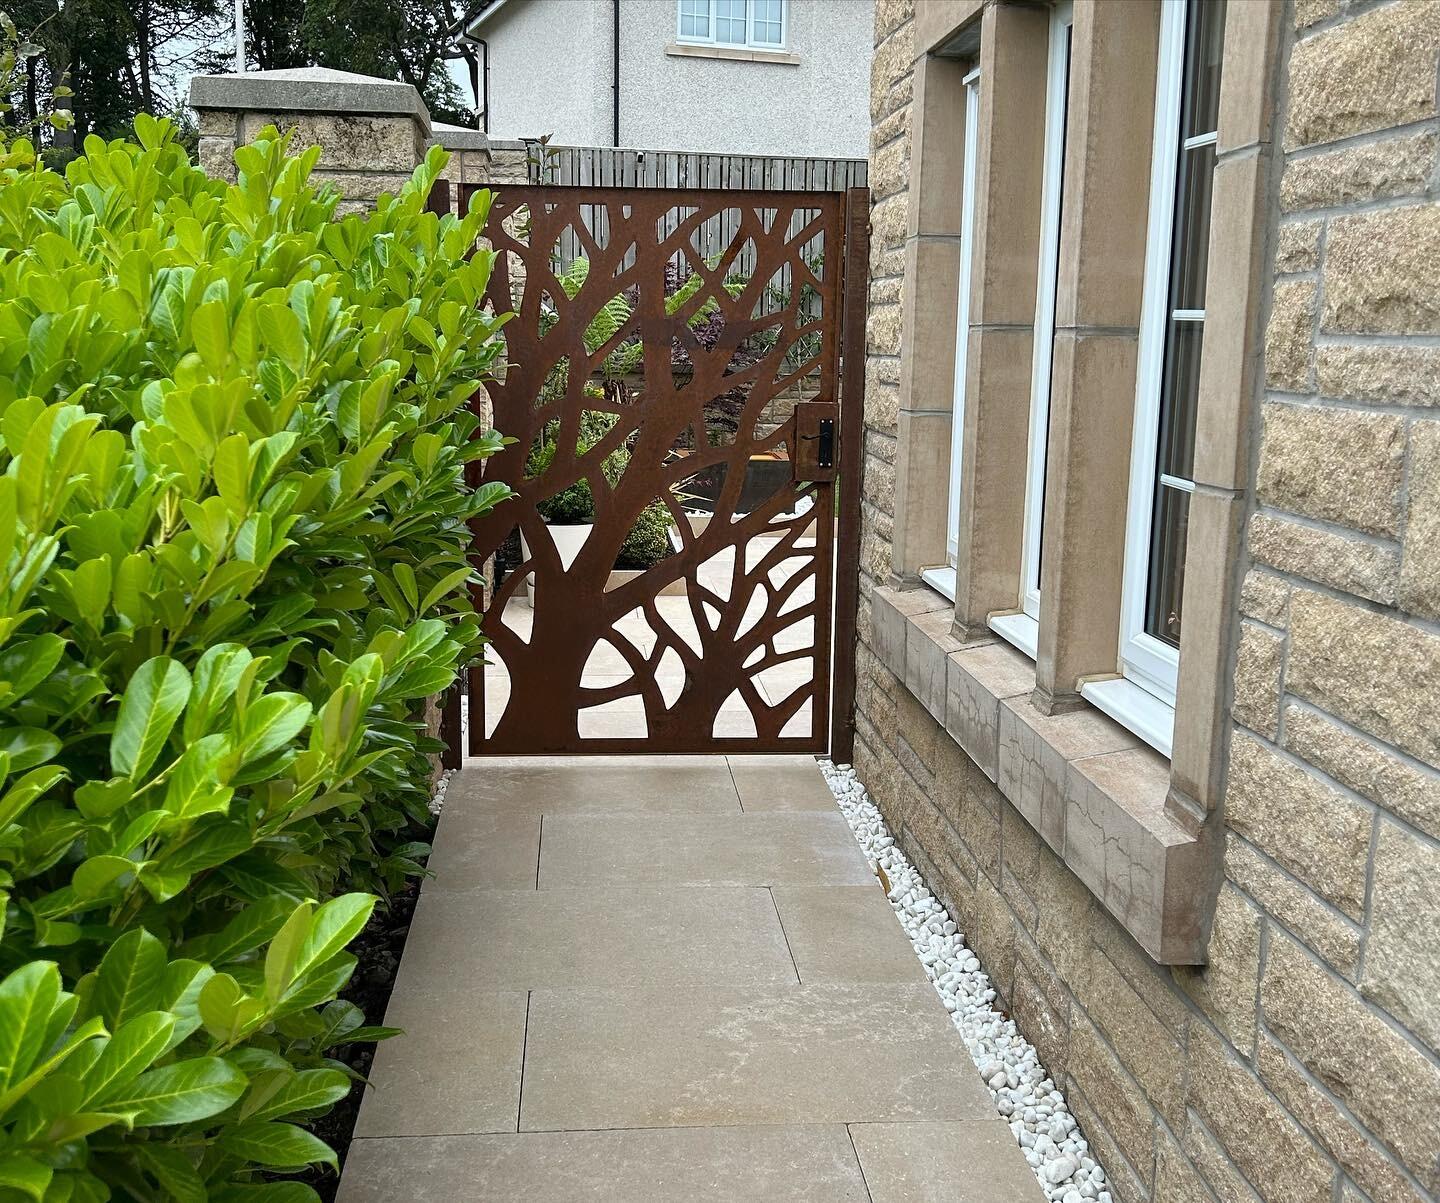
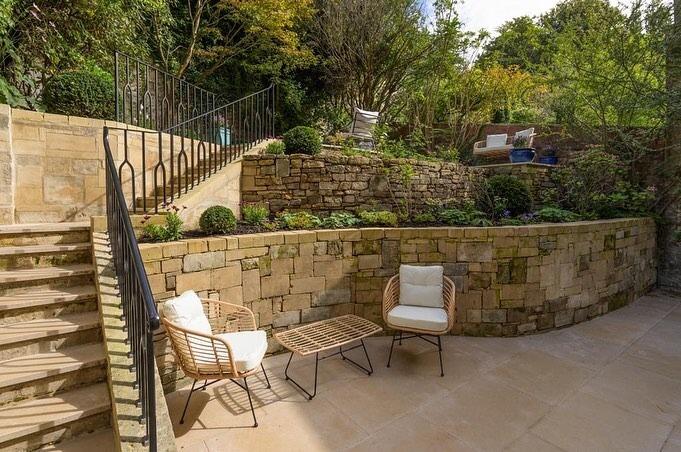
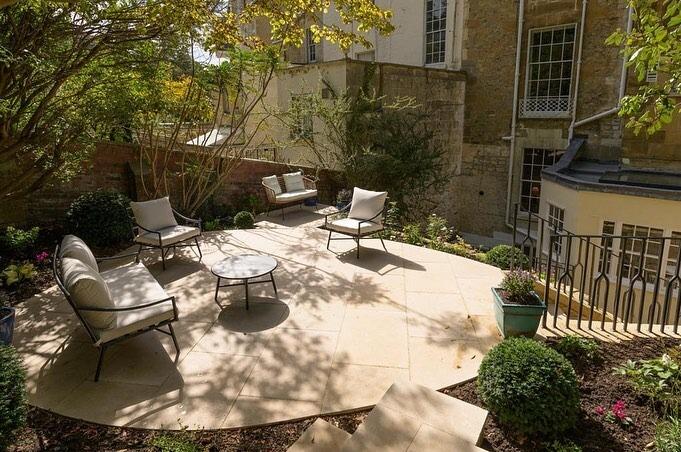
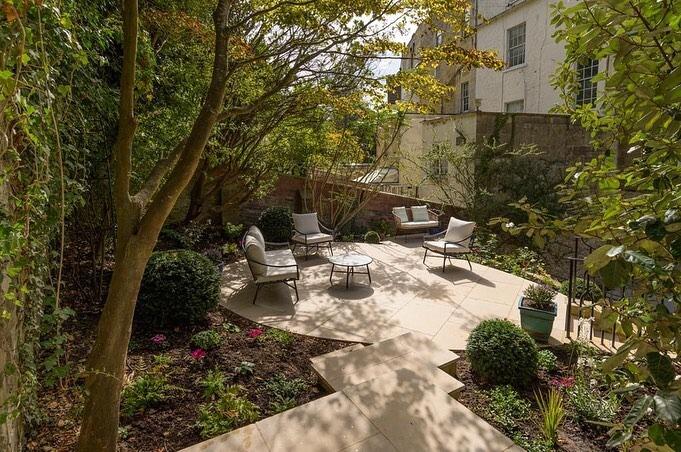
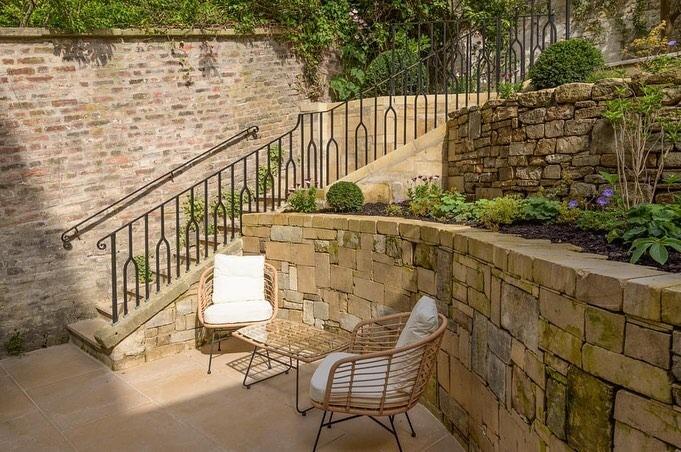
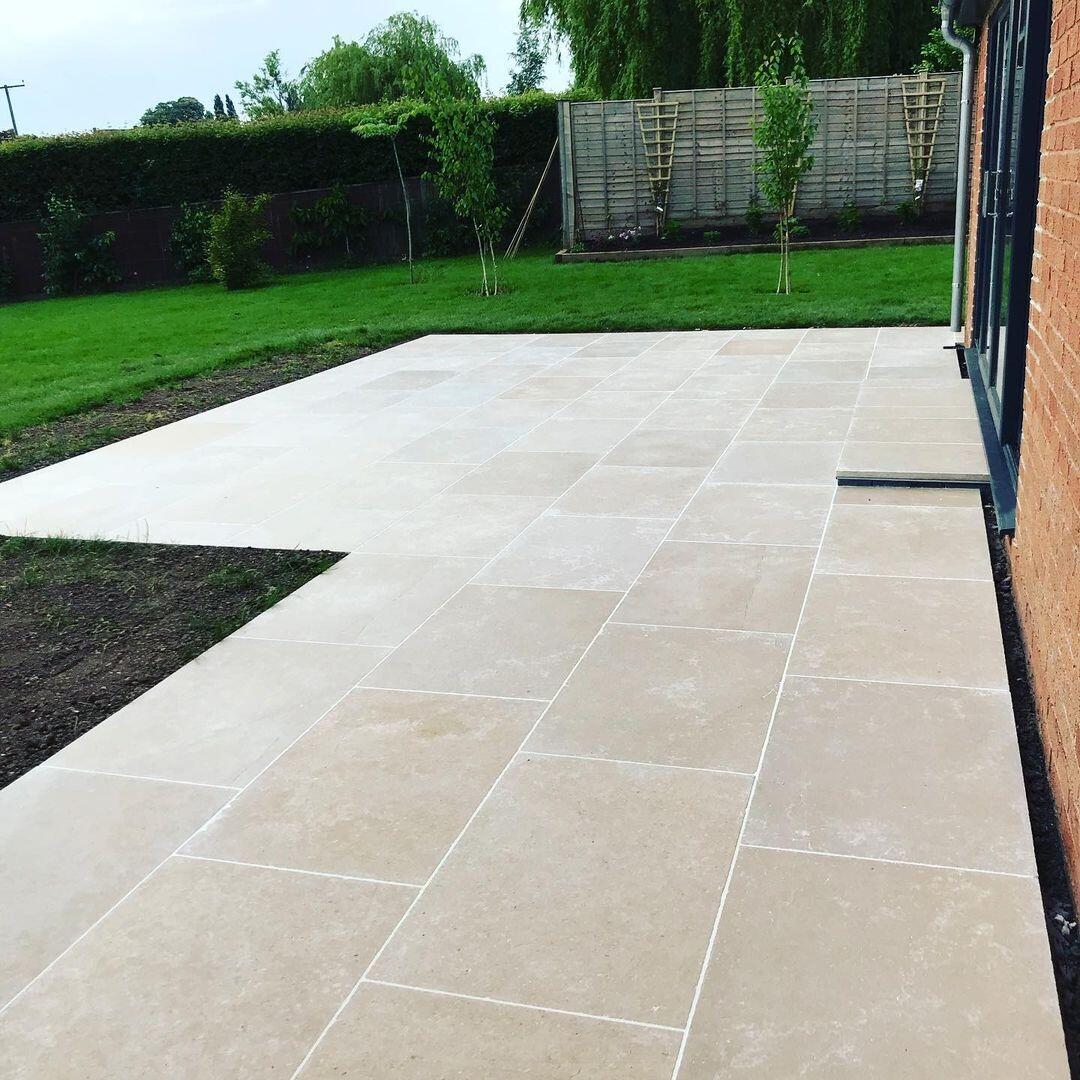
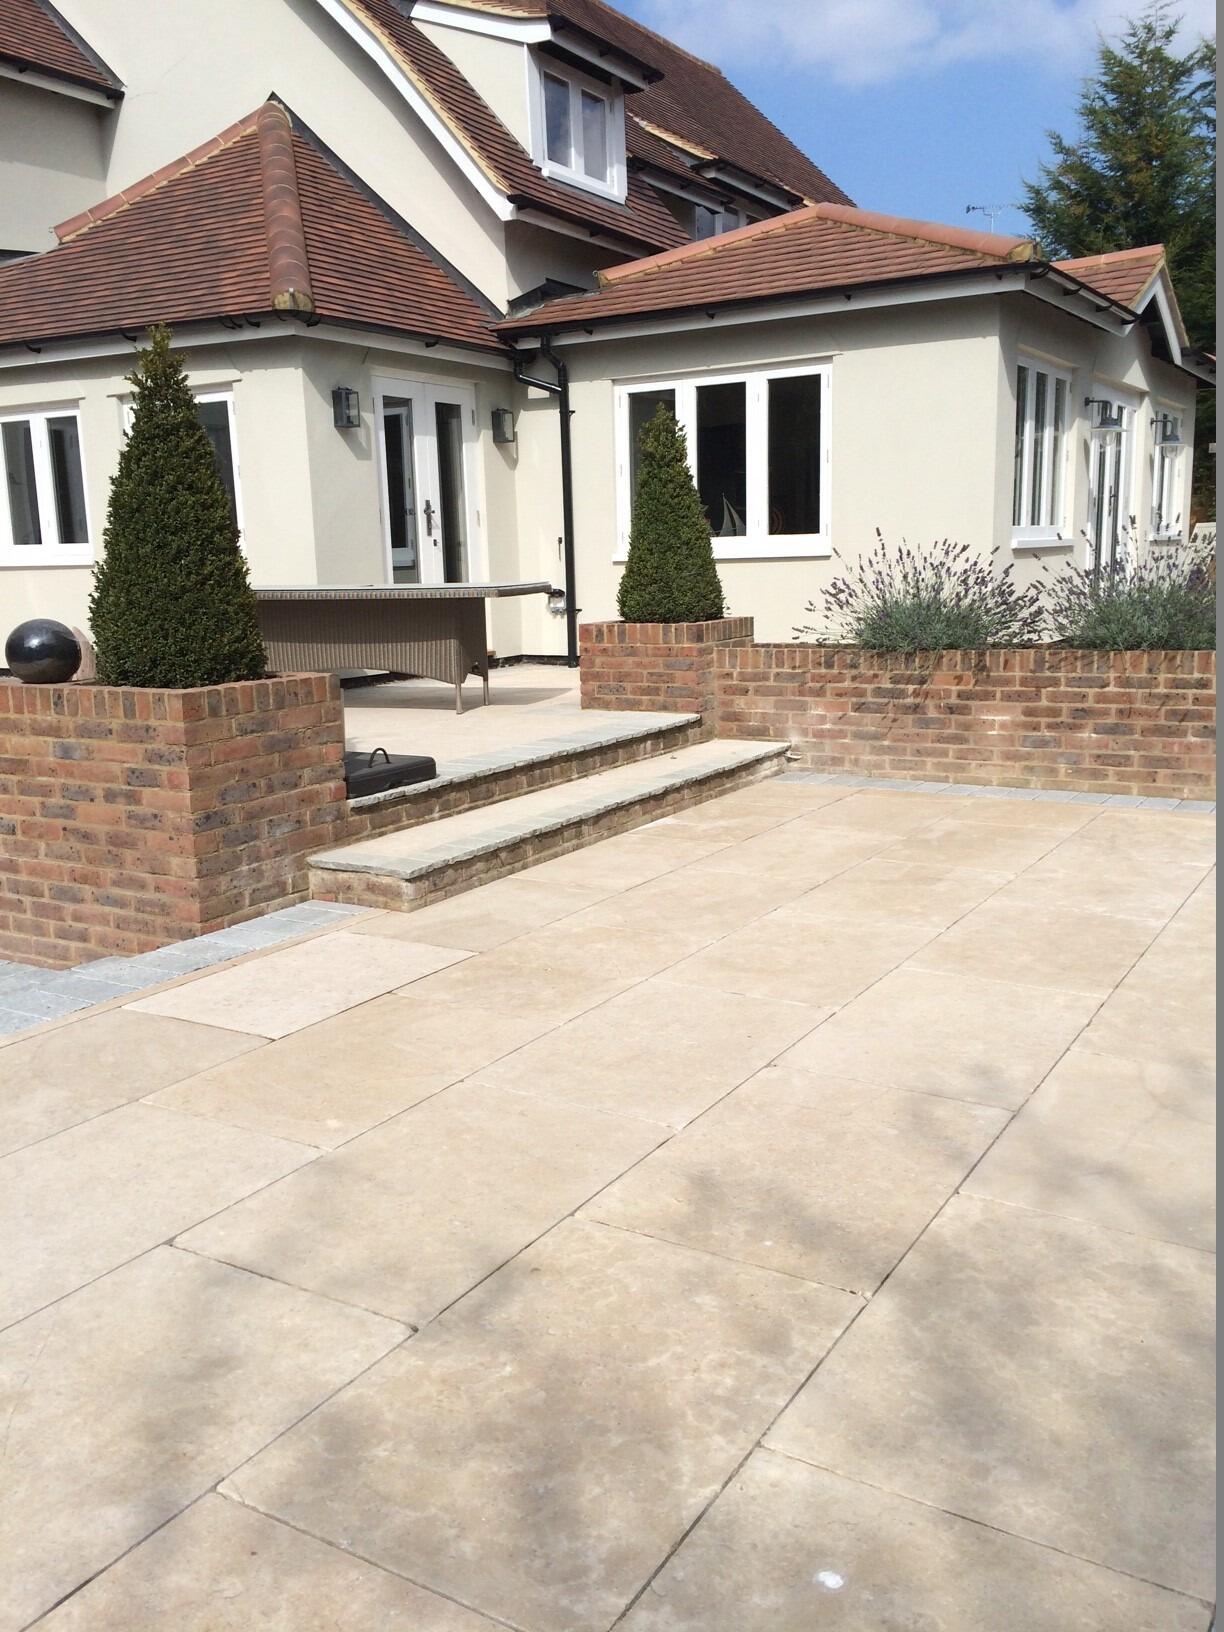
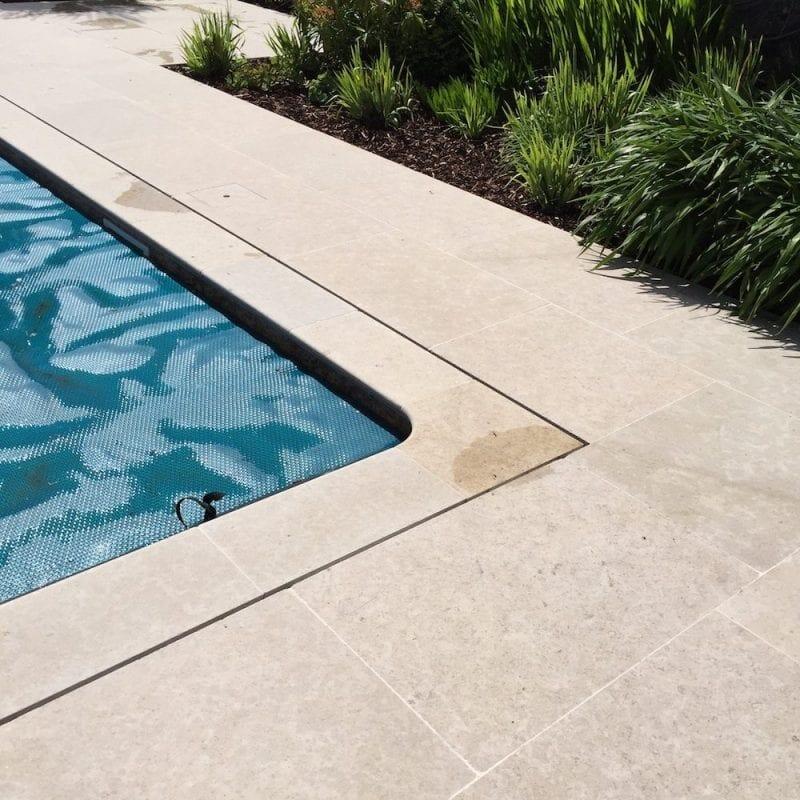
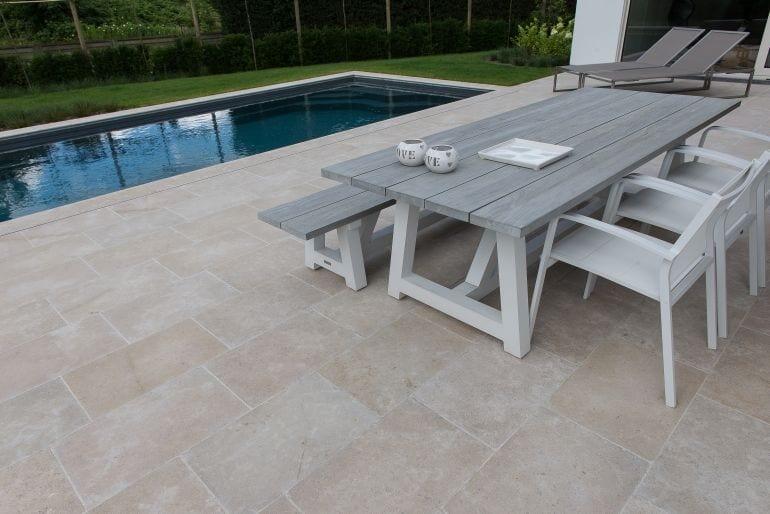
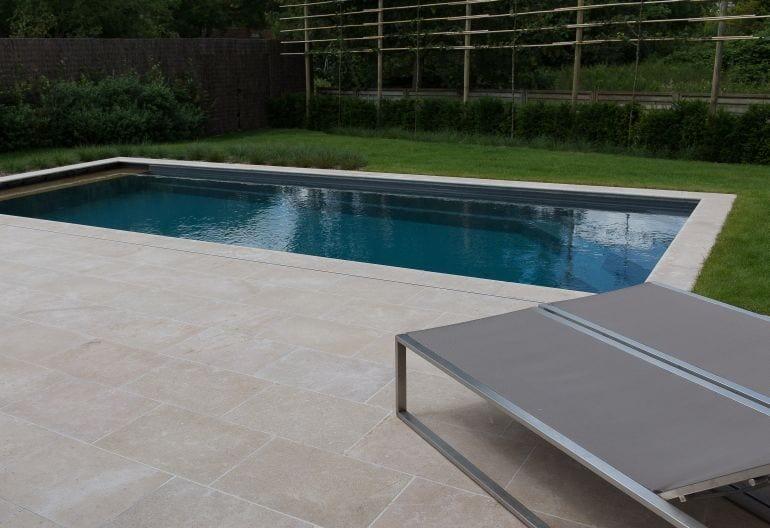
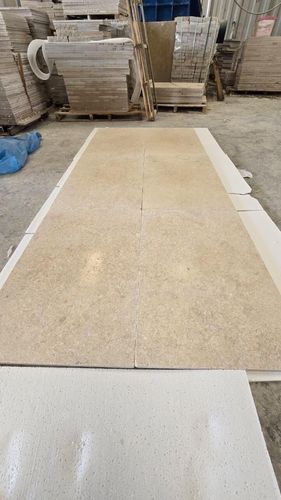
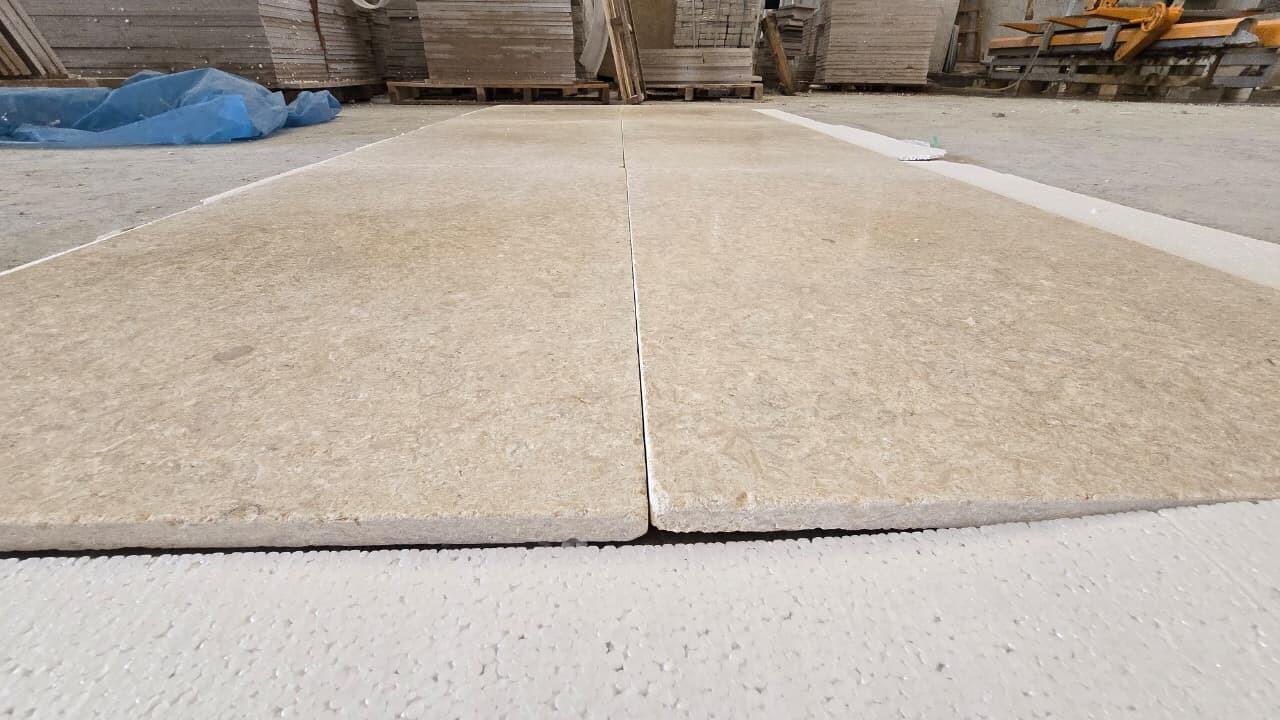
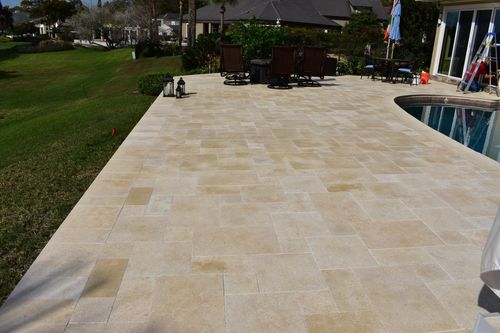
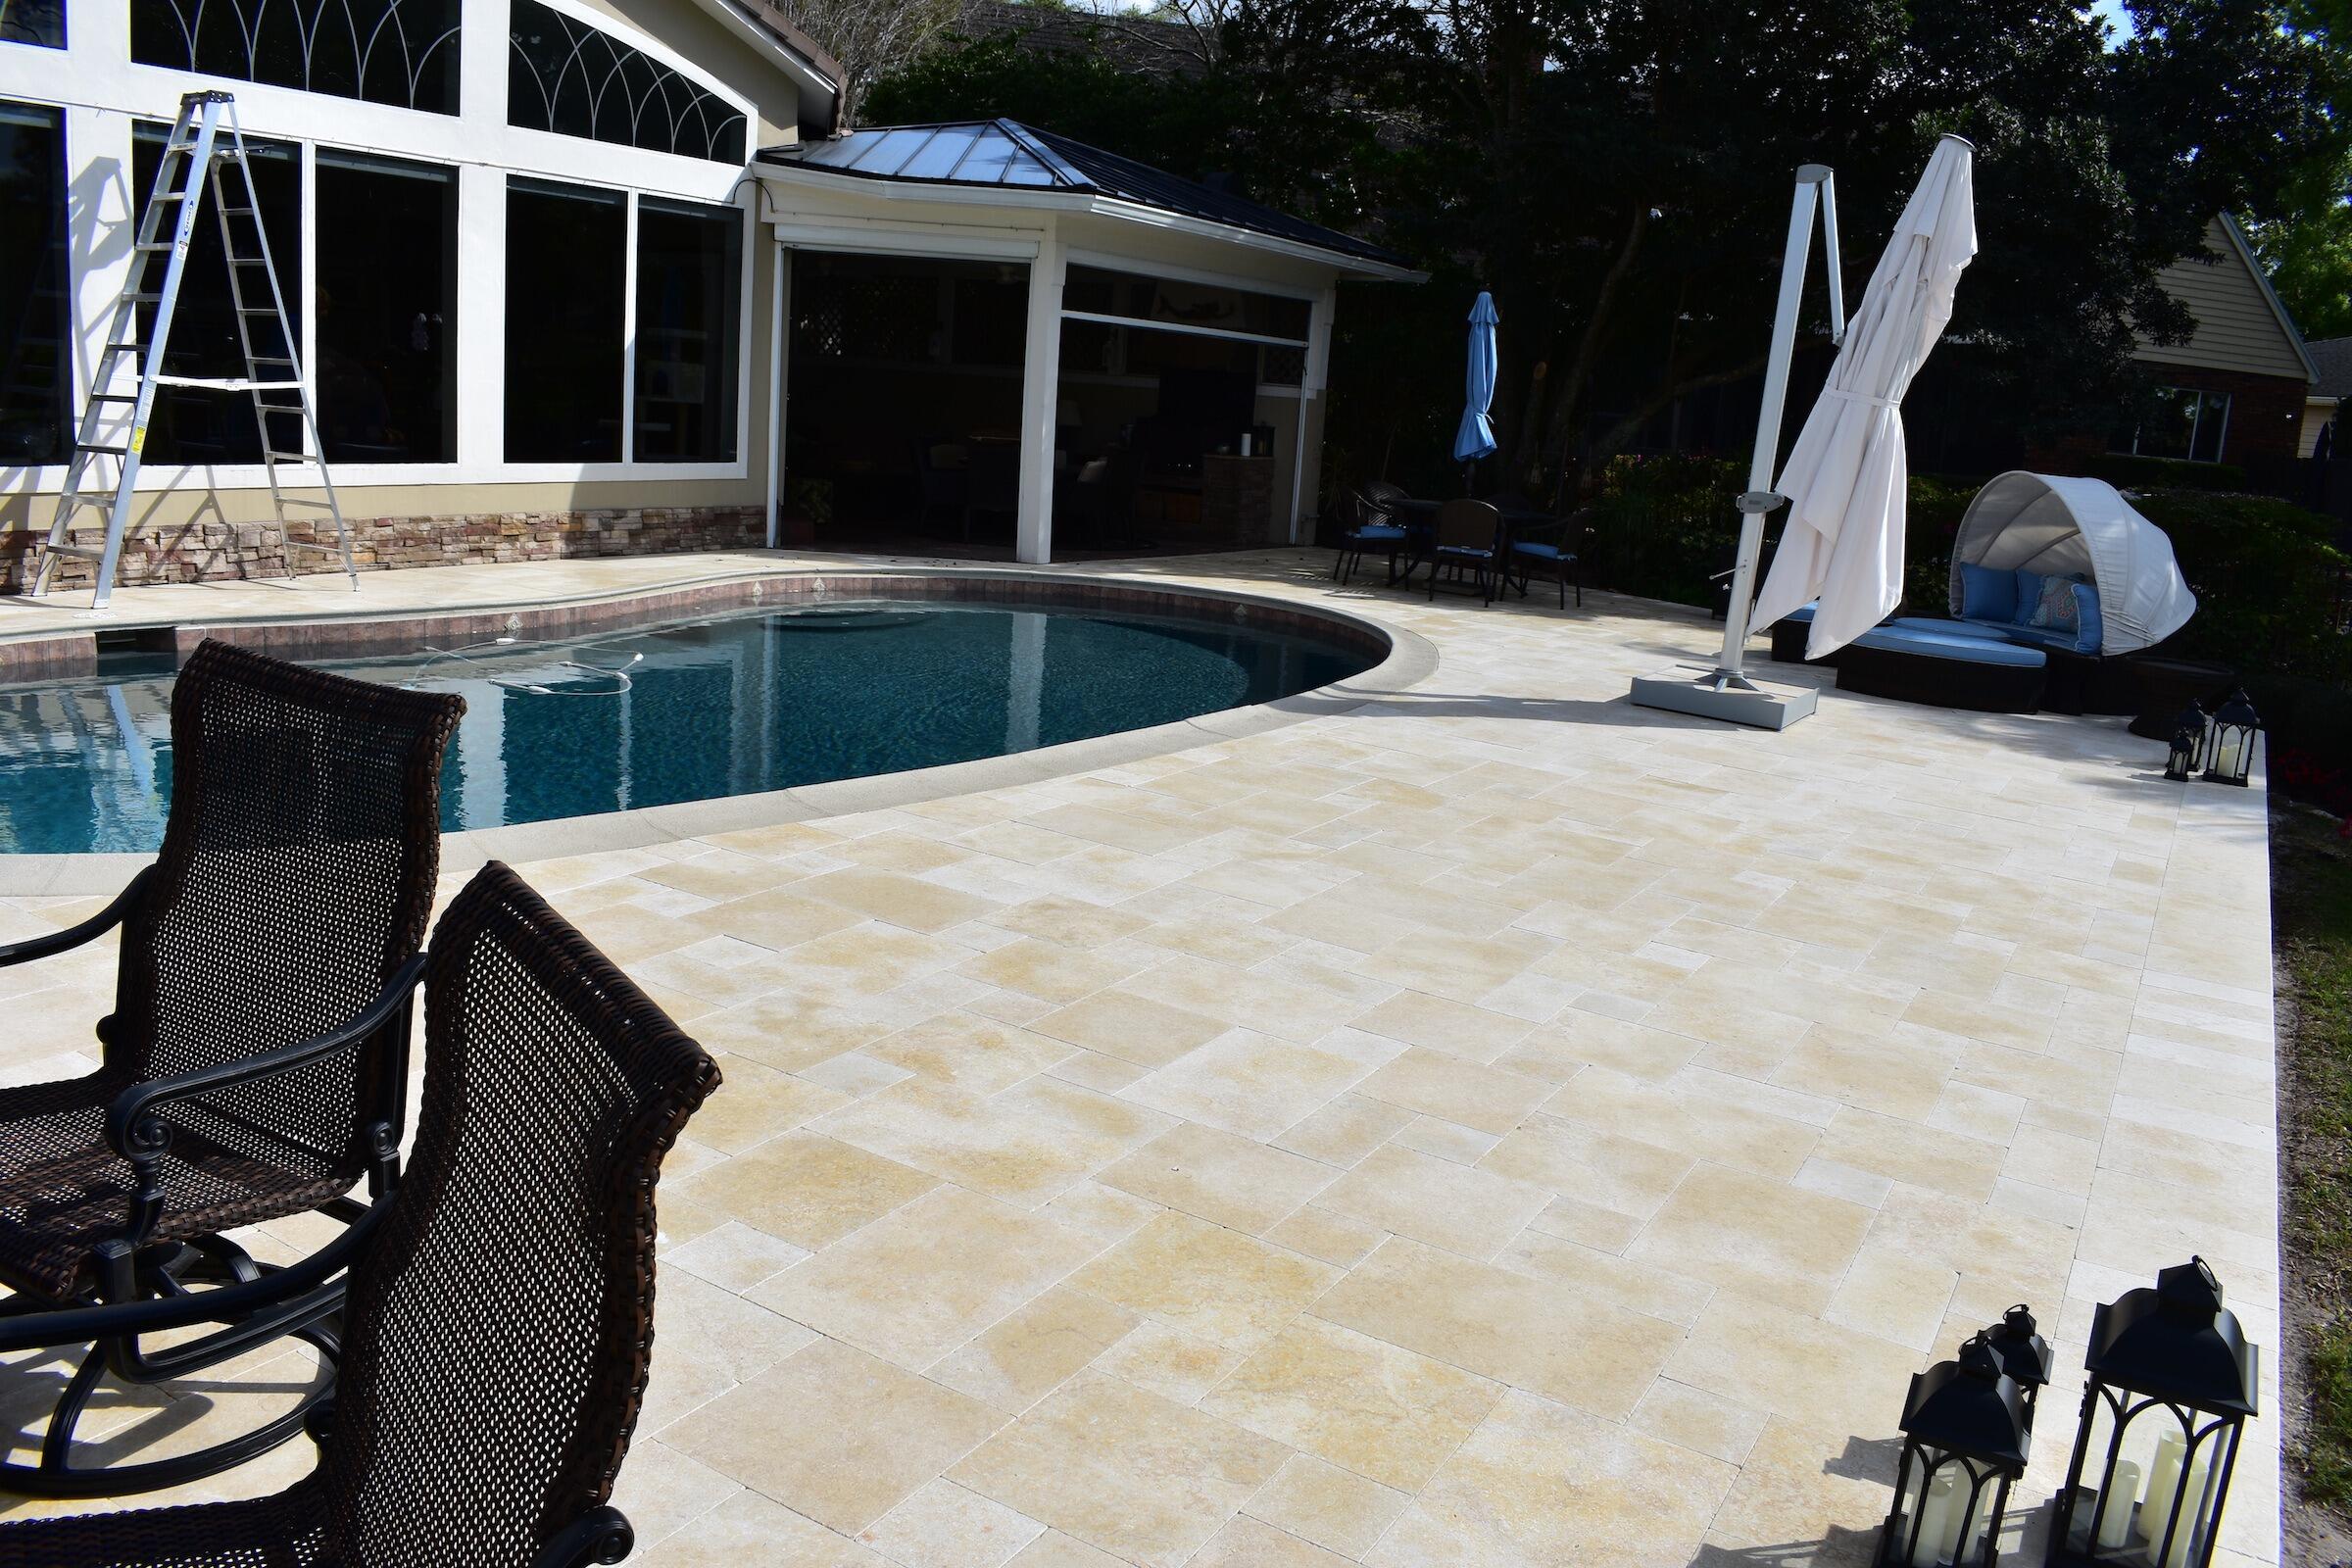
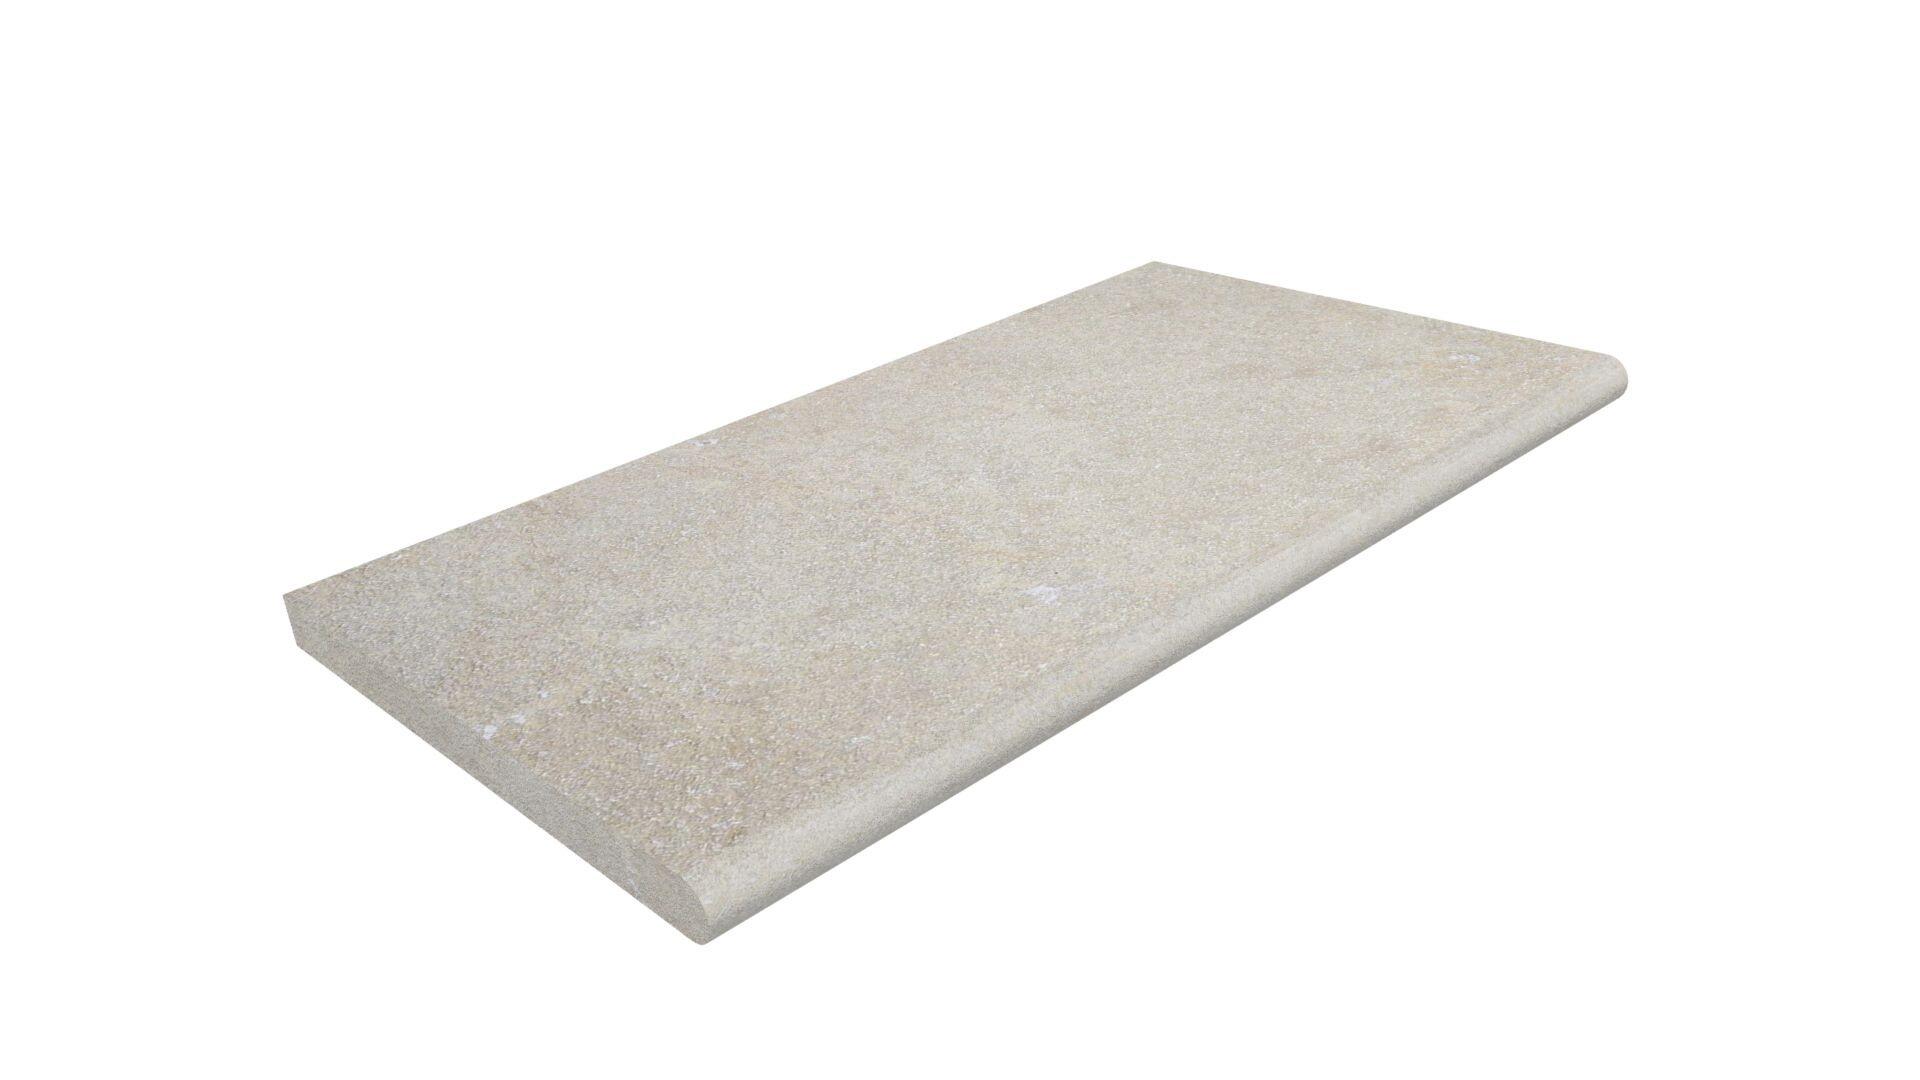
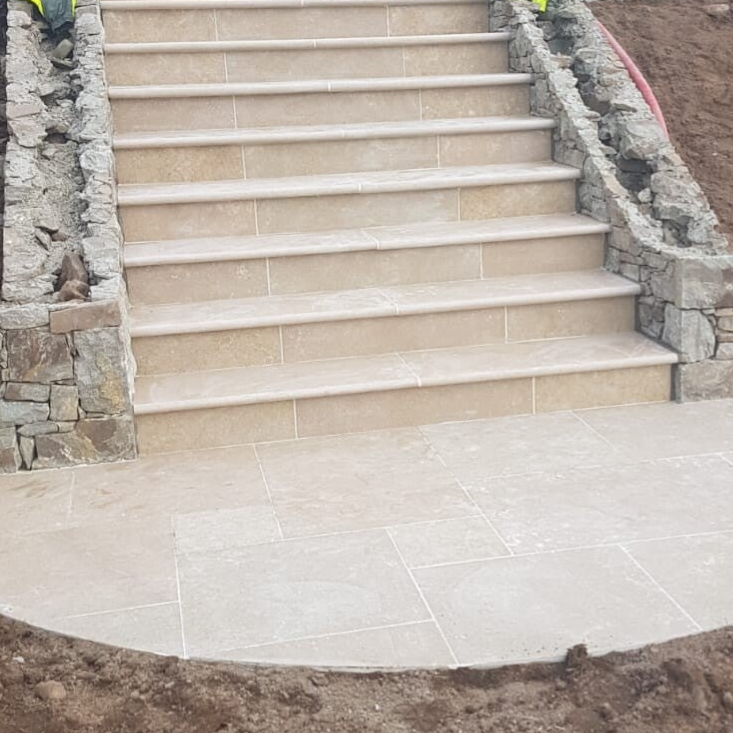
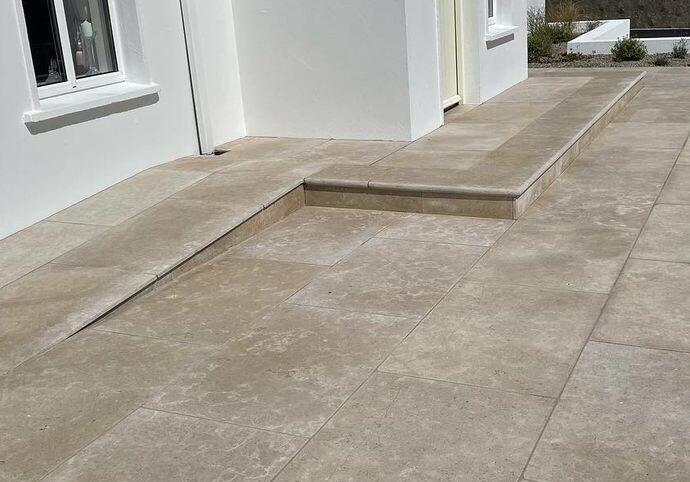
- Effortless Elegance:The Dijon Limestone boasts a beautiful, consistent creamy beige to light grey hue, offering a naturally elegant and calming aesthetic that complements any architectural style, from traditional to modern. Its subtle variations in tone create an organic and inviting look.
- Unrivalled Durability:Formed over millions of years, limestone is inherently robust and hard-wearing, making it an ideal choice for high-traffic outdoor areas. Our Dijon Limestone paving is frost-resistant and built to withstand the elements, ensuring a long-lasting and beautiful surface for years to come.
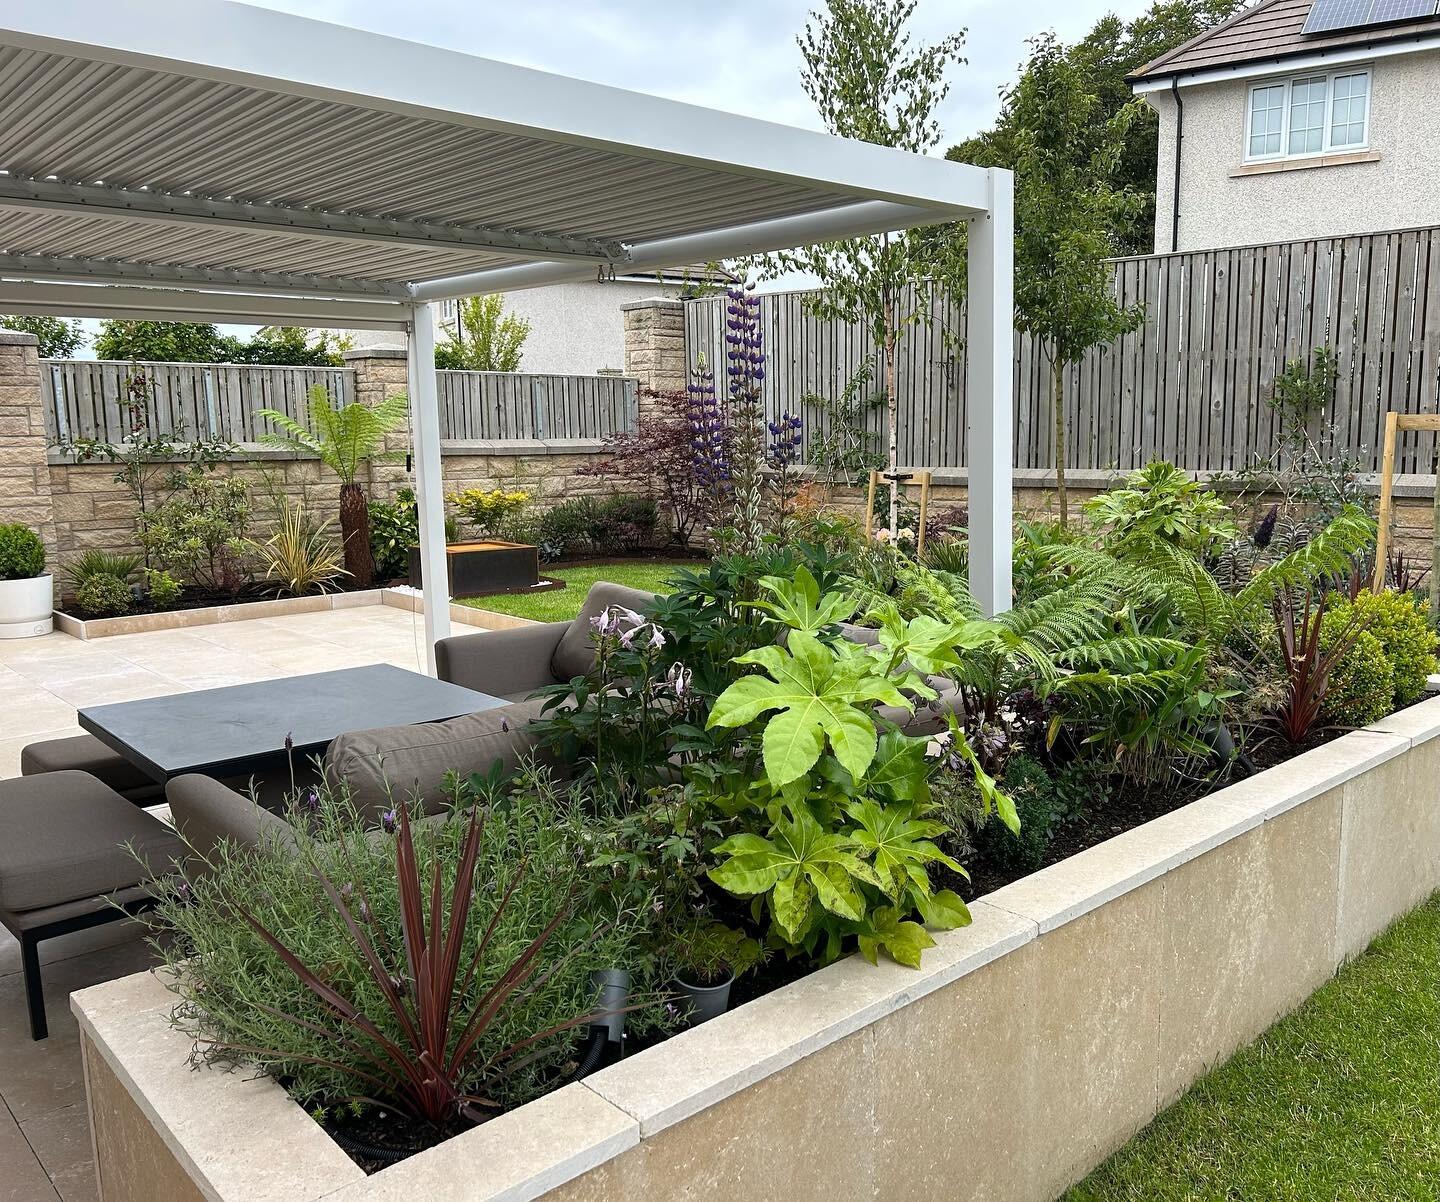
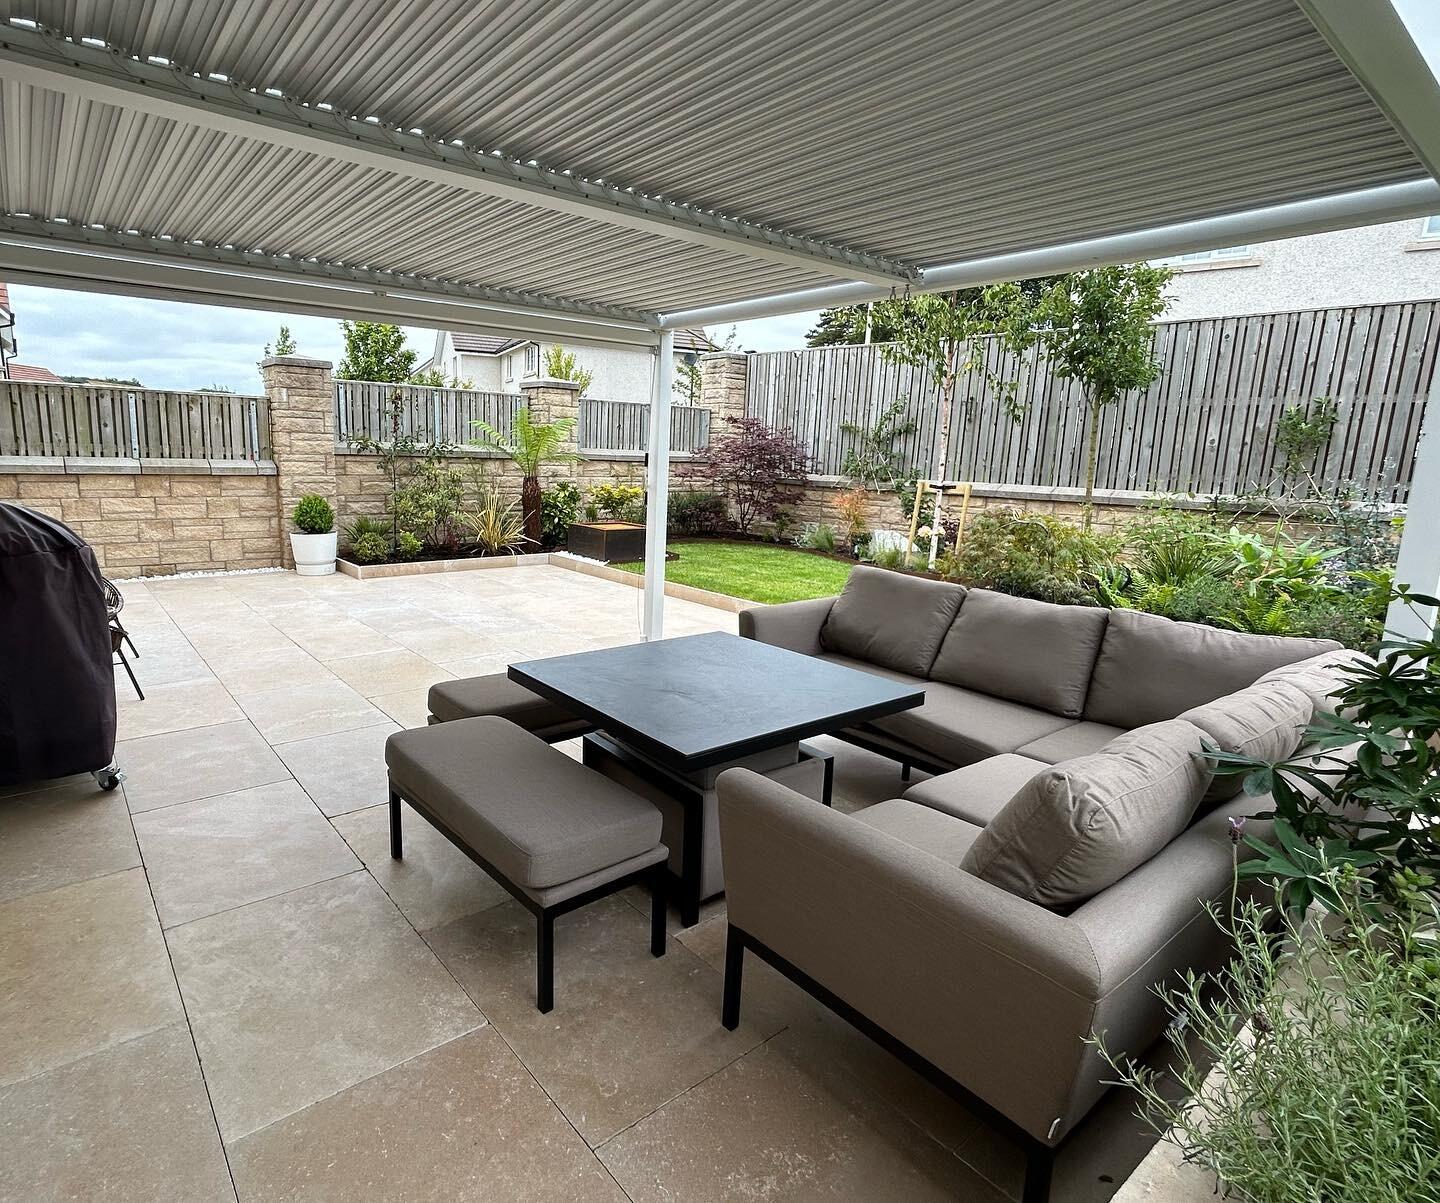
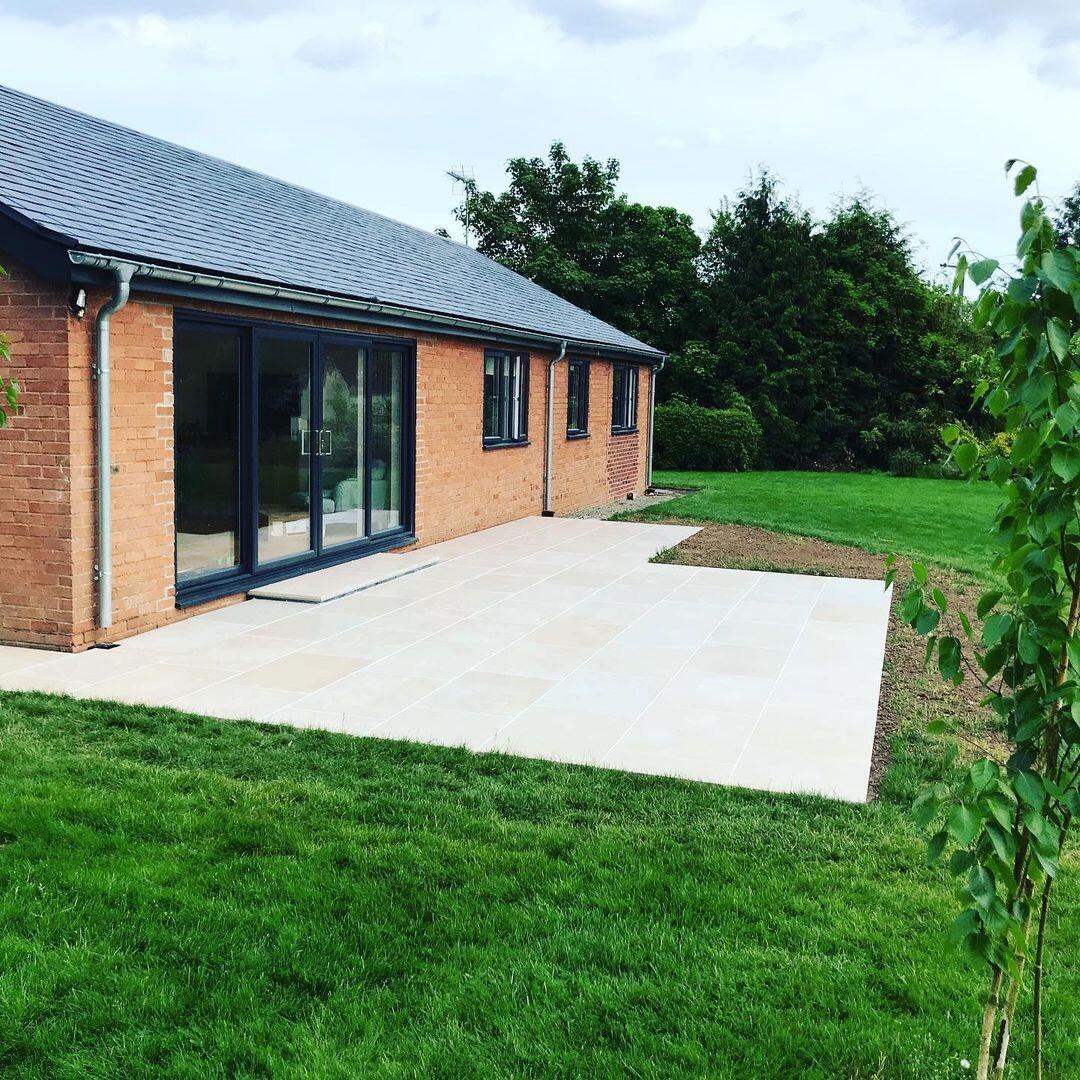
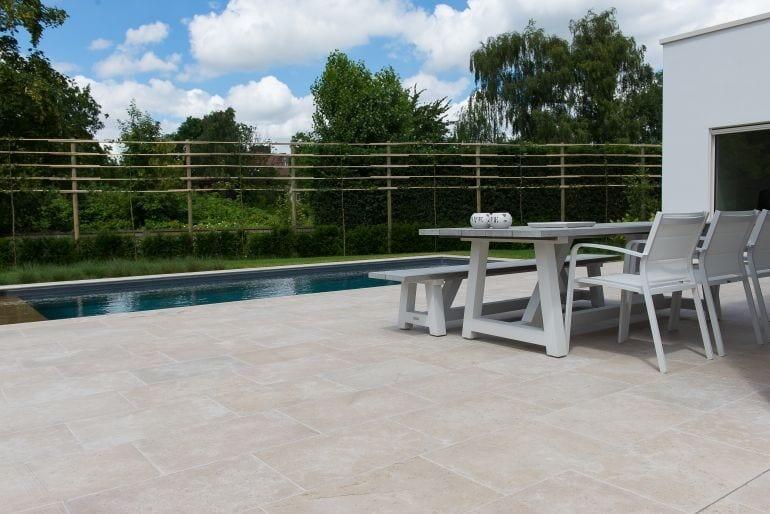
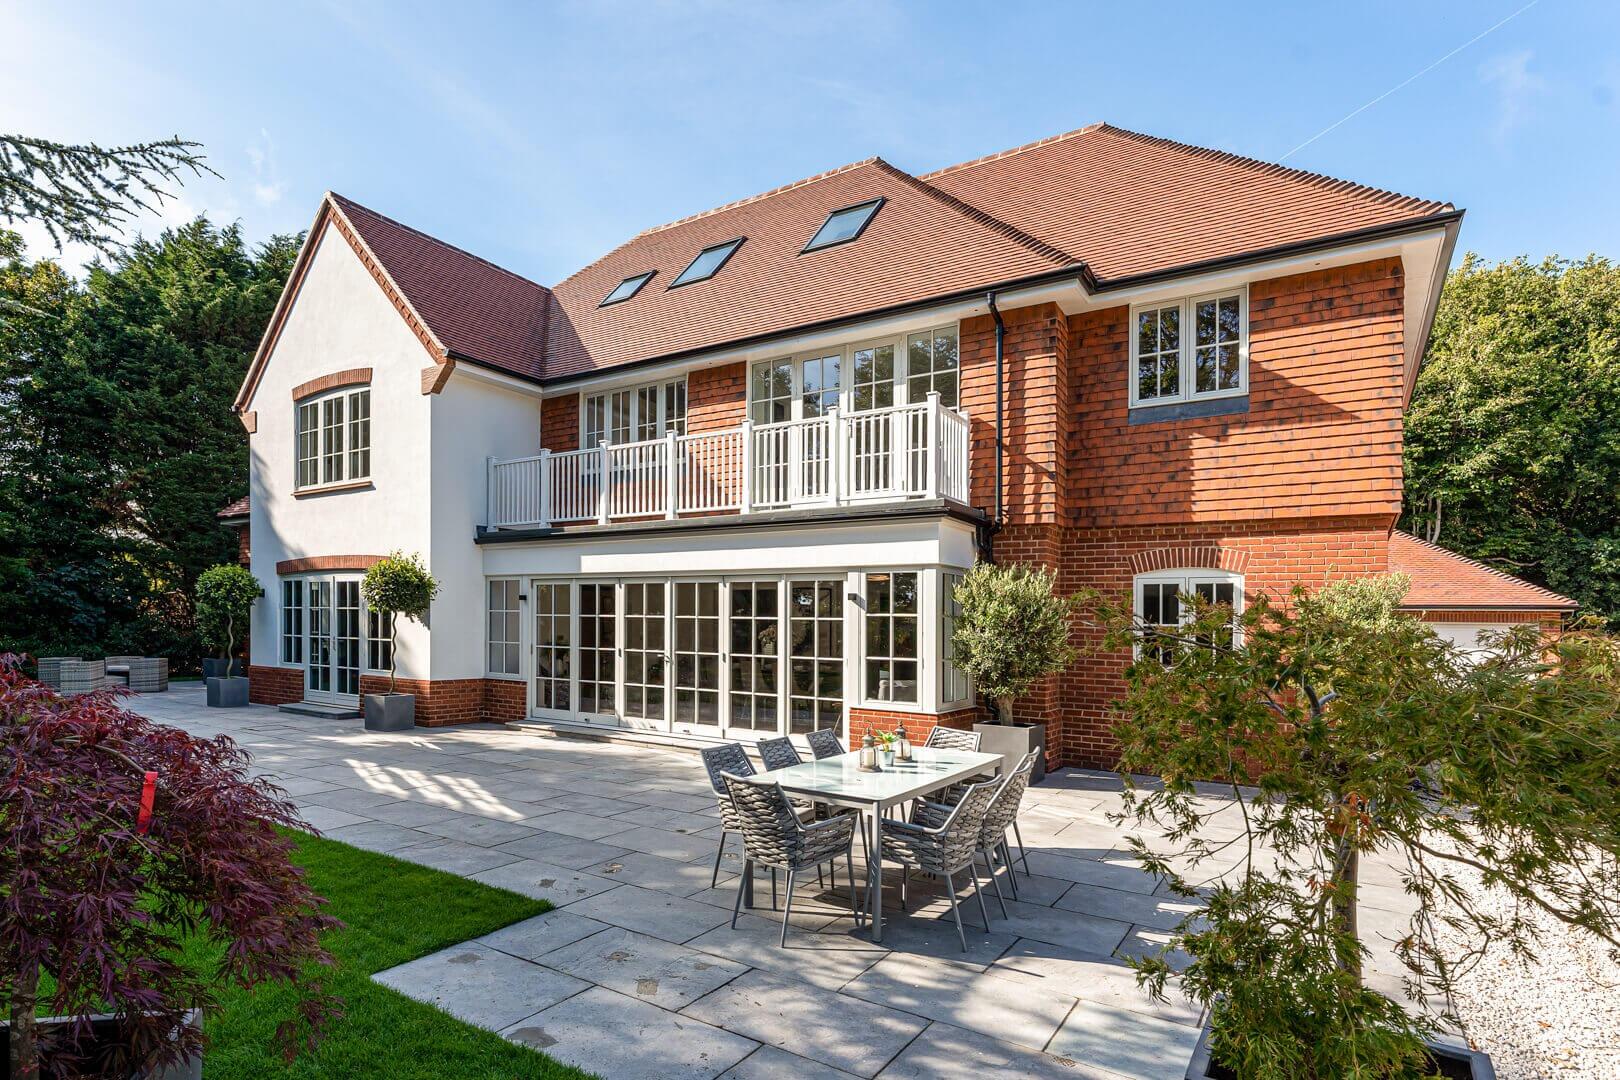
- Versatile Design Potential:Whether you're creating a sprawling patio for entertaining, a picturesque garden path, or a charming courtyard, Dijon Limestone paving provides a versatile foundation. Its neutral colour palette allows for easy integration with various landscaping features, planting schemes, and outdoor furniture.
- Naturally Non-Slip:The inherent texture of natural limestone provides a good level of grip, making it a safer option for outdoor applications, even when wet.
- Increased Property Value: Investing in natural stone paving like Dijon Limestone not only enhances the aesthetic appeal of your home but can also significantly increase its market value.
- Easy to Maintain: With proper sealing and routine cleaning, Dijon Limestone paving is relatively low maintenance, retaining its beauty with minimal effort.
More Information
Please note: All the installation advice below is for guidance purposes only. DOGA Stone AND ITS AFFILIATES ARE NOT RESPONSIBLE FOR ANY CLAIMS AS A RESULT OF THE INSTALLATION SUGGESTIONS. YOU MUST USE A PROFESSIONAL INSTALLER AND PREMIUM SETTING MATERIALS.
This natural stone will create a beautiful and durable outdoor space. This guide provides a detailed overview for installing 30mm thick limestone tiles. Please read all instructions carefully before commencing work.
Disclaimer: This guide is for informational purposes only. Specific site conditions and local regulations may require adjustments. If you are not confident in your ability to complete this project, we strongly recommend consulting a professional landscaper or paver.
Phase 1: Planning & Preparation (Crucial for a successful installation)
Design & Layout:
- Measure Accurately: Measure the area to be paved precisely.
- Sketch a Plan: Draw a detailed sketch of your desired layout, including any cuts, borders, and features. Consider the finished height, allowing for the tile thickness (30mm) plus bedding material and sub-base.
- Calculate Quantity: Add 10-15% extra for cuts, breakages, and future repairs.
- Colour Blending: Natural stone has variations. Before laying, mix tiles from different crates/pallets to ensure an even blend of colours and textures across the entire paved area. This is vital for a natural, harmonious look.
- Expansion Gaps: Plan for expansion joints against solid structures (walls, steps).
Tools & Materials Checklist:
- Dijon Limestone Paving Tiles (30mm thick)
- Sub-Base Material: Type 1 MOT hardcore (crushed stone, minimum 100mm compacted thickness).
- Membrane (Optional but Recommended): Geo-textile fabric to prevent sub-base contamination.
- Bedding Material:
- Option 1 (Stronger): Semi-dry sand/cement mix (4 parts sharp sand to 1 part cement).
- Option 2 (Permeable): Graded aggregate (e.g., 6mm or 10mm shingle) if you require a fully permeable bed.
- Jointing Compound:
- Option 1 (Flexible/Permeable): Resin-based permeable jointing compound (e.g., EasyJoint, GroutFX).
- Option 2 (Traditional Mortar): 3 parts sharp sand to 1 part cement. Note: Traditional mortar is less flexible and prone to cracking if not installed perfectly.
- Edge Restraints (Recommended): Concrete haunching, plastic edging, or block paving edgings to prevent lateral movement of the sub-base and slabs.
- Wacker Plate / Compactor: For compacting the sub-base.
- Rubber Mallet: For tapping tiles into place.
- Spirit Level (long and short): For checking levels and falls.
- String Line & Pegs: For establishing levels and straight edges.
- Measuring Tape:
- Shovel & Rake: For spreading materials.
- Wheelbarrow:
- Angle Grinder with Diamond Blade: For cutting limestone (ensure a dry-cut blade suitable for natural stone). Wear appropriate PPE!
- Wet Saw (Recommended for cleaner cuts): For cutting limestone.
- Protective Gear (PPE): Safety glasses, dust mask, gloves, sturdy footwear, knee pads.
- Rubber Gloves: For handling cement.
- Brushes & Sponge: For cleaning.
- Limestone Sealer (Highly Recommended): Impregnating sealer designed for natural stone/limestone.
- Cleaning Agents: Suitable for natural stone.
Excavation:
- Mark Out: Use string lines and pegs to mark the exact area.
- Dig to Depth:Excavate to a depth that accommodates:
- Finished Paving Level (your desired top surface)
- Tile Thickness (30mm)
- Bedding Material (typically 30-50mm)
- Sub-Base (minimum 100-150mm compacted)
- Example Calculation: If your finished level is ground level, you might excavate approx. 200-230mm (30mm tile + 40mm bed + 150mm sub-base).
- Ensure Proper Falls (Slopes): Crucial for drainage! Create a minimum fall of 1:60 to 1:80 (15-12.5mm fall over 1 meter) away from any buildings or towards a drainage point. Use your string line and spirit level to establish these falls.
Sub-Base Installation:
- Compaction: Compact the excavated ground using a wacker plate.
- Geo-Textile Membrane (Optional but Recommended): Lay a permeable geo-textile fabric over the compacted soil. This prevents the sub-base from mixing with the soil and improves stability. Overlap seams by at least 150mm.
- Type 1 MOT Hardcore: Spread the Type 1 MOT hardcore to the required thickness (minimum 100mm, ideally 150mm for heavily trafficked areas).
- Compact Thoroughly: Use the wacker plate to compact the hardcore in layers of no more than 50mm at a time. The sub-base should be firm and stable, with no movement. Check levels and falls again.
Phase 2: Laying the Paving Tiles
Edge Restraints (Highly Recommended):
- Install edge restraints (e.g., concrete haunching, plastic edging) around the perimeter of the paved area. This is essential to prevent the sub-base and the laid tiles from spreading outwards, maintaining the integrity of your paving.
- Concrete Haunching: Mix concrete (e.g., 6 parts ballast to 1 part cement) and apply a triangular haunch (approx. 100mm high by 75mm wide) against the side of the sub-base/first row of tiles.
Bedding Material Preparation:
- Option 1 (Semi-Dry Sand/Cement): Mix 4 parts sharp sand to 1 part ordinary Portland cement. Mix thoroughly, adding just enough water to create a "damp" consistency – it should hold its shape when squeezed but not be wet or sticky. This mix provides a strong, stable bed.
- Option 2 (Graded Aggregate): Spread the aggregate evenly.
Laying the Tiles:
- Start Point: Begin laying from a fixed point, such as a building, a straight edge, or the most visible corner. Work outwards.
- Establish Levels: Use your string lines and spirit level to maintain correct levels and falls throughout the laying process.
- Apply Bedding: Spread enough bedding material for one or two tiles at a time, ensuring it's slightly higher than the final desired bed level.
- Place Tile: Carefully place the Dijon Limestone tile onto the bedding material.
- Tap into Place: Using a rubber mallet, gently tap the tile down from the centre outwards until it is firmly bedded and level with the desired height and fall. Do not use a metal hammer directly on the stone.
- Check Levels & Gaps: Immediately check the level of the tile in all directions with your spirit level. Ensure there's a consistent gap (usually 8-15mm for natural stone) between tiles for jointing. Use spacers if needed.
- Remove Excess Bedding: Scrape away any excess bedding material that squeezes up from the sides.
- Work Progressively: Continue laying tiles row by row, constantly checking levels, falls, and joint widths.
- Allow to Set: Once all tiles are laid, allow the bedding material to cure. For semi-dry sand/cement beds, this typically takes 24-48 hours before walking on it and up to 7 days before applying heavy loads or jointing.
Cutting Tiles (If Necessary):
- Measure & Mark: Accurately measure and mark the cut line on the tile.
- Wet Saw Recommended: For clean, precise cuts on natural stone, a wet saw with a diamond blade designed for stone is ideal.
- Angle Grinder (with Caution): An angle grinder with a suitable dry-cut diamond blade can be used, but it will create more dust and a rougher edge. ALWAYS wear eye protection, a dust mask, and hearing protection.
- Support the Tile: Ensure the tile is well-supported during cutting to prevent breakage.
Phase 3: Jointing & Finishing
Cleaning Before Jointing:
- Once the bedding is firm enough to walk on, thoroughly clean the surface of the tiles. Remove any dust, debris, or excess bedding material.
- Do NOT allow cement or mortar to dry on the face of the limestone. If any contact occurs, clean it immediately with clean water and a sponge.
Sealing (Highly Recommended before jointing):
- Why Seal? Limestone is porous. Sealing protects against staining (especially from jointing compounds, dirt, and spills), inhibits algae/moss growth, and makes cleaning easier.
- Apply Sealer: Use a high-quality impregnating sealer specifically designed for natural limestone. Follow the manufacturer's instructions carefully. This typically involves applying it with a roller or brush and allowing it to penetrate and dry. Apply before jointing to prevent the jointing compound from staining the stone.
Jointing (After Sealing & Bedding Cured):
- Option 1: Permeable Resin-Based Jointing Compound (Recommended for Ease & Flexibility):
- These products are typically applied by wetting the paving surface, then sweeping the compound into the joints with a brush, and compacting it.
- They are permeable, allowing water to drain through the joints, which is excellent for drainage and reduces standing water.
- Follow the manufacturer's specific instructions precisely. Pay close attention to temperature and moisture requirements.
- Option 2: Traditional Mortar Jointing:
- Mix: 3 parts sharp sand to 1 part cement. Mix to a stiff, workable consistency.
- Application: Carefully apply the mortar into the joints using a pointing trowel. Take extreme care not to get mortar on the face of the limestone, as it can stain.
- Compaction: Firmly compact the mortar into the joints to ensure it's dense and well-filled.
- Finishing: Once the mortar starts to stiffen (thumbprint hard), finish the joints with a jointing tool or a piece of hosepipe for a smooth, concave finish.
- Cleaning: As you go, immediately clean any mortar splashes from the tile surface with a damp sponge. Do not let it dry.
- Option 1: Permeable Resin-Based Jointing Compound (Recommended for Ease & Flexibility):
Final Cleaning:
- Once the jointing material has fully cured (check manufacturer's guidelines), thoroughly clean the entire paved area.
- For cement-based joints, if there's any haze, you may need a proprietary brick cleaner, but ALWAYS test on an inconspicuous area first as some cleaners can damage natural stone. Never use acid-based cleaners on limestone.
- Rinse with clean water.
Installation Advice
Phase 4: Maintenance
- Regular Cleaning: Sweep regularly to remove loose debris. Wash with clean water and a mild, pH-neutral stone cleaner as needed.
- Re-Sealing: Re-apply sealer every 3-5 years, or as recommended by the sealer manufacturer, depending on wear and tear.
- Algae & Moss: Address any algae or moss growth with appropriate stone-safe cleaners.
- Winter Care: While frost-resistant, avoid using de-icing salts directly on limestone, as they can cause damage.
Good to know
Dijon Limestone is a natural stone, and its inherent beauty lies in its natural variations. Here's what you can typically expect:
Colour Variations
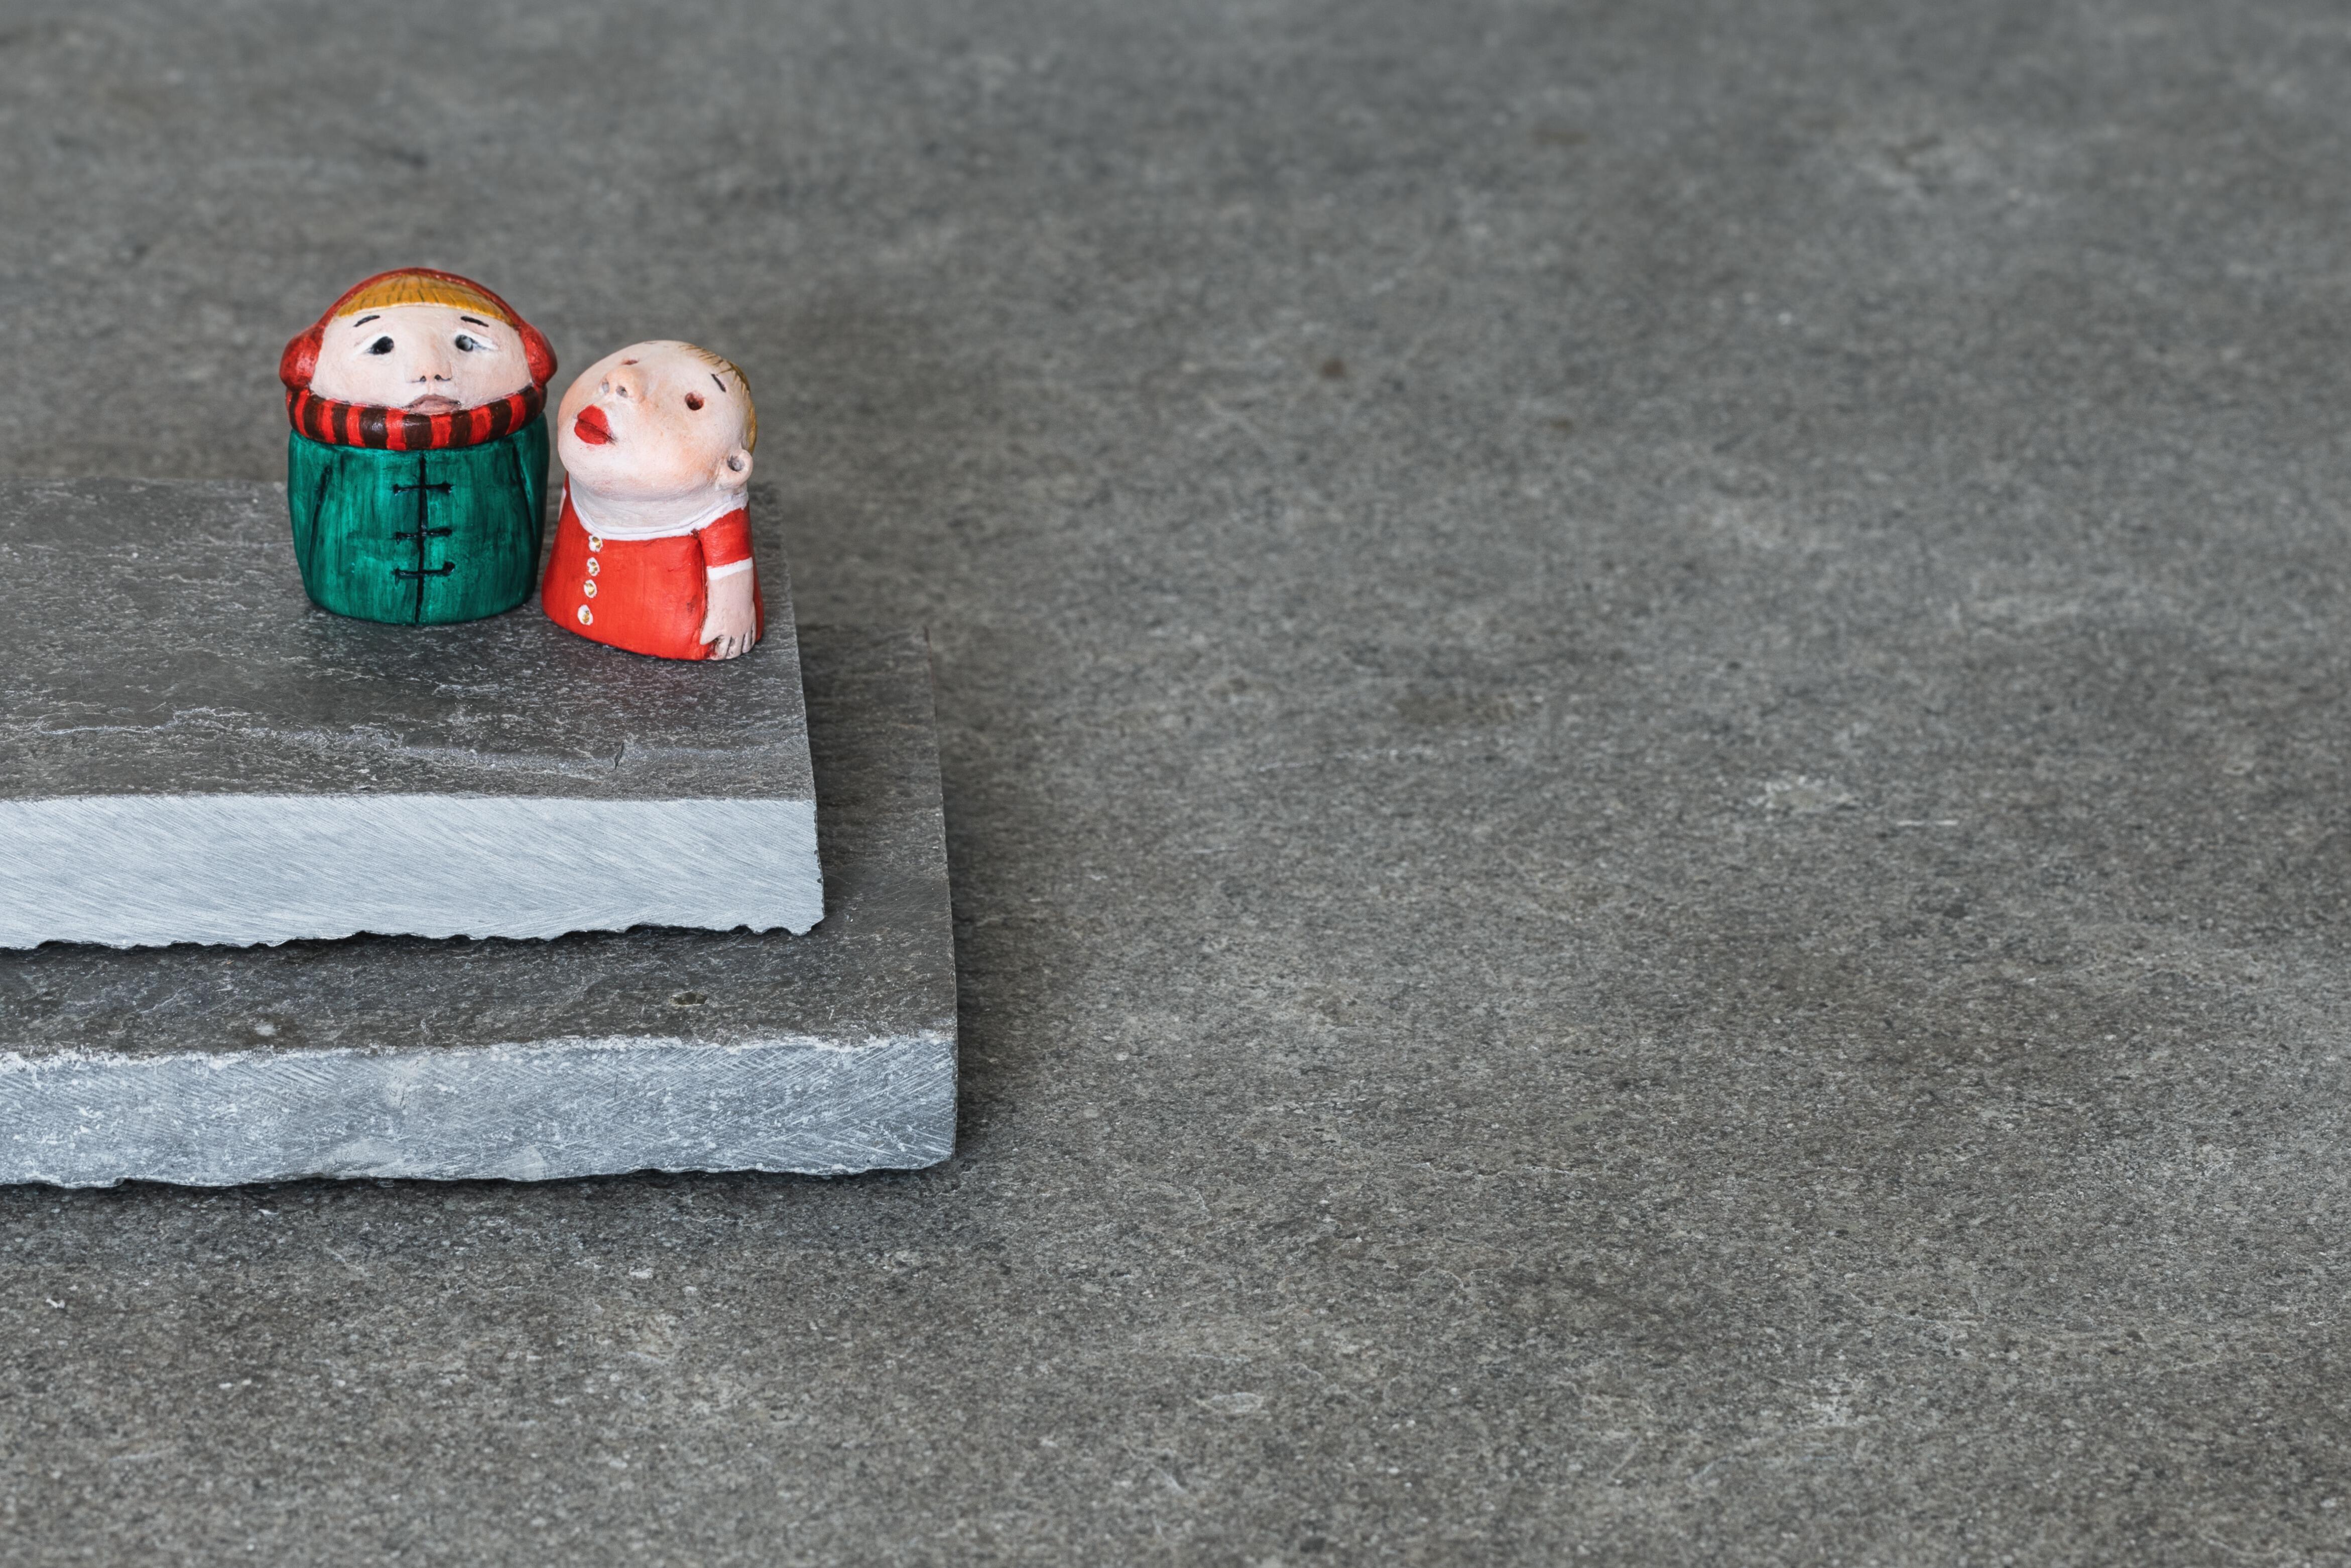
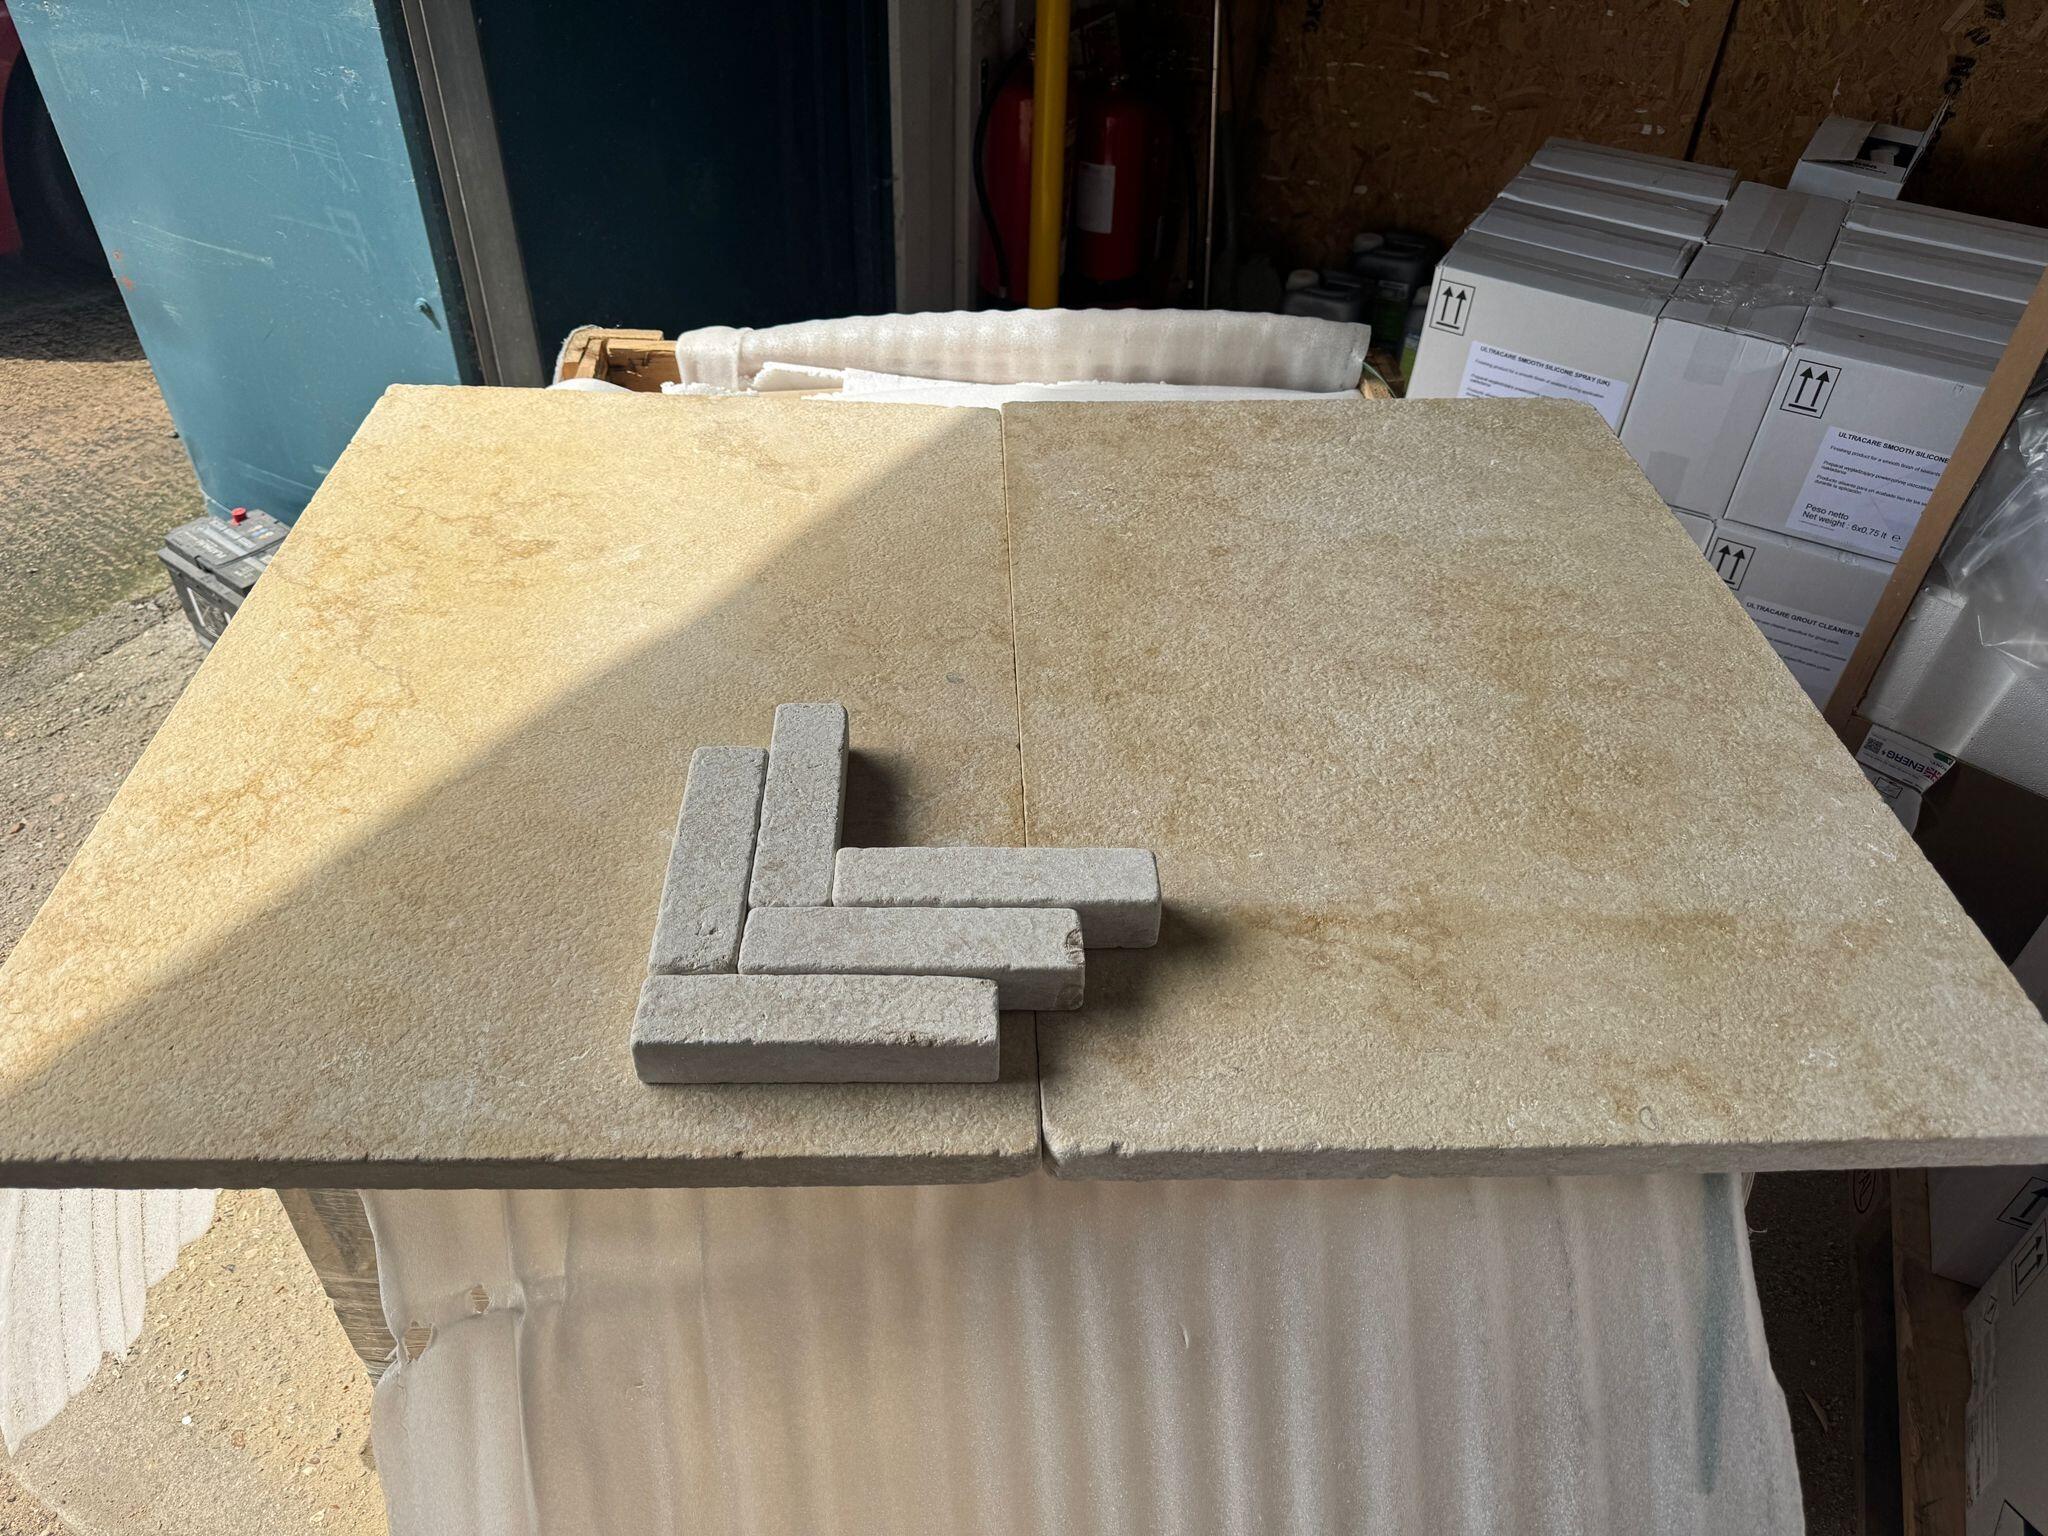
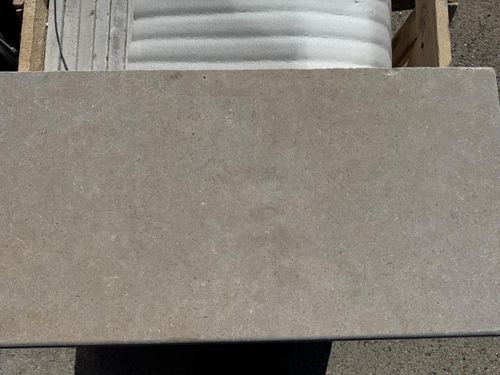
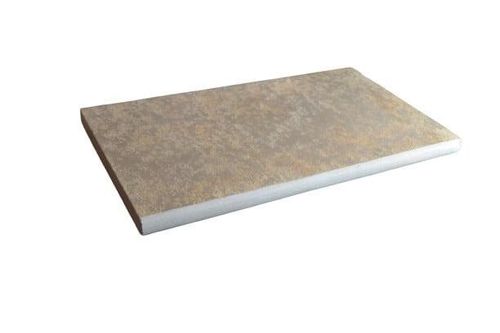
- Base Tones:The primary colour palette ranges from soft beiges and creams to light, warm greys. You'll see subtle shifts and blends of these neutral tones within individual tiles and across the batch.
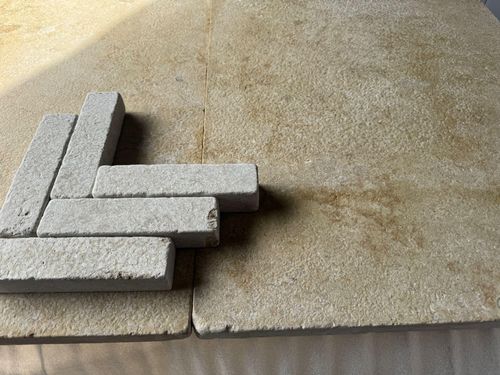
- Honey Tones:Some tiles may exhibit warmer, pastel honey or slightly mustardy hues, adding depth and character.
- Subtle Shifts:Expect gentle transitions between slightly darker and lighter shades, contributing to a natural and non-uniform appearance.
Markings and Features
- Fossils:One of the defining characteristics of Dijon Limestone is the presence of small, perfectly preserved fossils scattered throughout the stone.These can vary in size, shape, and frequency, making each tile unique.
- Calcite Veining: You might observe delicate veins or threads of crystallised calcite running through the tiles. These can appear as subtle white or slightly darker lines, adding intricate patterns.
- Pitting and Sediment Flecks:Natural pitting (small holes or indentations) and flecks of sediment are common.These features contribute to the stone's rustic and organic feel.
- Oxidisation: Some tiles, particularly in lower grades like "Dijon Blend," might show slight hints of oxidisation, which can appear as warmer, slightly rusty tones.
Texture Variations
- Surface Finish Dependent: The degree of textural variation will depend on the finish of your tiles (e.g., tumbled, honed, brushed, seasoned). Tumbled finishes will have more variation with softer edges and a slightly uneven surface, while honed finishes will be smoother with less surface texture.
- Natural Pitting: Even in smoother finishes, some natural pitting can create subtle textural differences across the surface.
Overall Appearance
- Uniqueness: Due to these natural variations, no two Dijon Limestone tiles will be exactly alike. This is a key part of the stone's charm and contributes to a one-of-a-kind floor.
- Blending: During installation, it's recommended to lay out tiles from different boxes and blend them to ensure a harmonious distribution of colours and markings across the floor. This prevents patches of similar-looking tiles and enhances the natural aesthetic.
- "Champagne" Selection vs. "Dijon Blend":Be aware that different grades of Dijon Limestone exist. Premium selections often have lighter and more consistent tones, while "Dijon Blend" typically features more pronounced colour variation and natural characteristics. By embracing these natural variations, you'll achieve a floor that is rich in character, timeless in appearance, and uniquely yours.
DELIVERY & RETURNS
* Kerbside Economy Service 3-5 Business days after your order
* Next Day | HIAB | Moffet ...etc services also available with an extra cost ''Click For More''
Pair it with
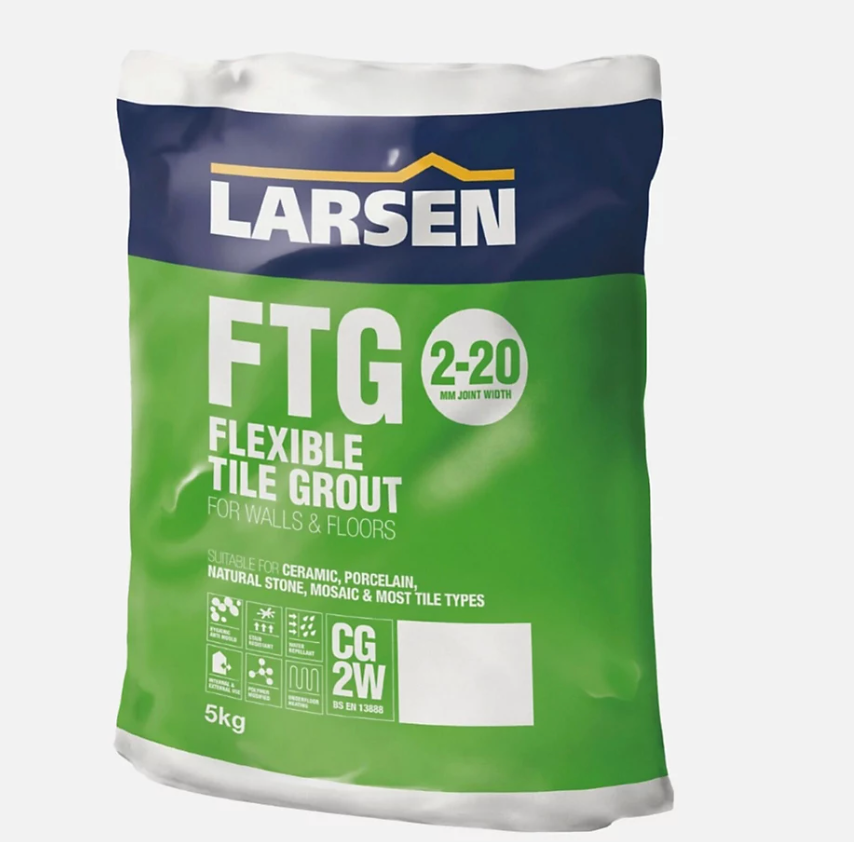
Larsen FTG 2-20 Grout 5kg – Professional Flexible Cement-Based Grout for Wide Joints 2-20mm - Sandstone & Graphite£15.90
LARSEN Colourfast 360 Tile Grout£15.99
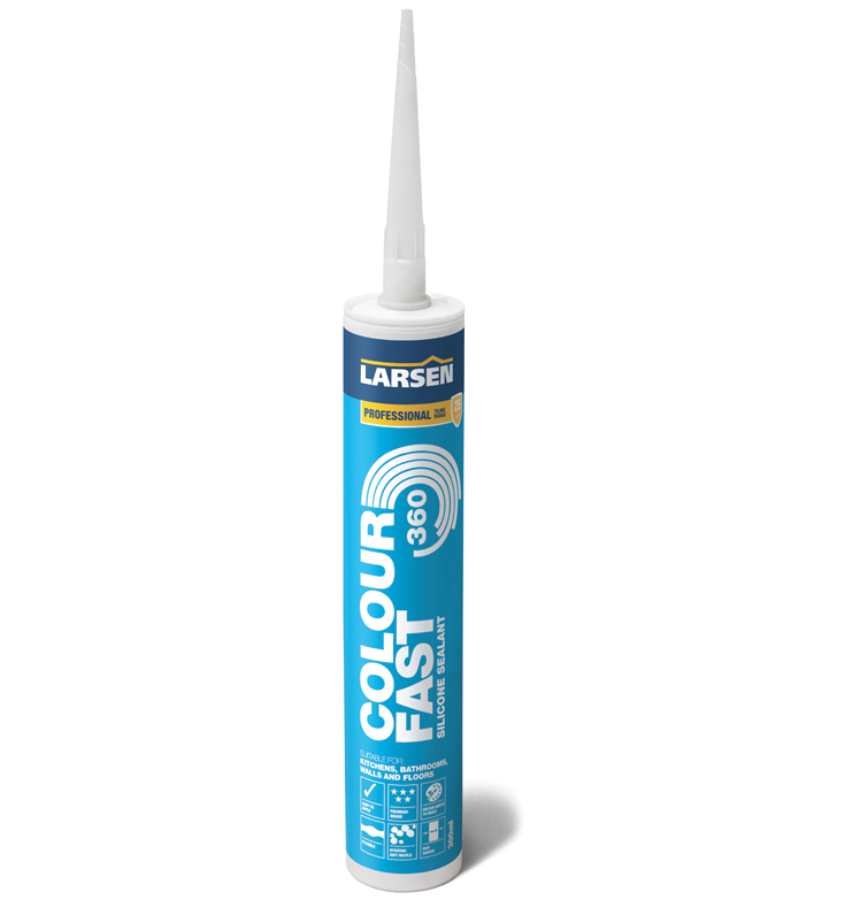
Larsen Colourfast 360 Silicone Sealant 300ml – Premium Flexible Sanitary Sealant for Modern Interiors£12.90
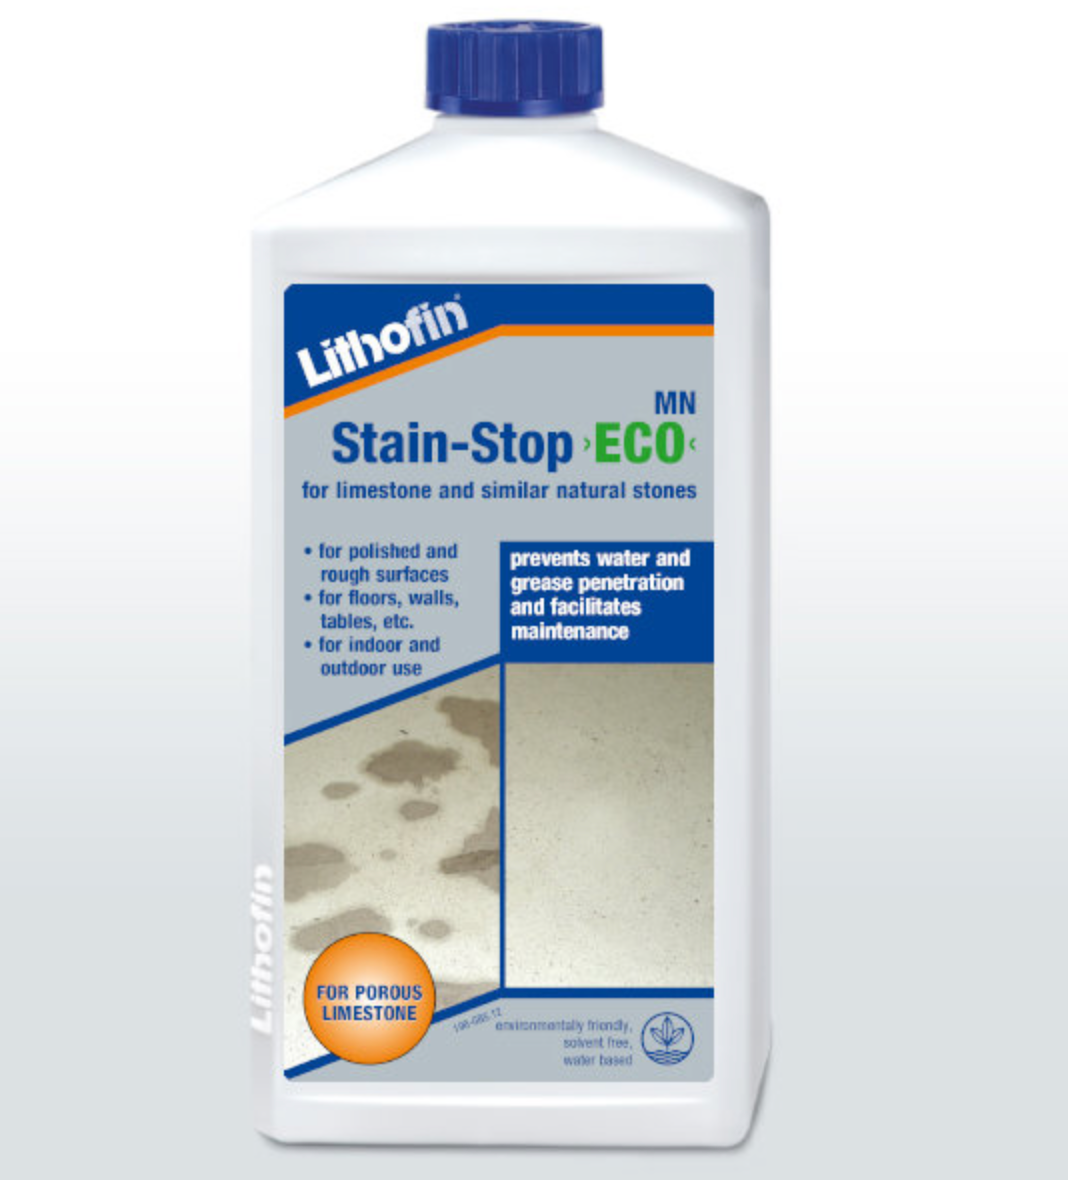
Lithofin MN Stain-Stop ECO£49.90
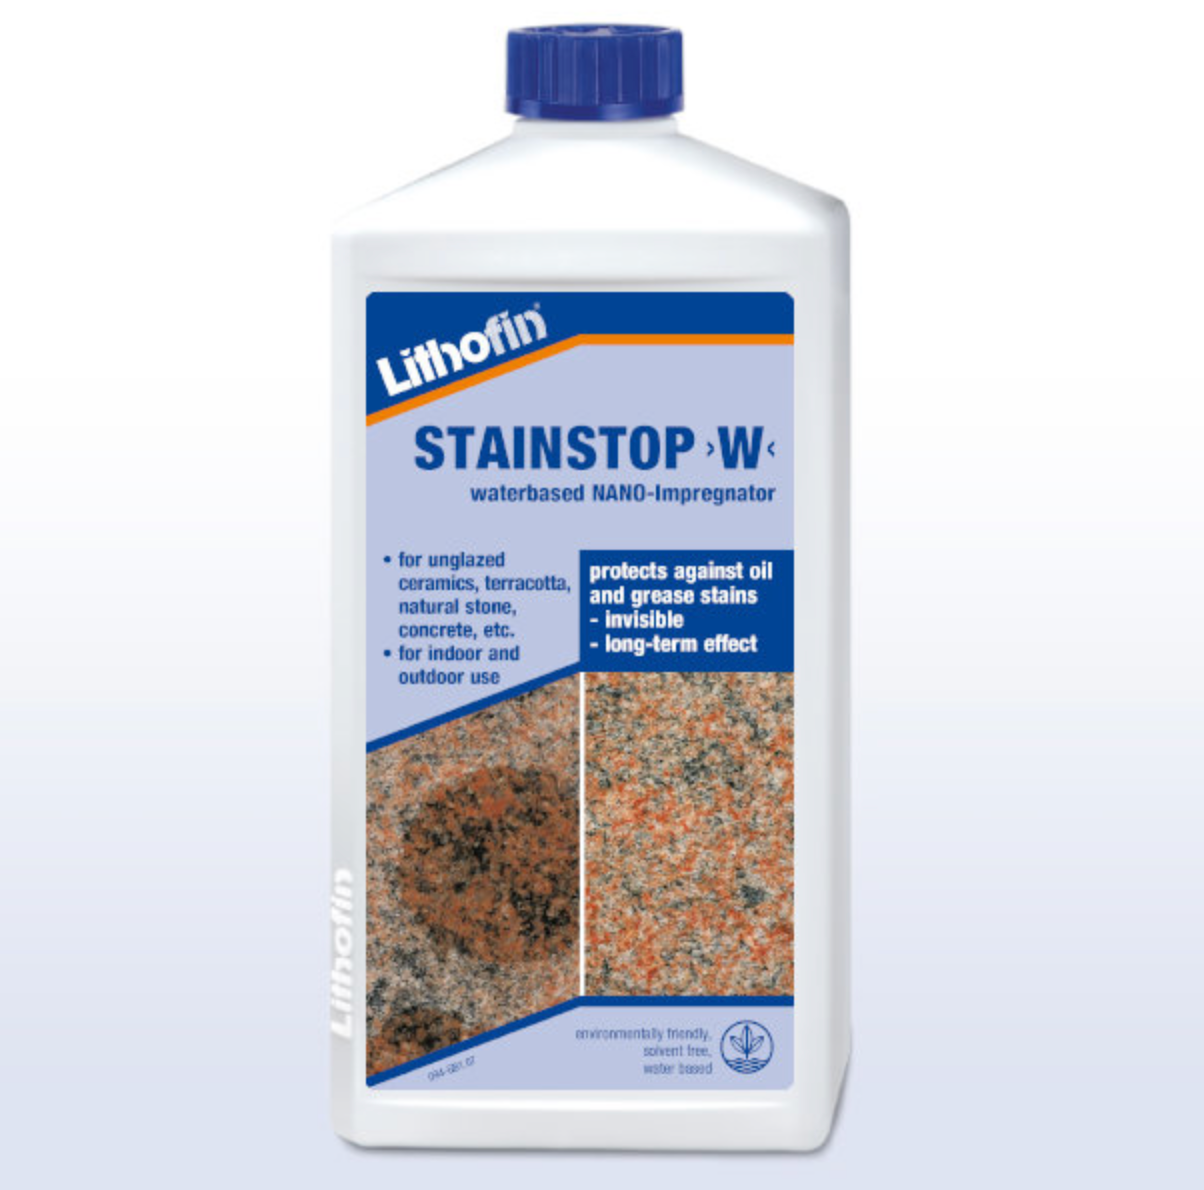
Lithofin Stain Stop W£43.90
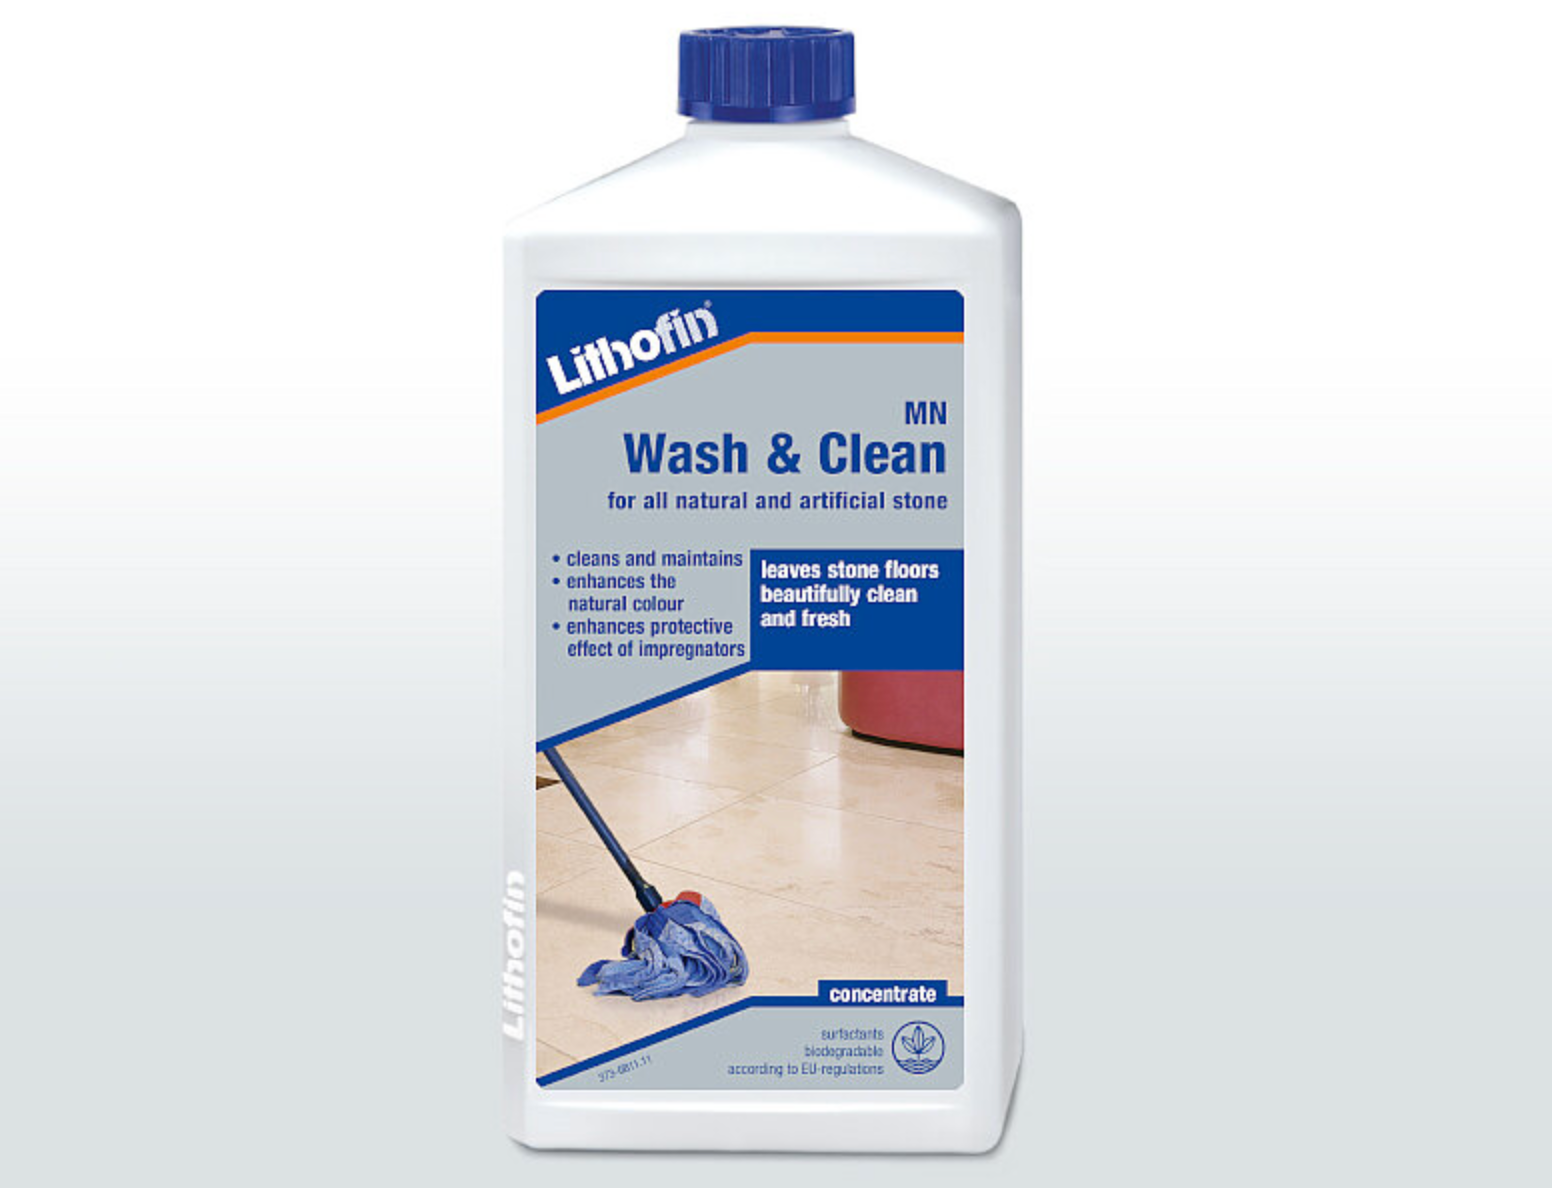
Lithofin Wash&Clean£20.90
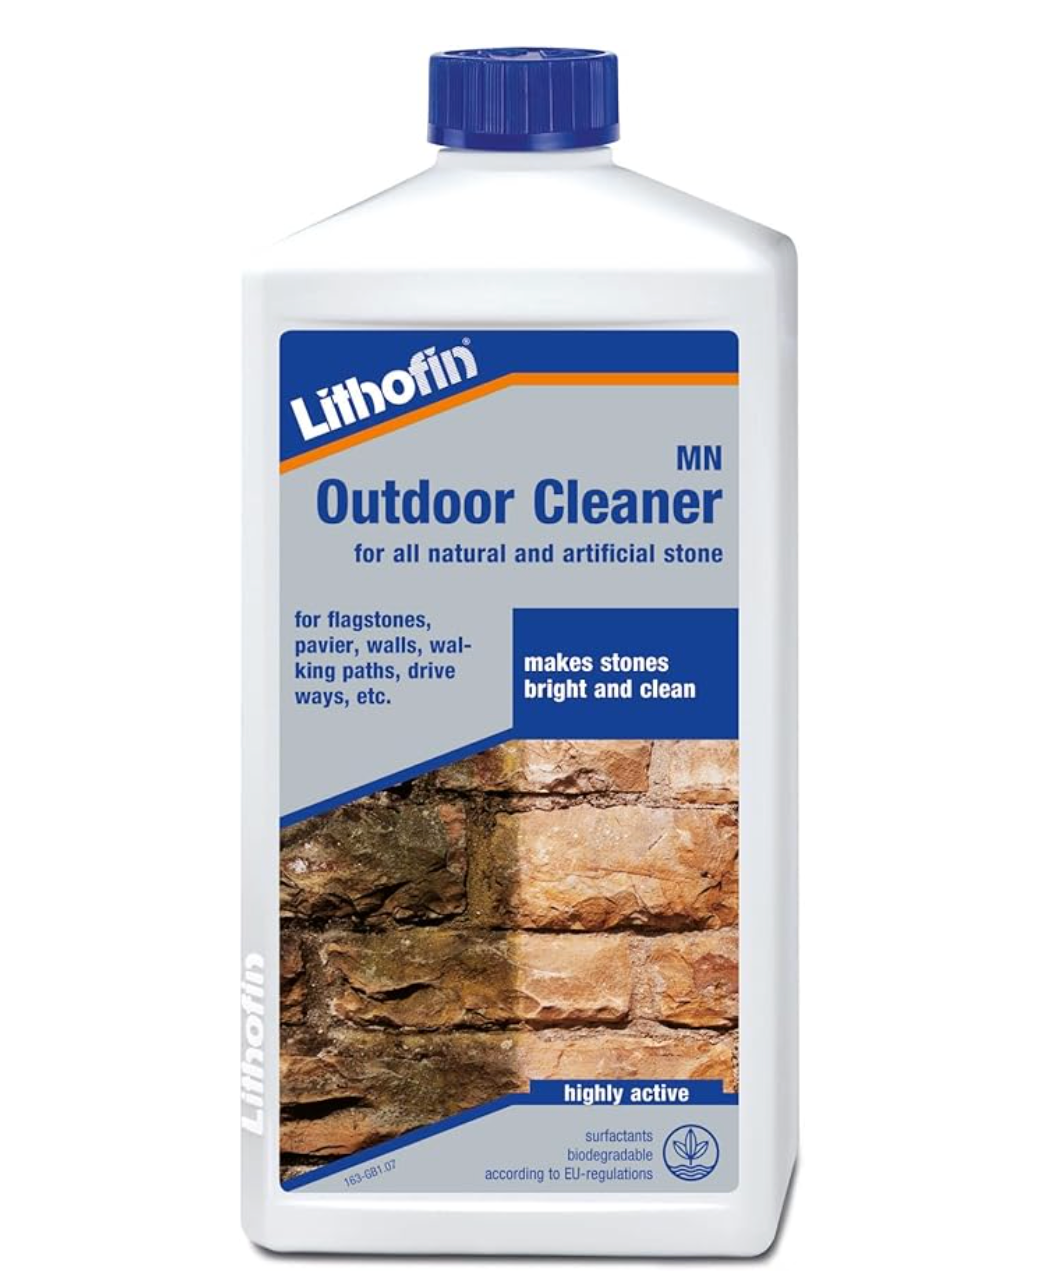
Lithofin MN Outdoor Cleaner£21.90
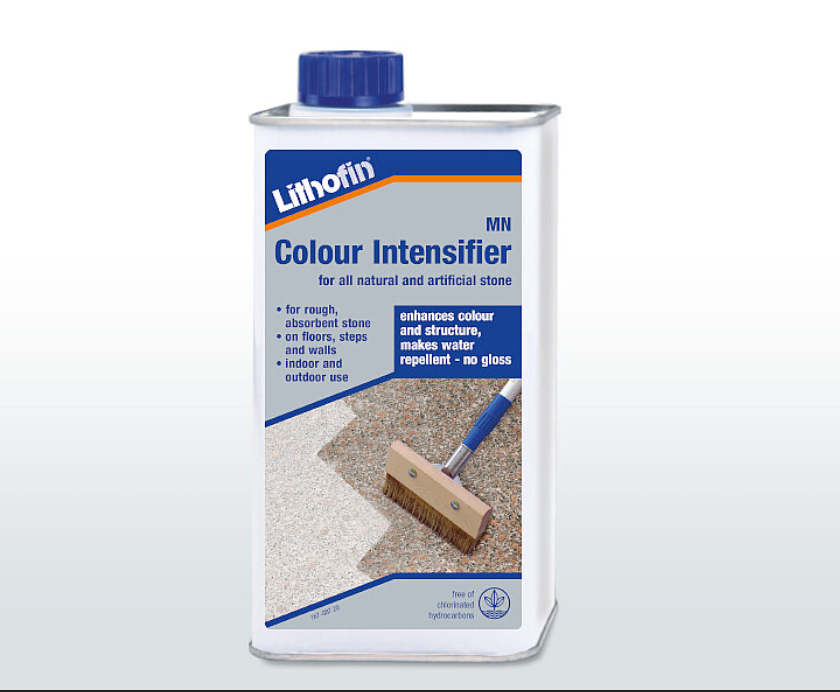
Lithofin MN Colour Intensifier£30.90
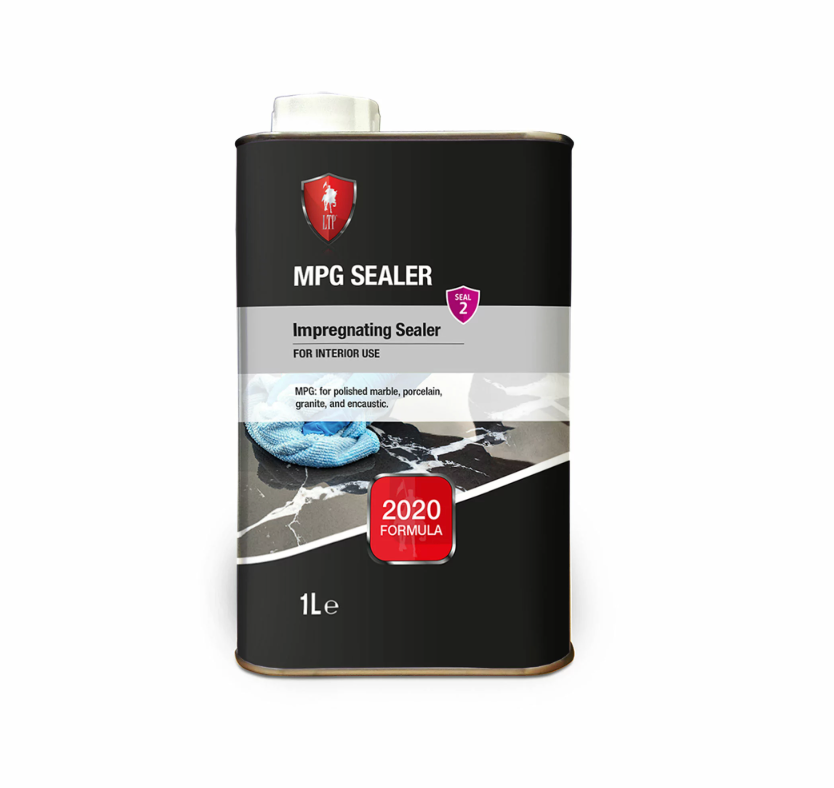
LTP MPG Polished Stone Sealer£19.95
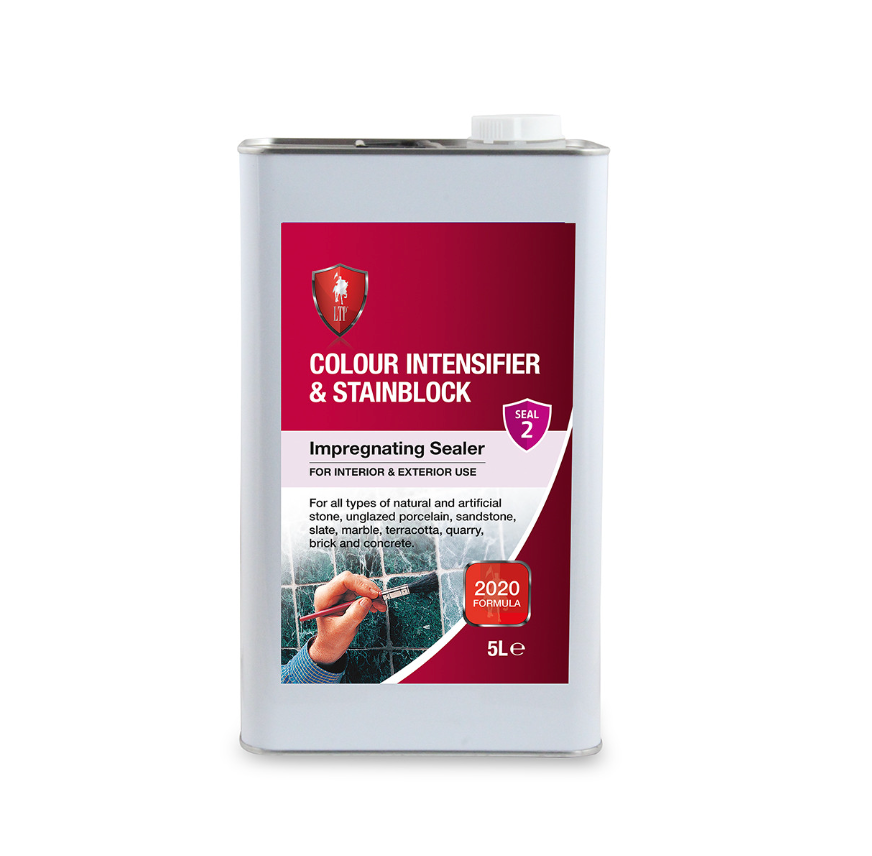
LTP Colour Intensifier and Stainblock£28.99
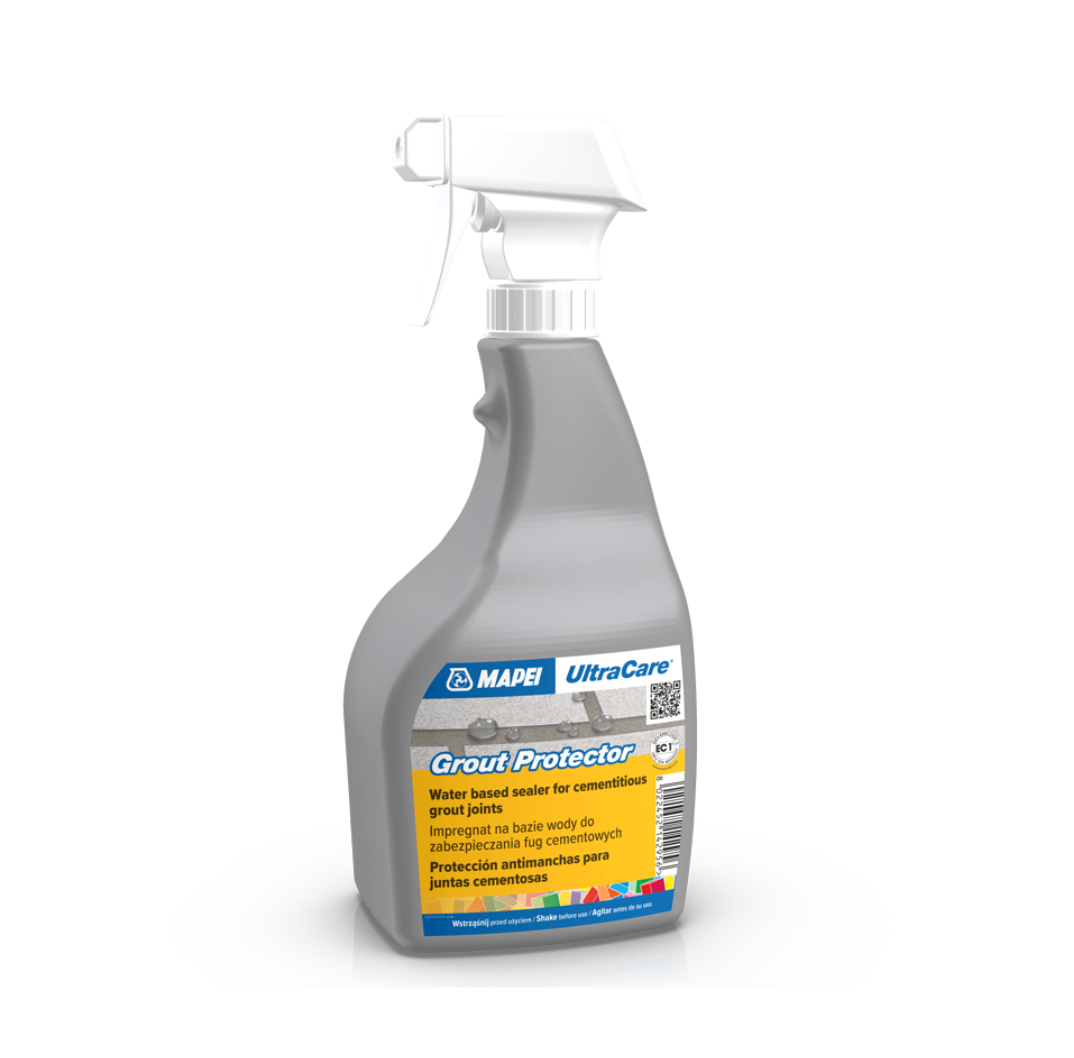
Mapei UltraCare Grout Sealer & Protector - 750ml Spray Bottle£25.90
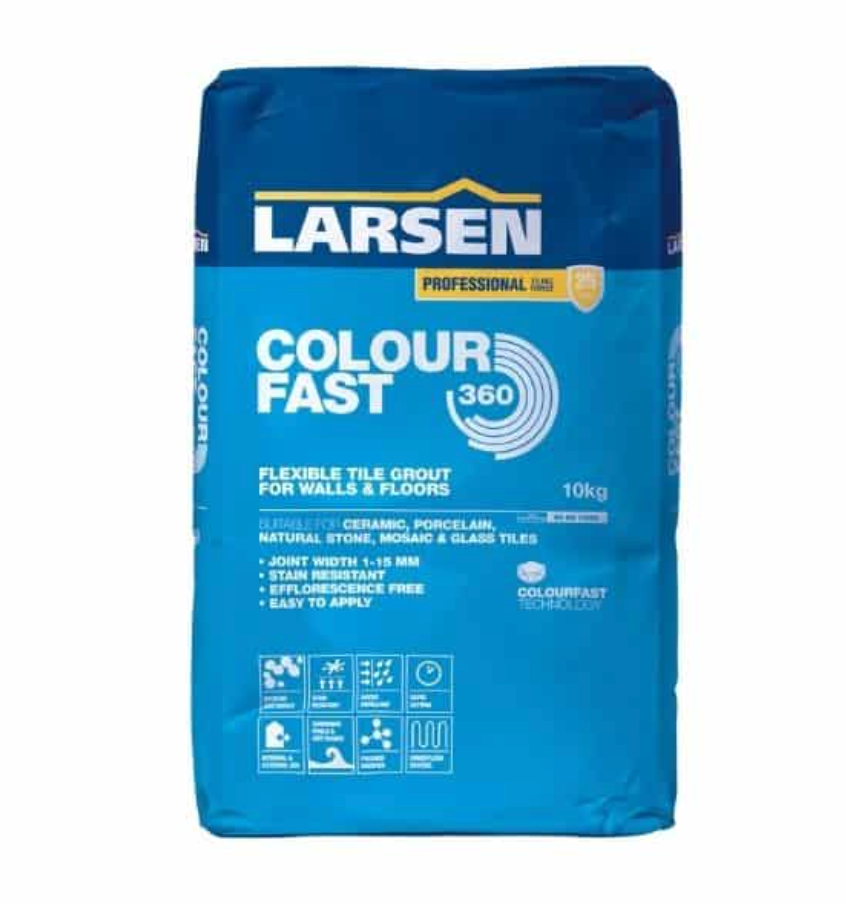
Larsen Colourfast 360 Grout 3kg – Professional Flexible Grout for 1-15mm Joints – Stain, Water & Mould Resistant£15.90You may also like
Dijon Limestone Paving Step Tumbled£25.99
Egyptian Limestone Paving Step (Seasoned)£30.99
Paris Grey Limestone Tiles (TUMBLED & SEMI BRUSHED)£34.99
Black Tumbled Outdoor Limestone Cobbles£38.00
Egyptian Limestone Tiles (Brushed & Tumbled)£37.99
Egyptian Limestone Tiles ( SEASONED Surface and Tumbled Edges)£34.00
Dijon Limestone Paving Step SEASONED£27.90
Jaipur Tumbled Outdoor Limestone Cobbles£49.99
Egyptian Limestone Paving Tiles (Tumbled)£34.99
Jaipur Limestone Herringbone Cobbles (Tumbled)£58.90
Jaipur Limestone Bullnose Step£49.20
Paris Grey Limestone Tiles (Riven surface and TUMBLED edge)£34.99About this stone
*We recommend adding %10 for wastage
*Minimum Order 13m2
* Also available in a 15mm option for indoor / Metro Tiles / Cobbles and Step
Elevate Your Outdoor Space with Natural Elegance
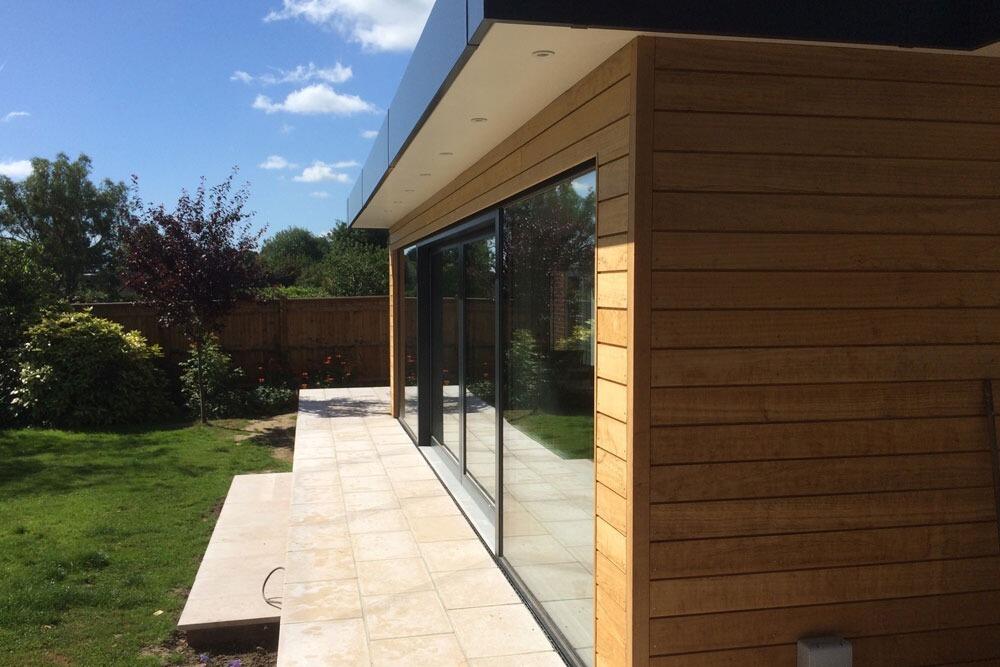
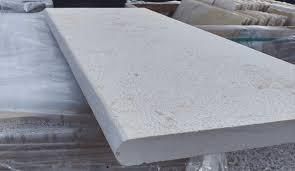
Transform your garden, patio, or pathway into a sophisticated sanctuary with our premium Dijon Limestone Paving Tiles. Renowned for their timeless beauty and exceptional durability, these natural stone pavers offer an unparalleled blend of classic charm and contemporary appeal.
Related products
Dijon Limestone Paving Step Tumbled
Egyptian Limestone Paving Step (Seasoned)
Paris Grey Limestone Tiles (TUMBLED & SEMI BRUSHED)
Black Tumbled Outdoor Limestone Cobbles
Egyptian Limestone Tiles ( SEASONED Surface and Tumbled Edges)
£40.00 - £45.002 sizes · Price per m² incl. VAT