Sub total
You'll choose your delivery rate at checkout
Did you add 10–15% extra for wastage, and your fixing materials?
SEARCH



More stone is often already on the water. Call 01903 889888 and we'll tell you exactly when this will be back in stock — or send us a message.
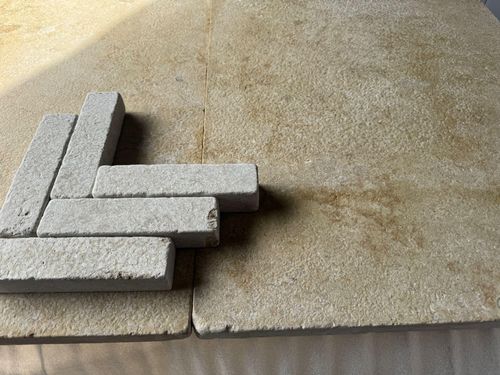
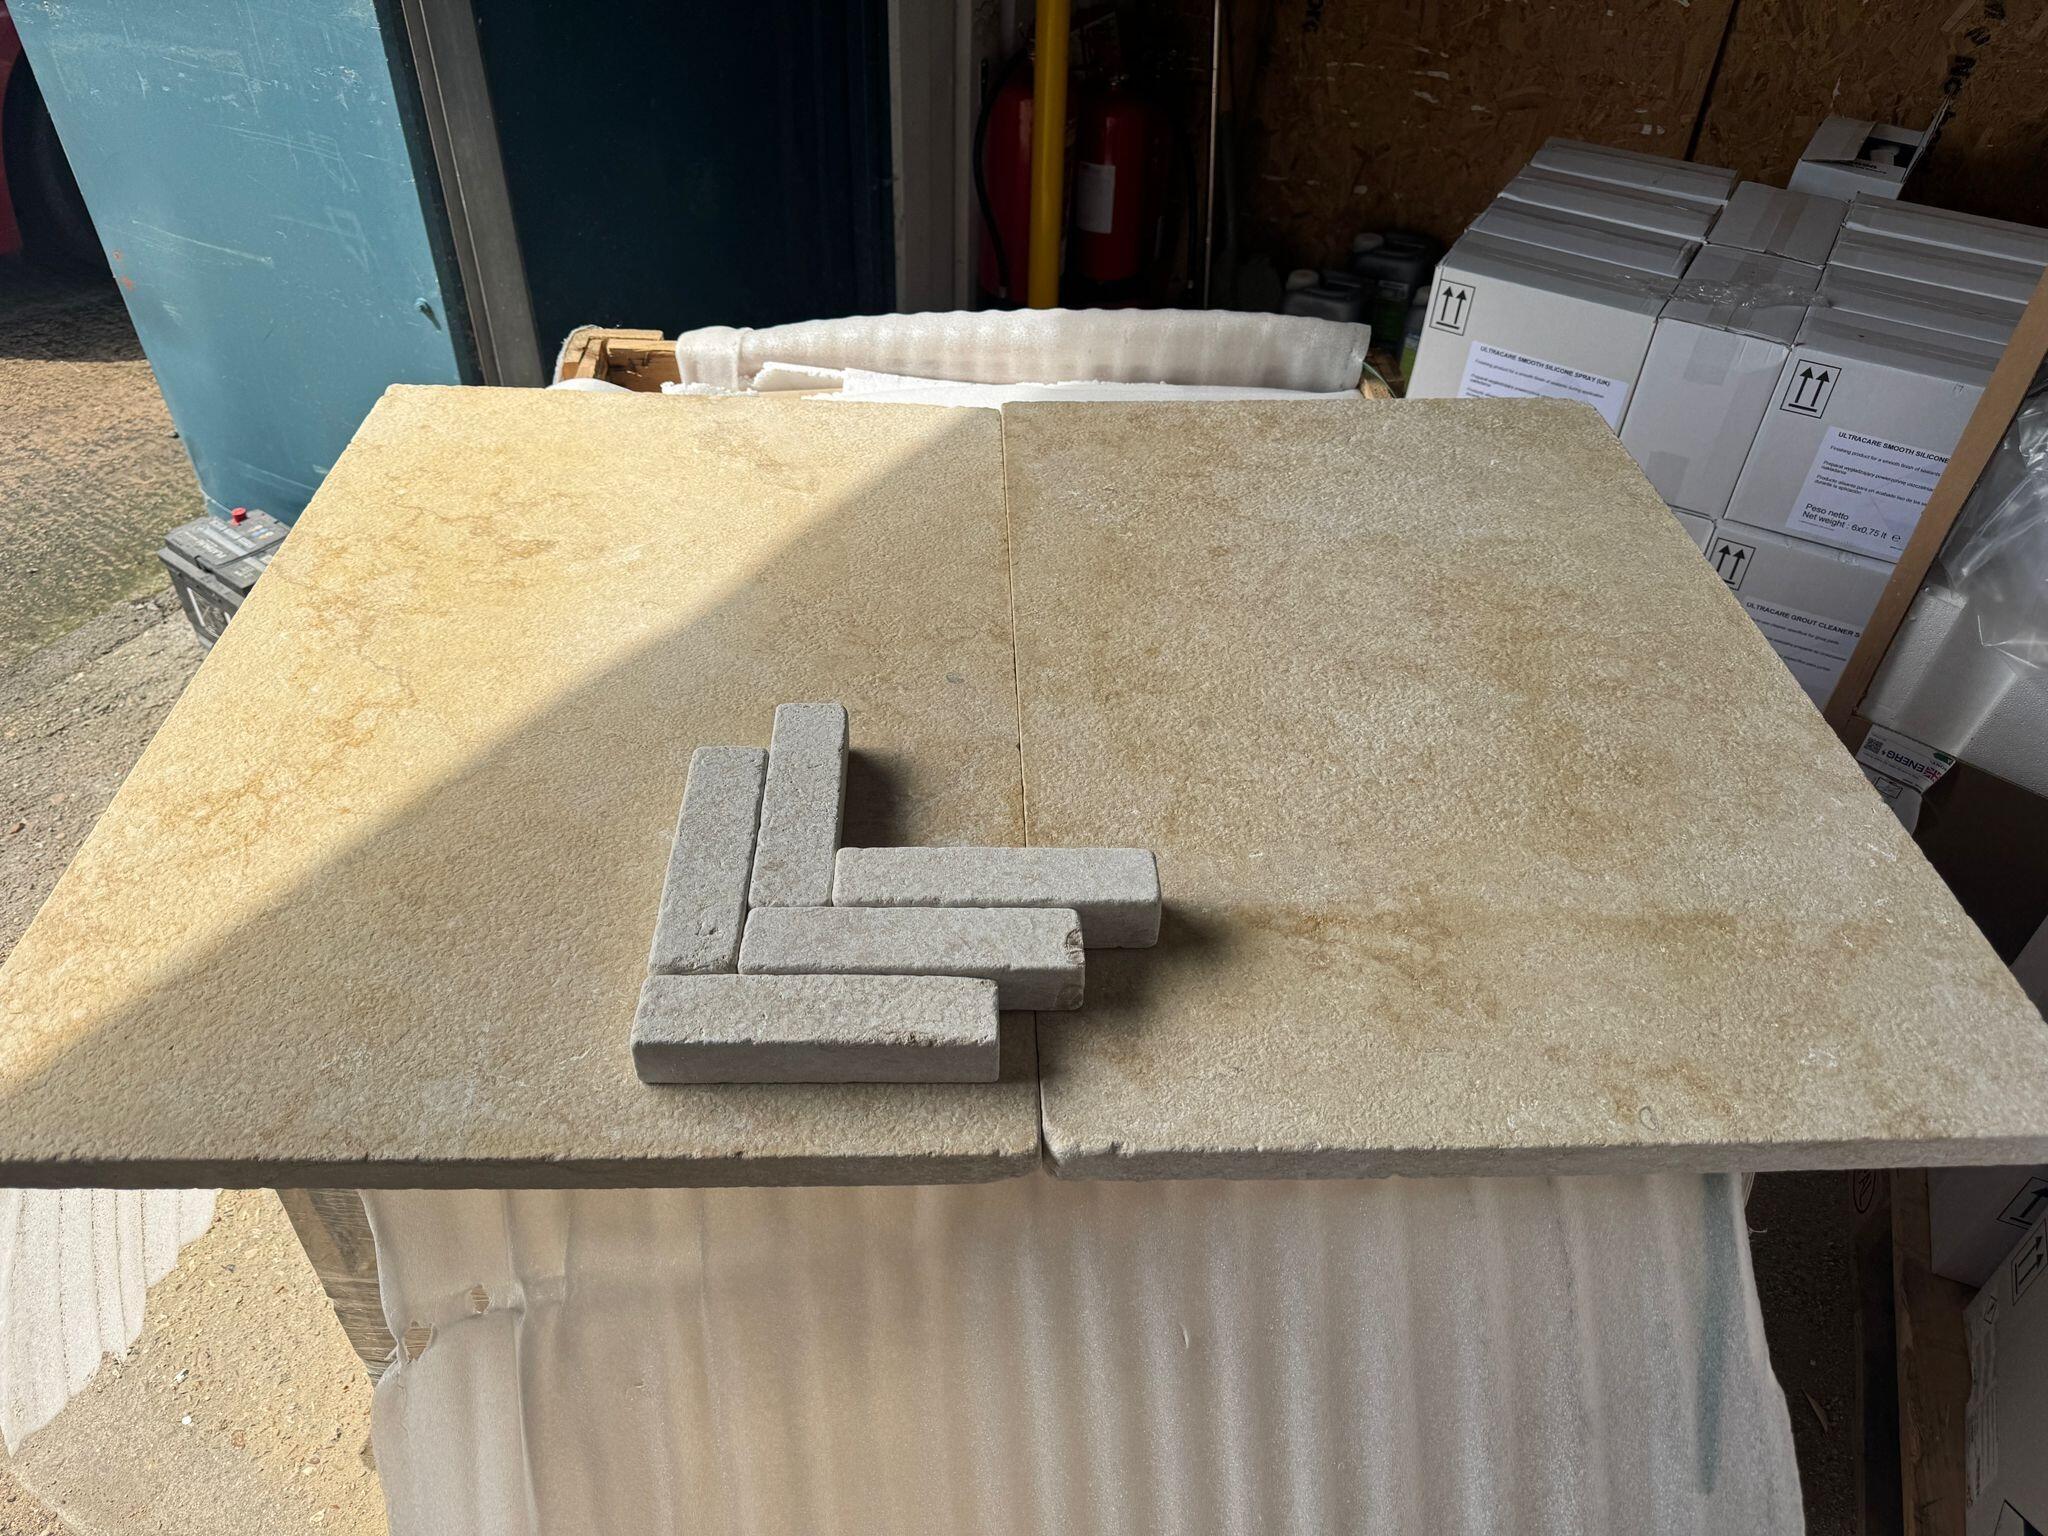
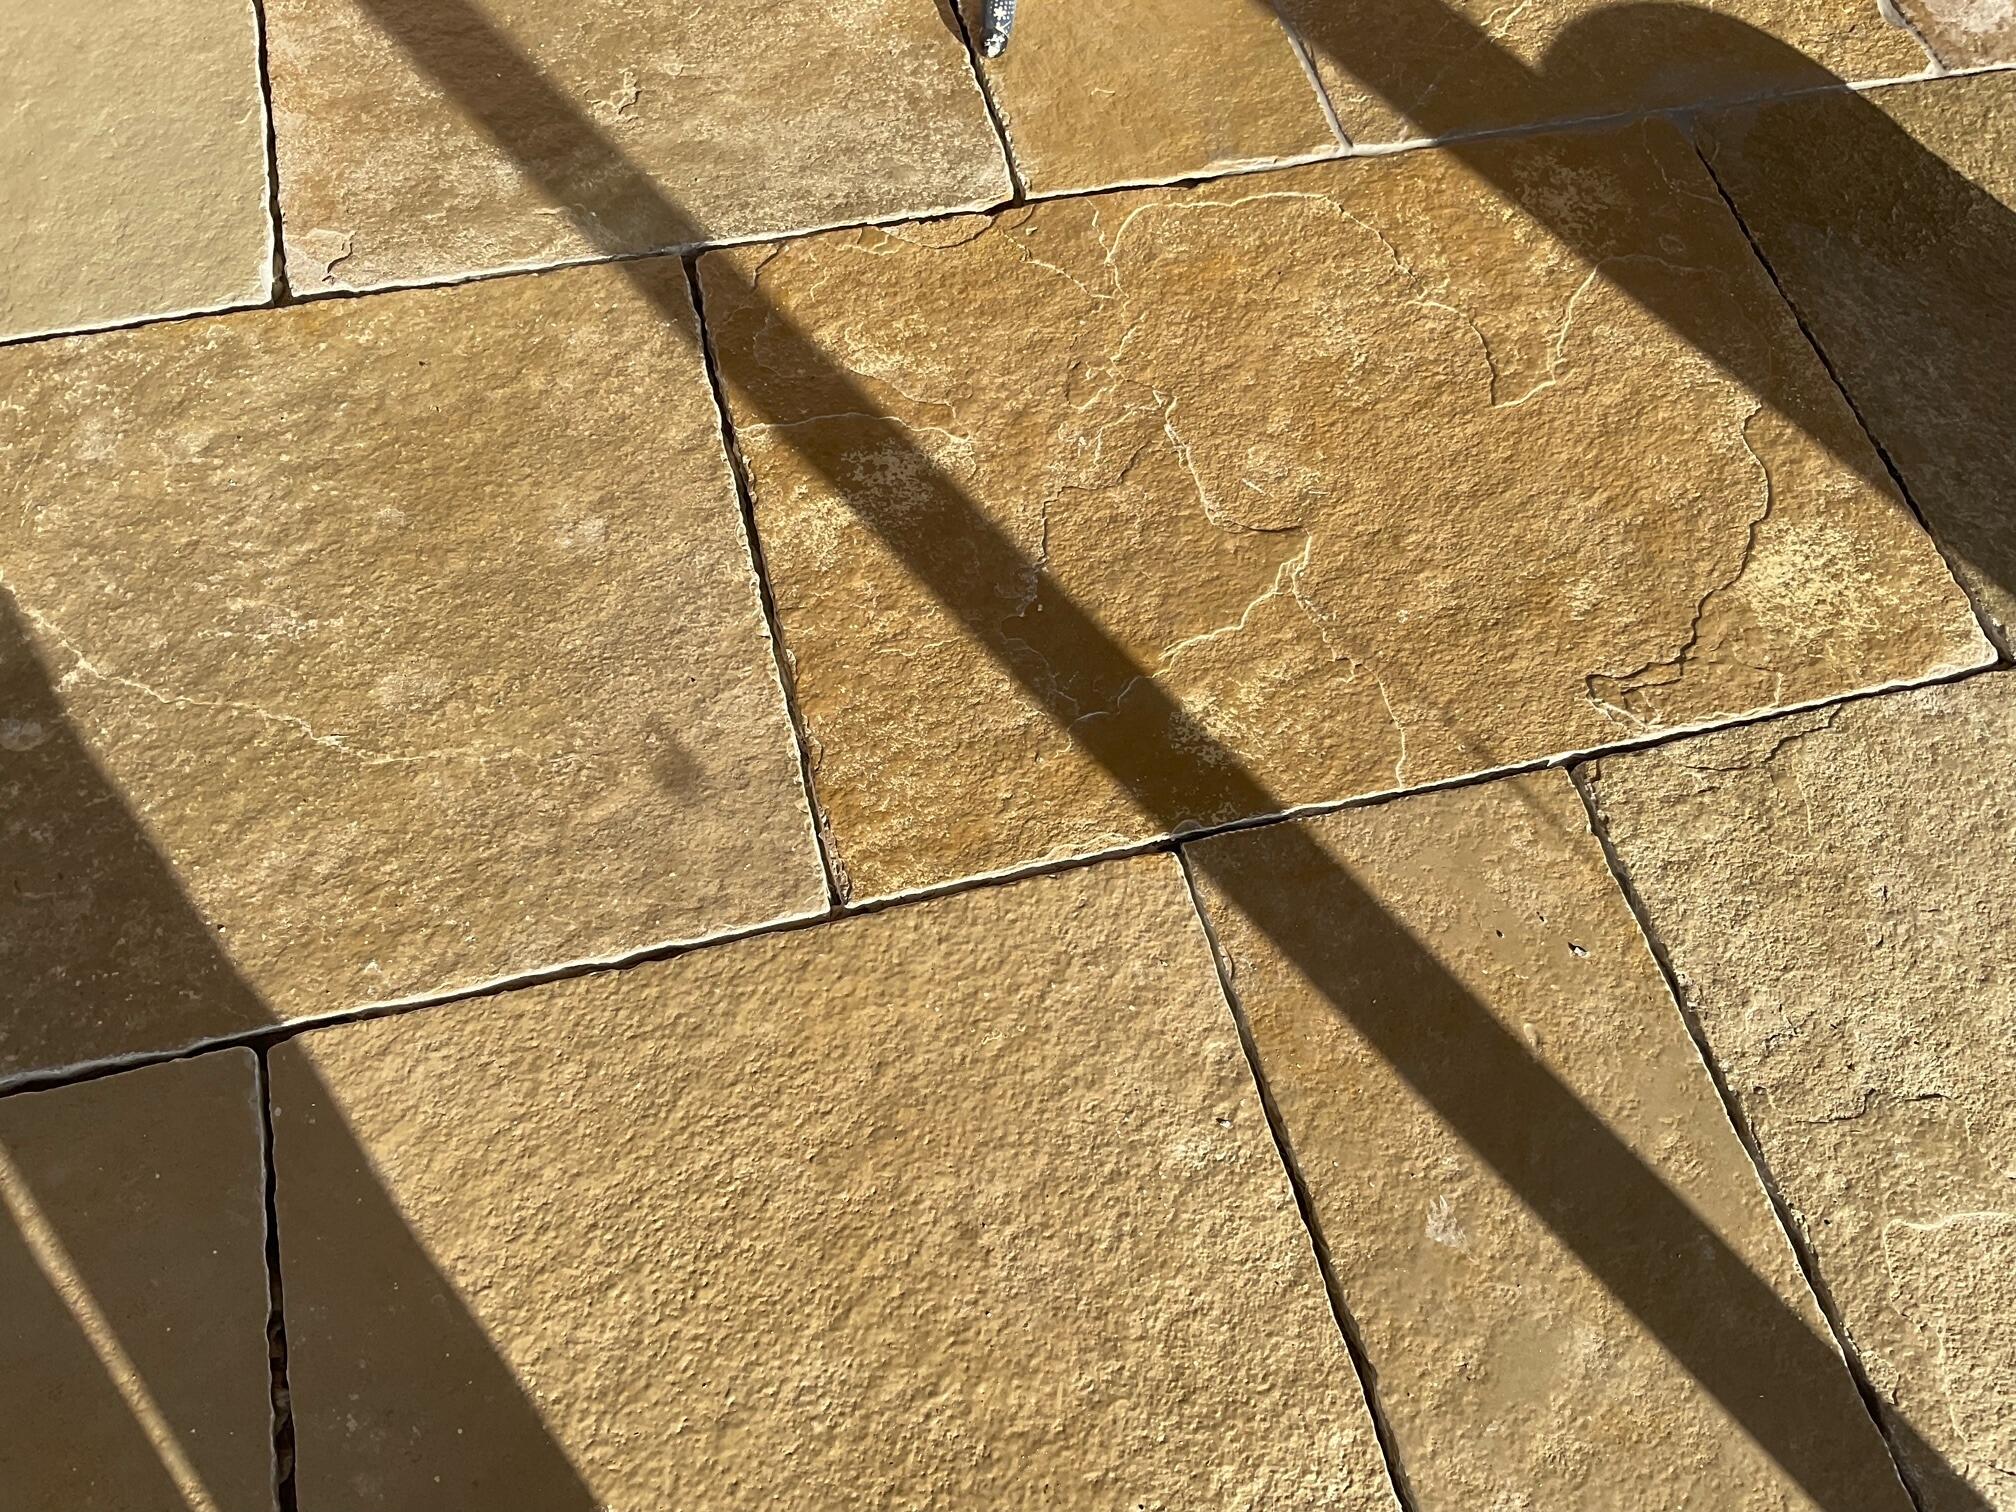
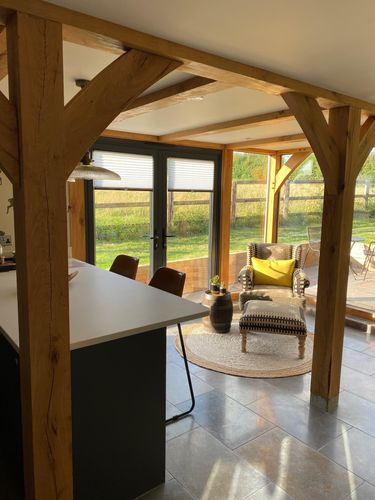
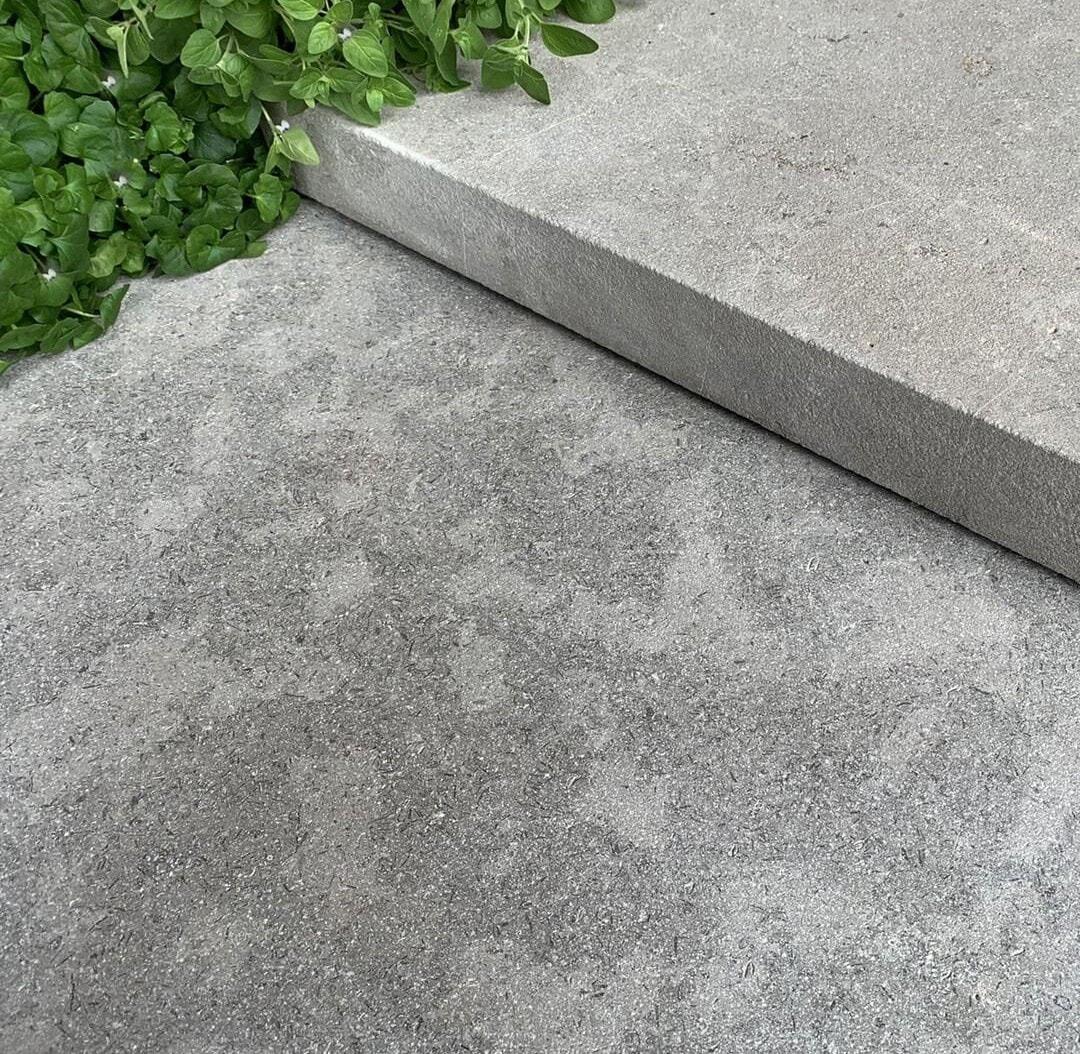
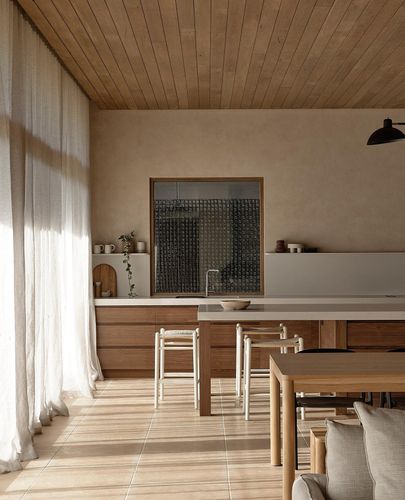
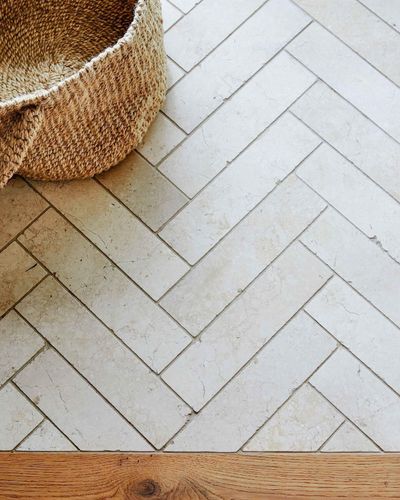
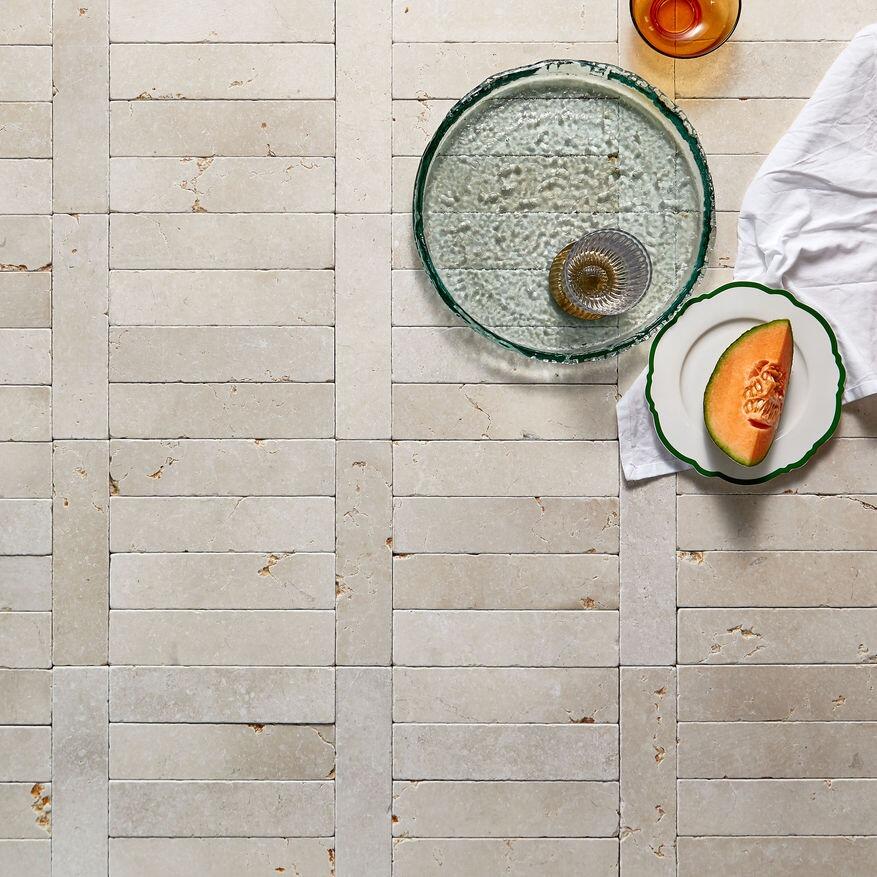
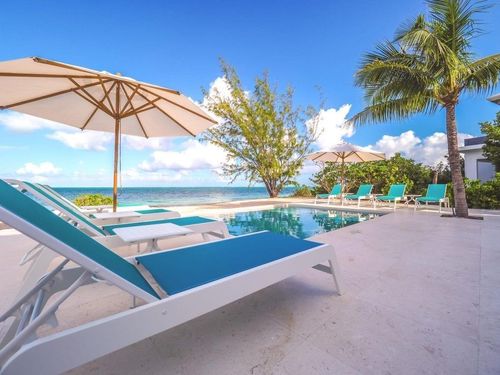
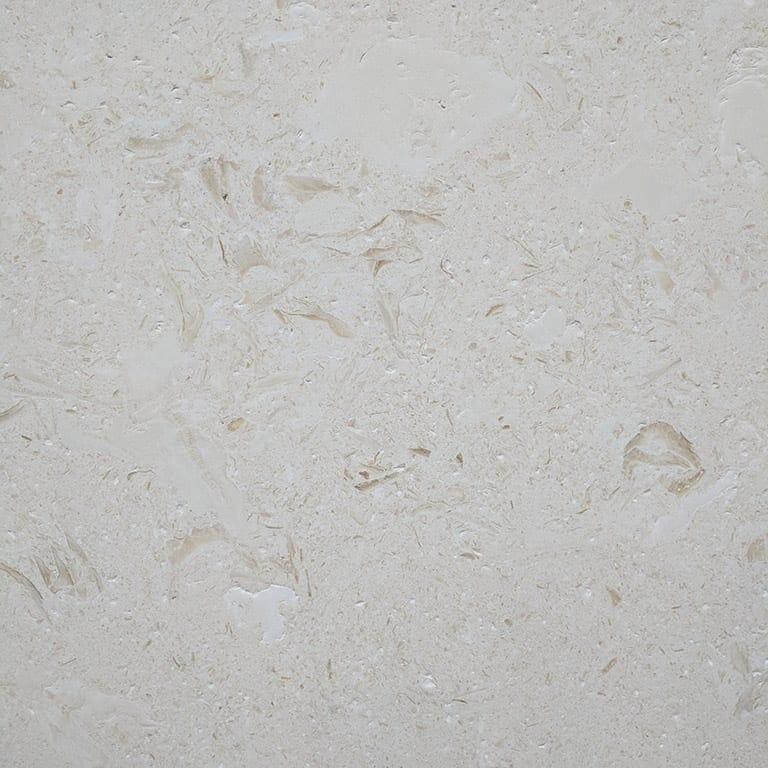
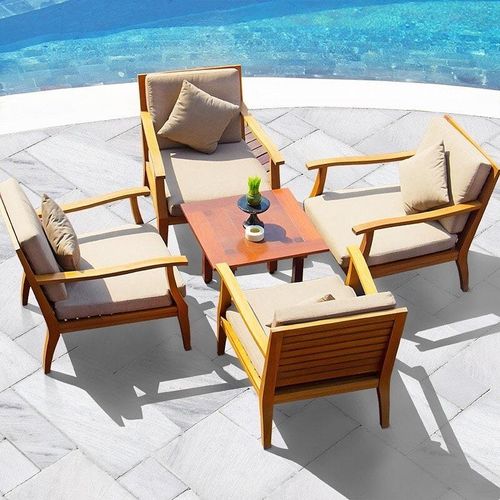
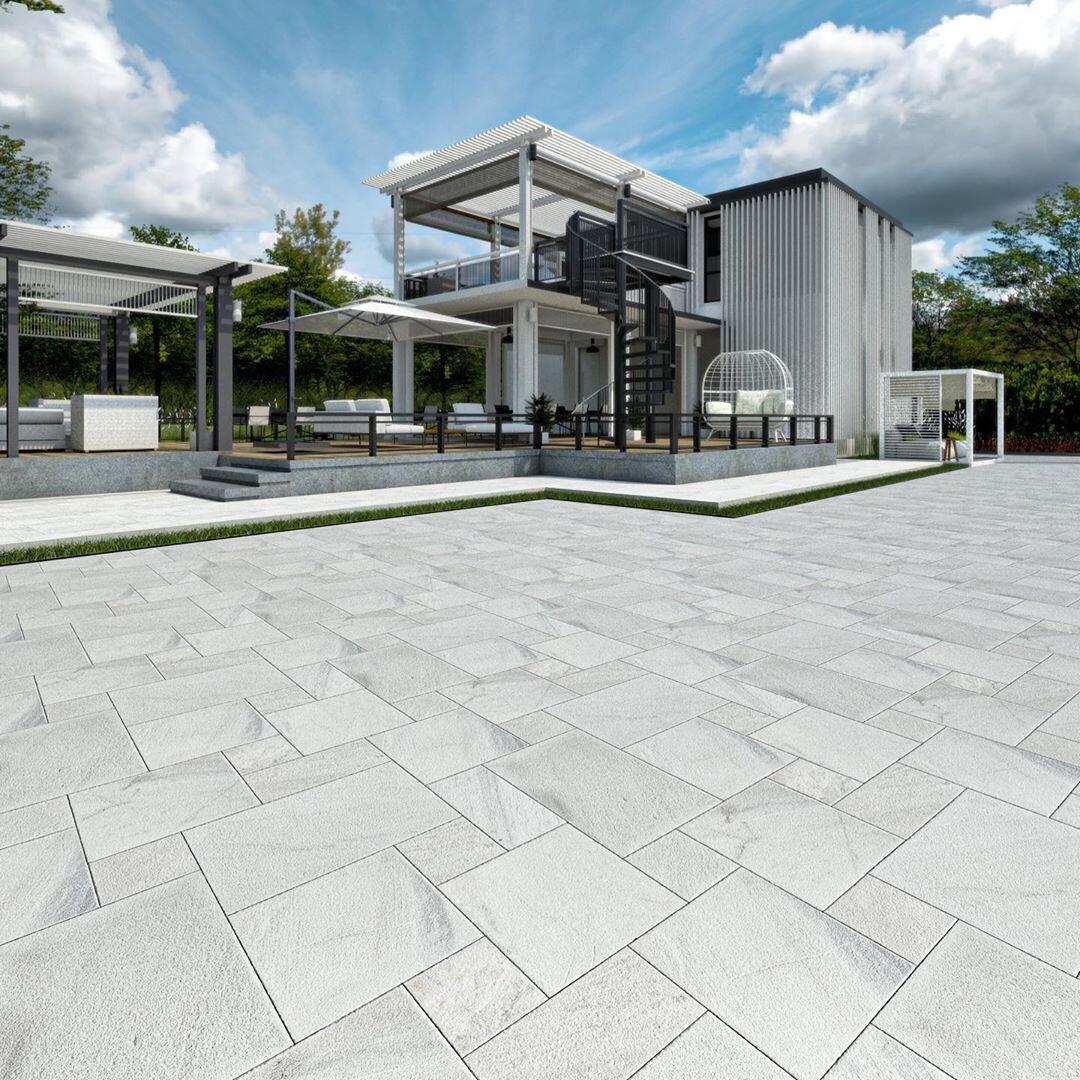
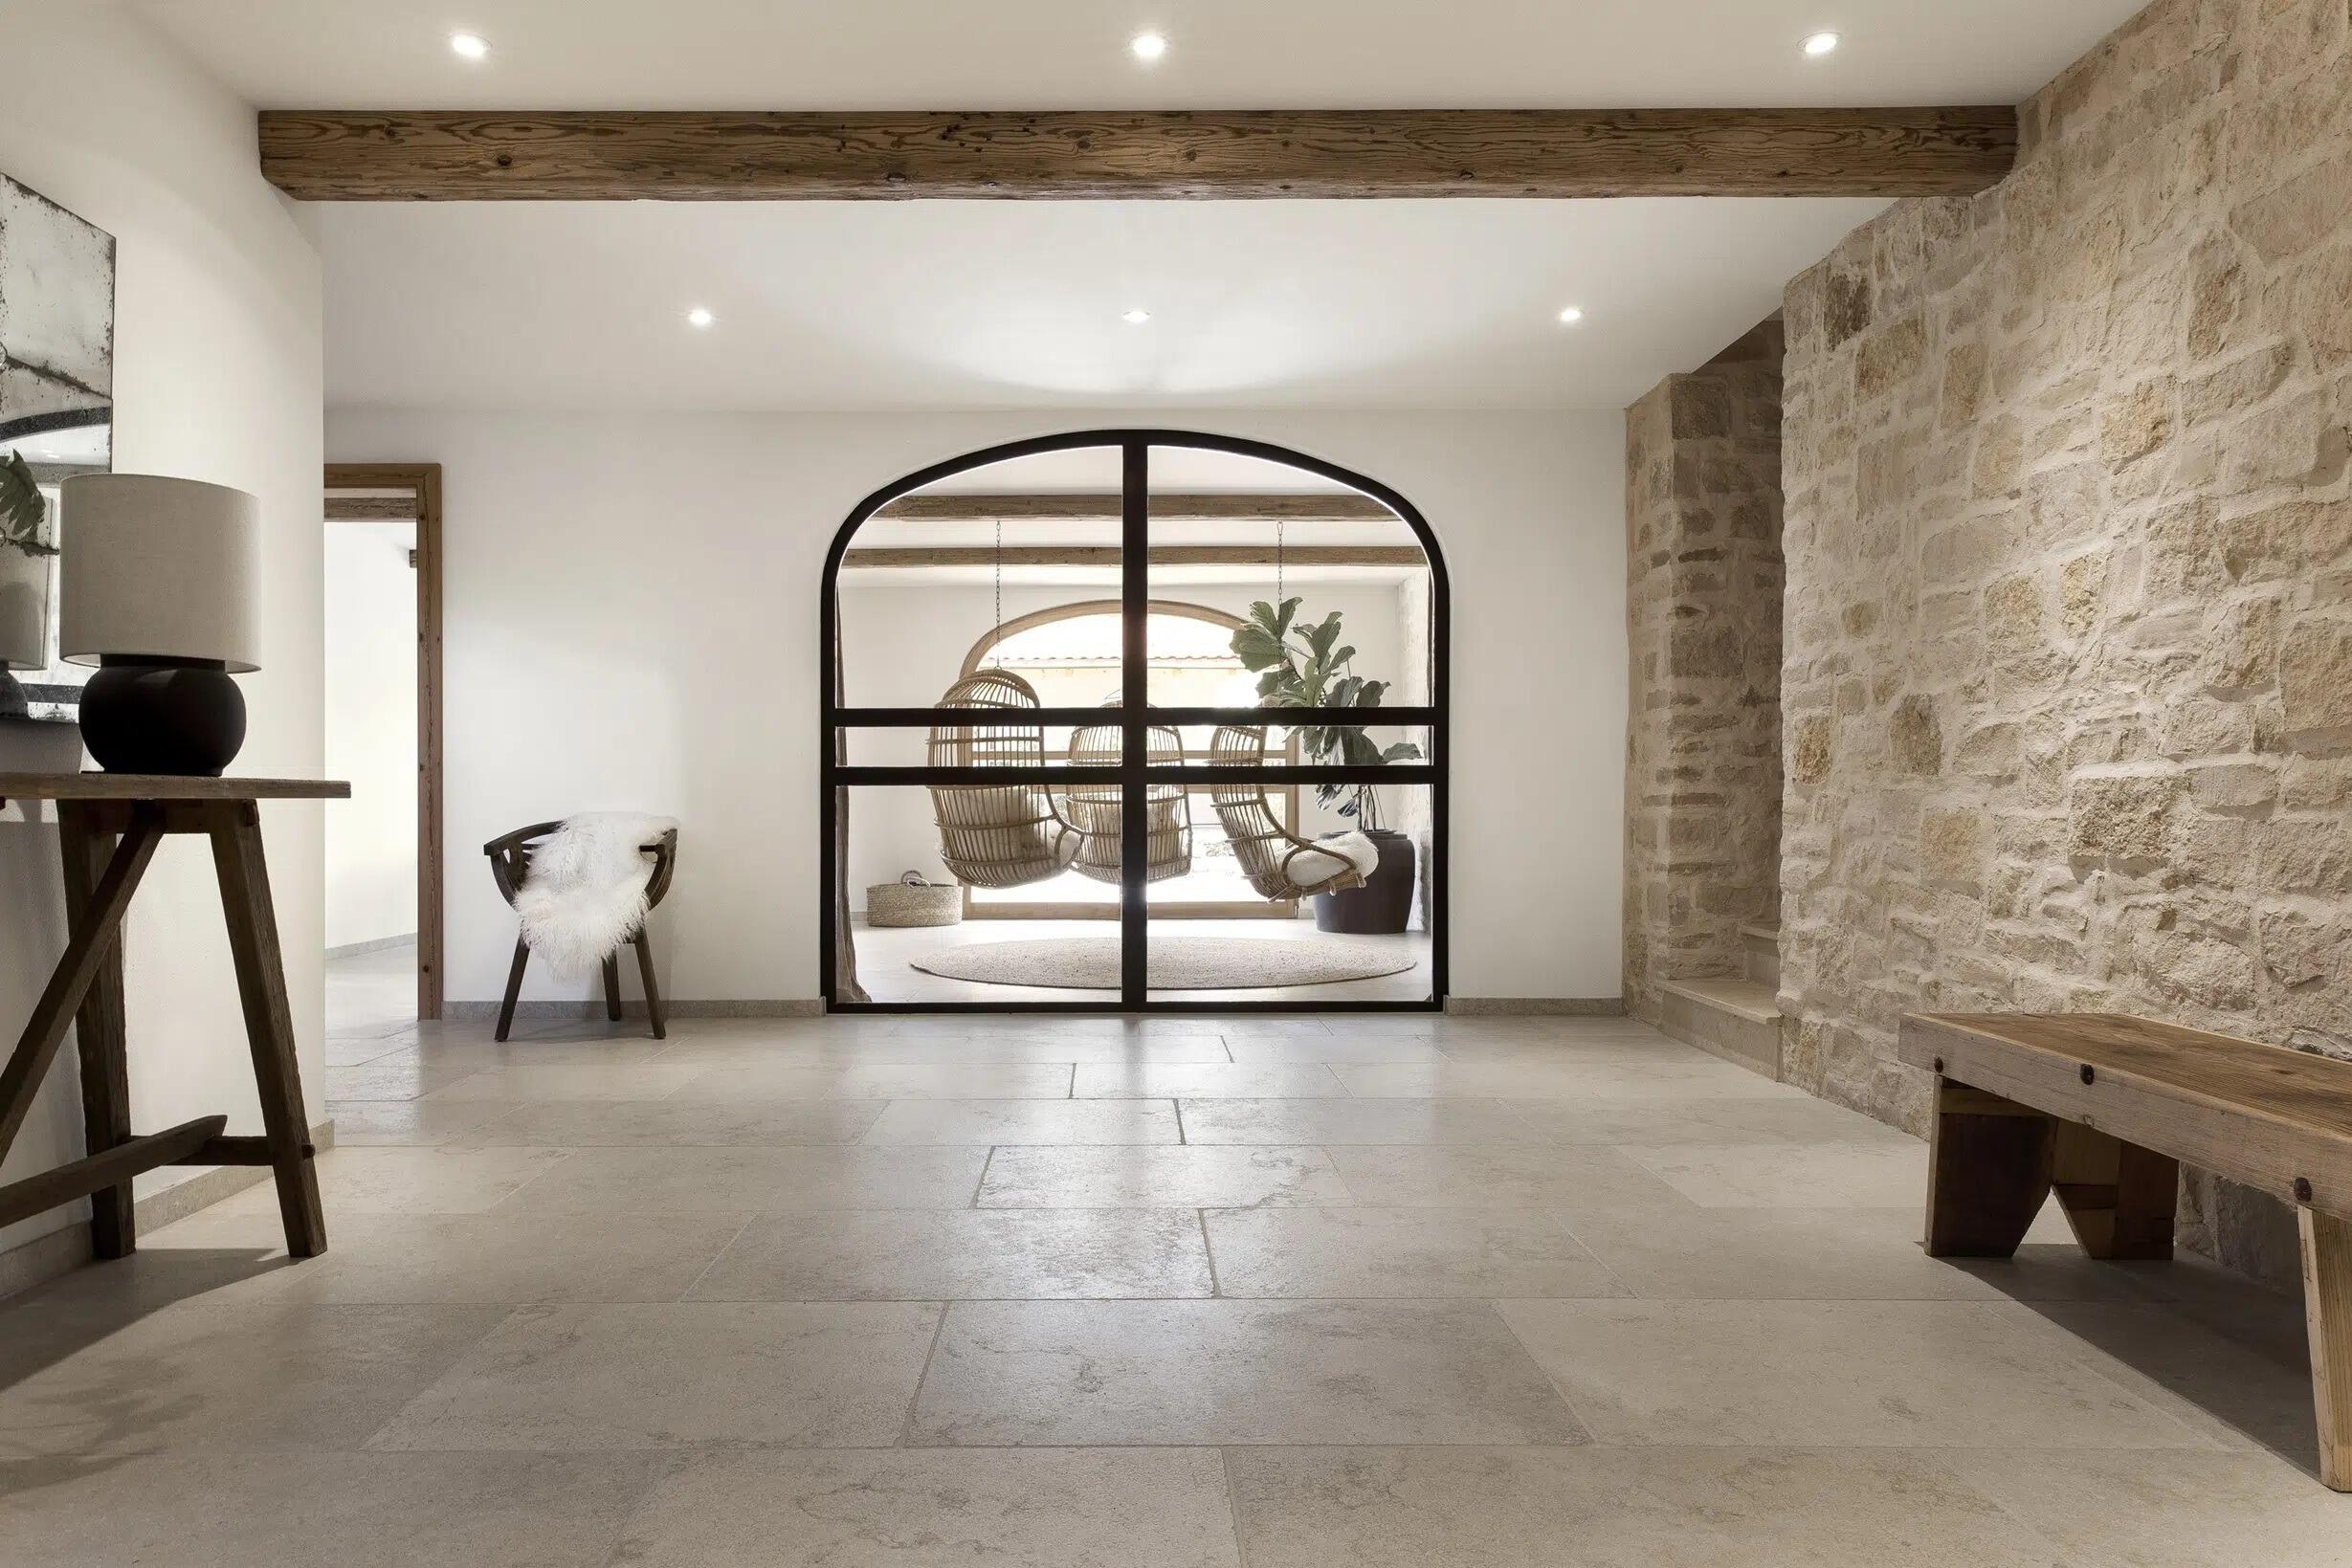
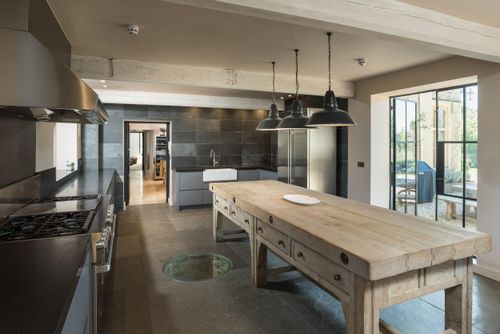
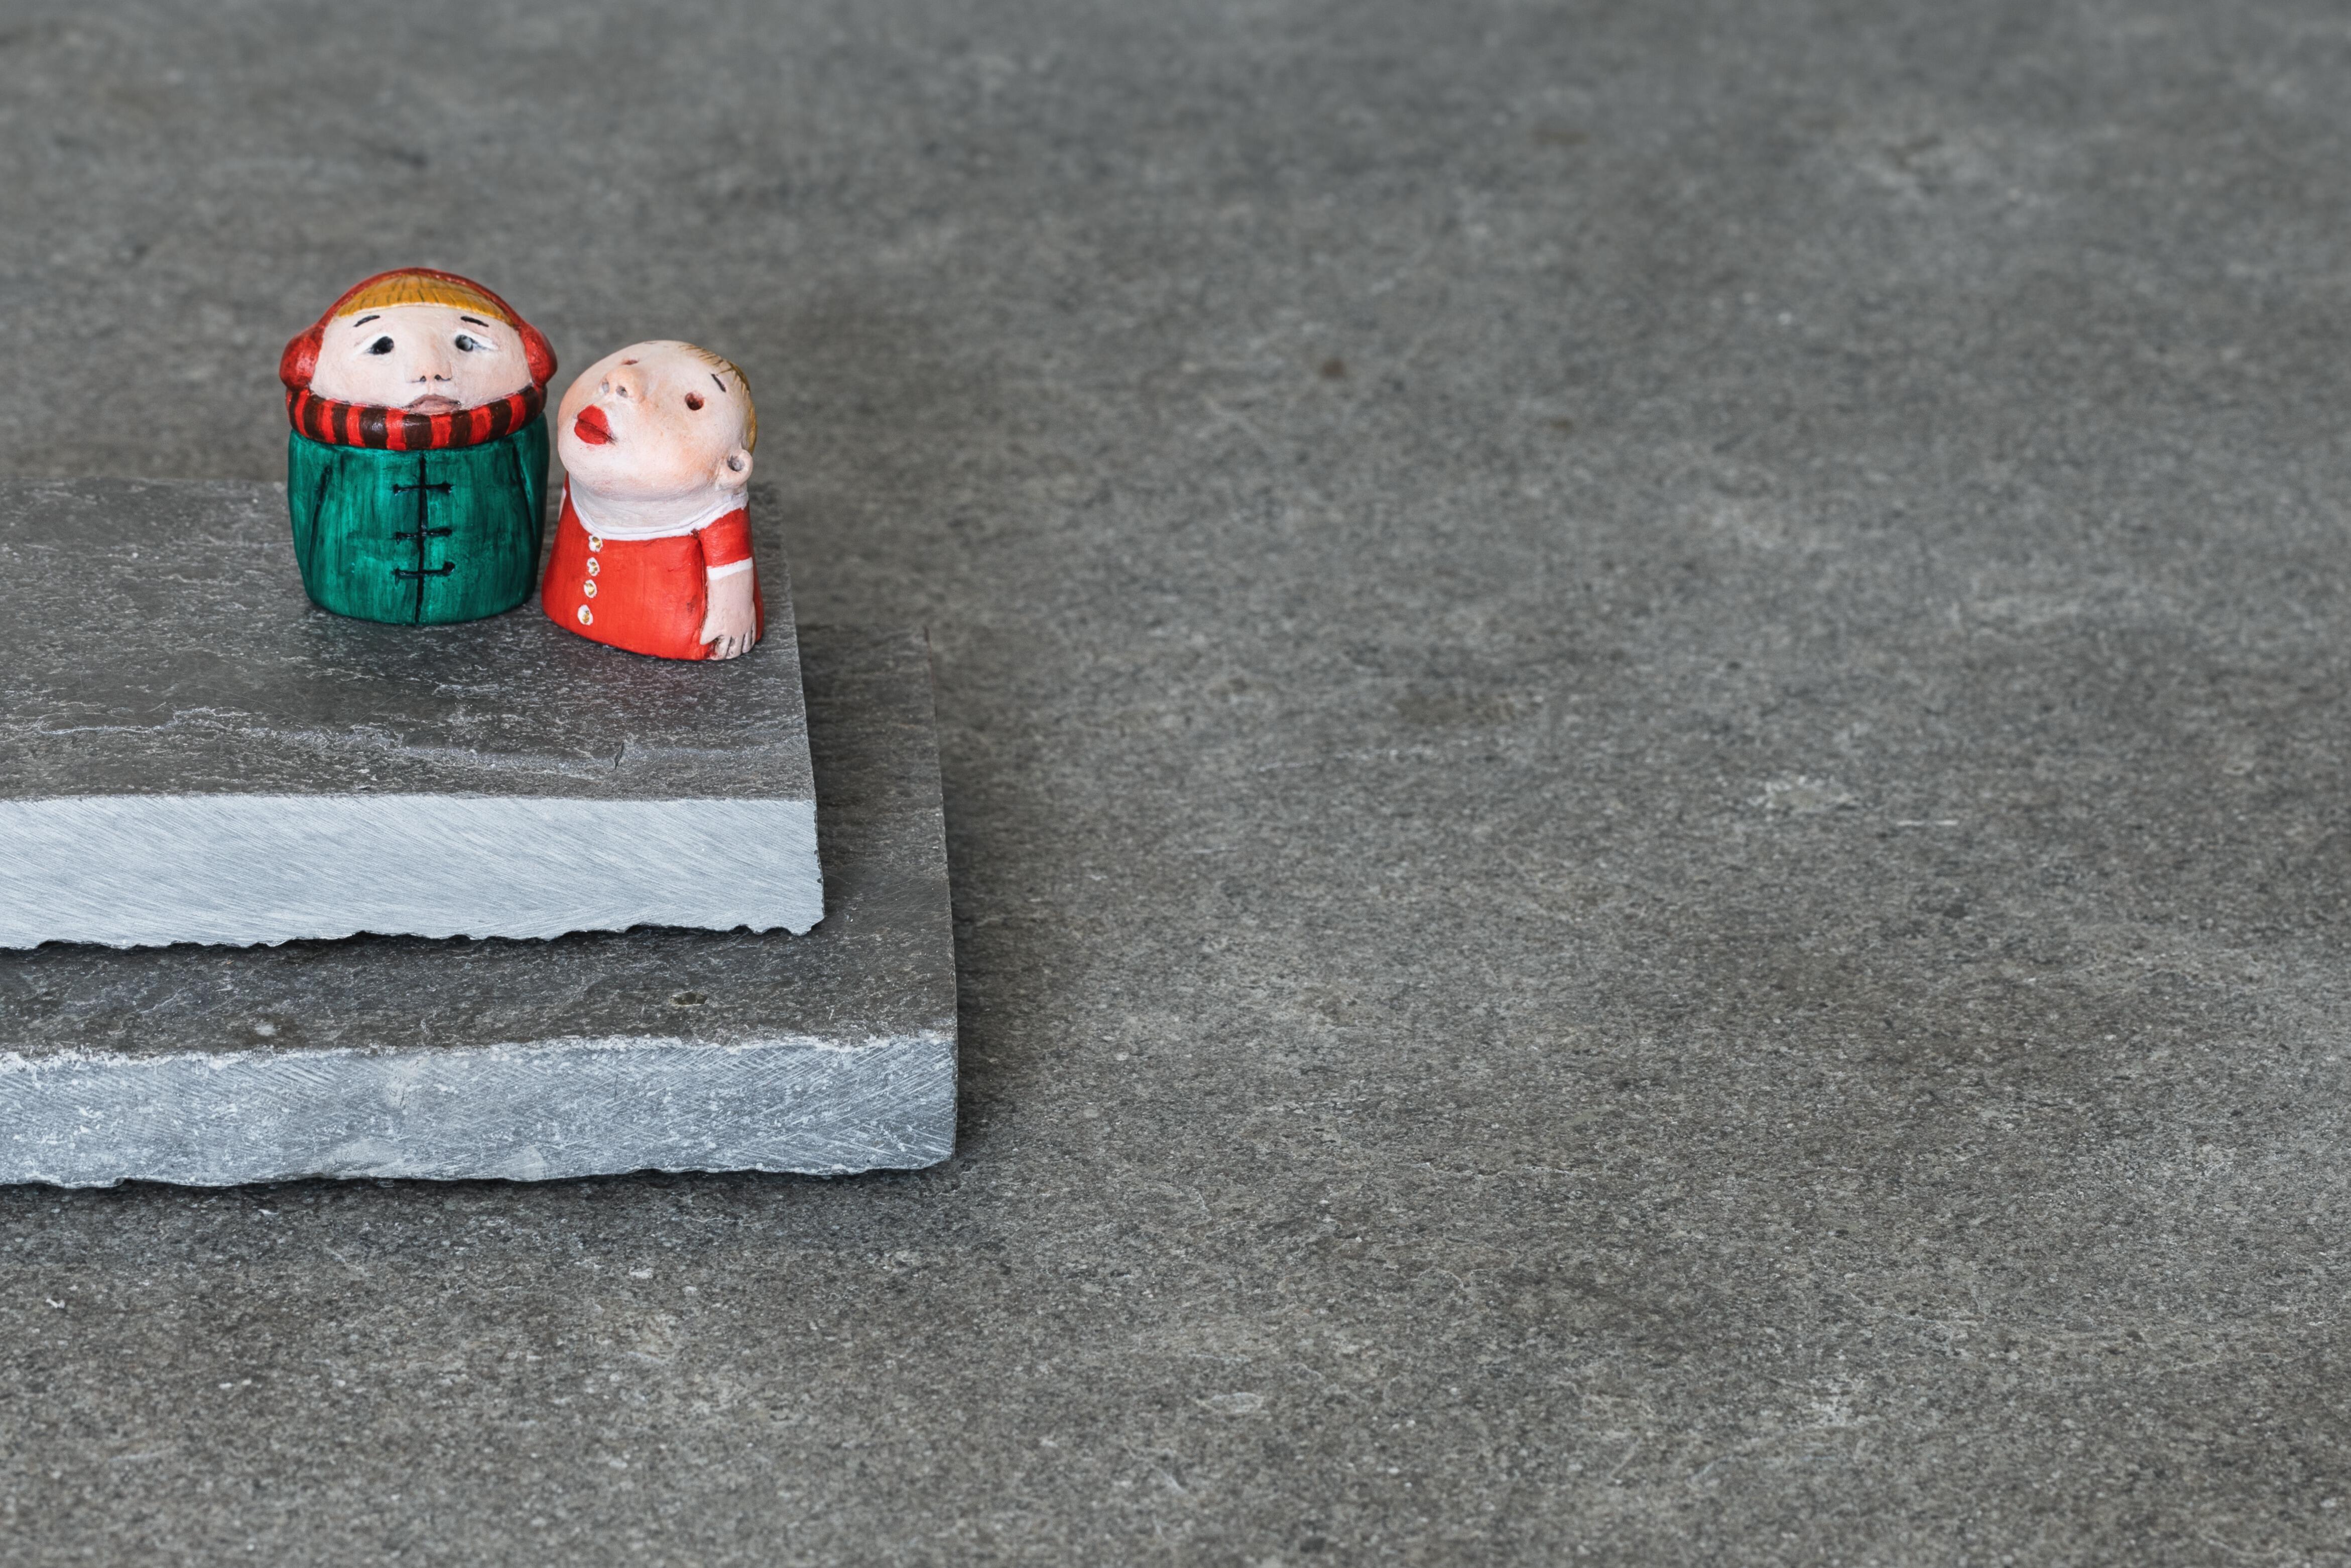
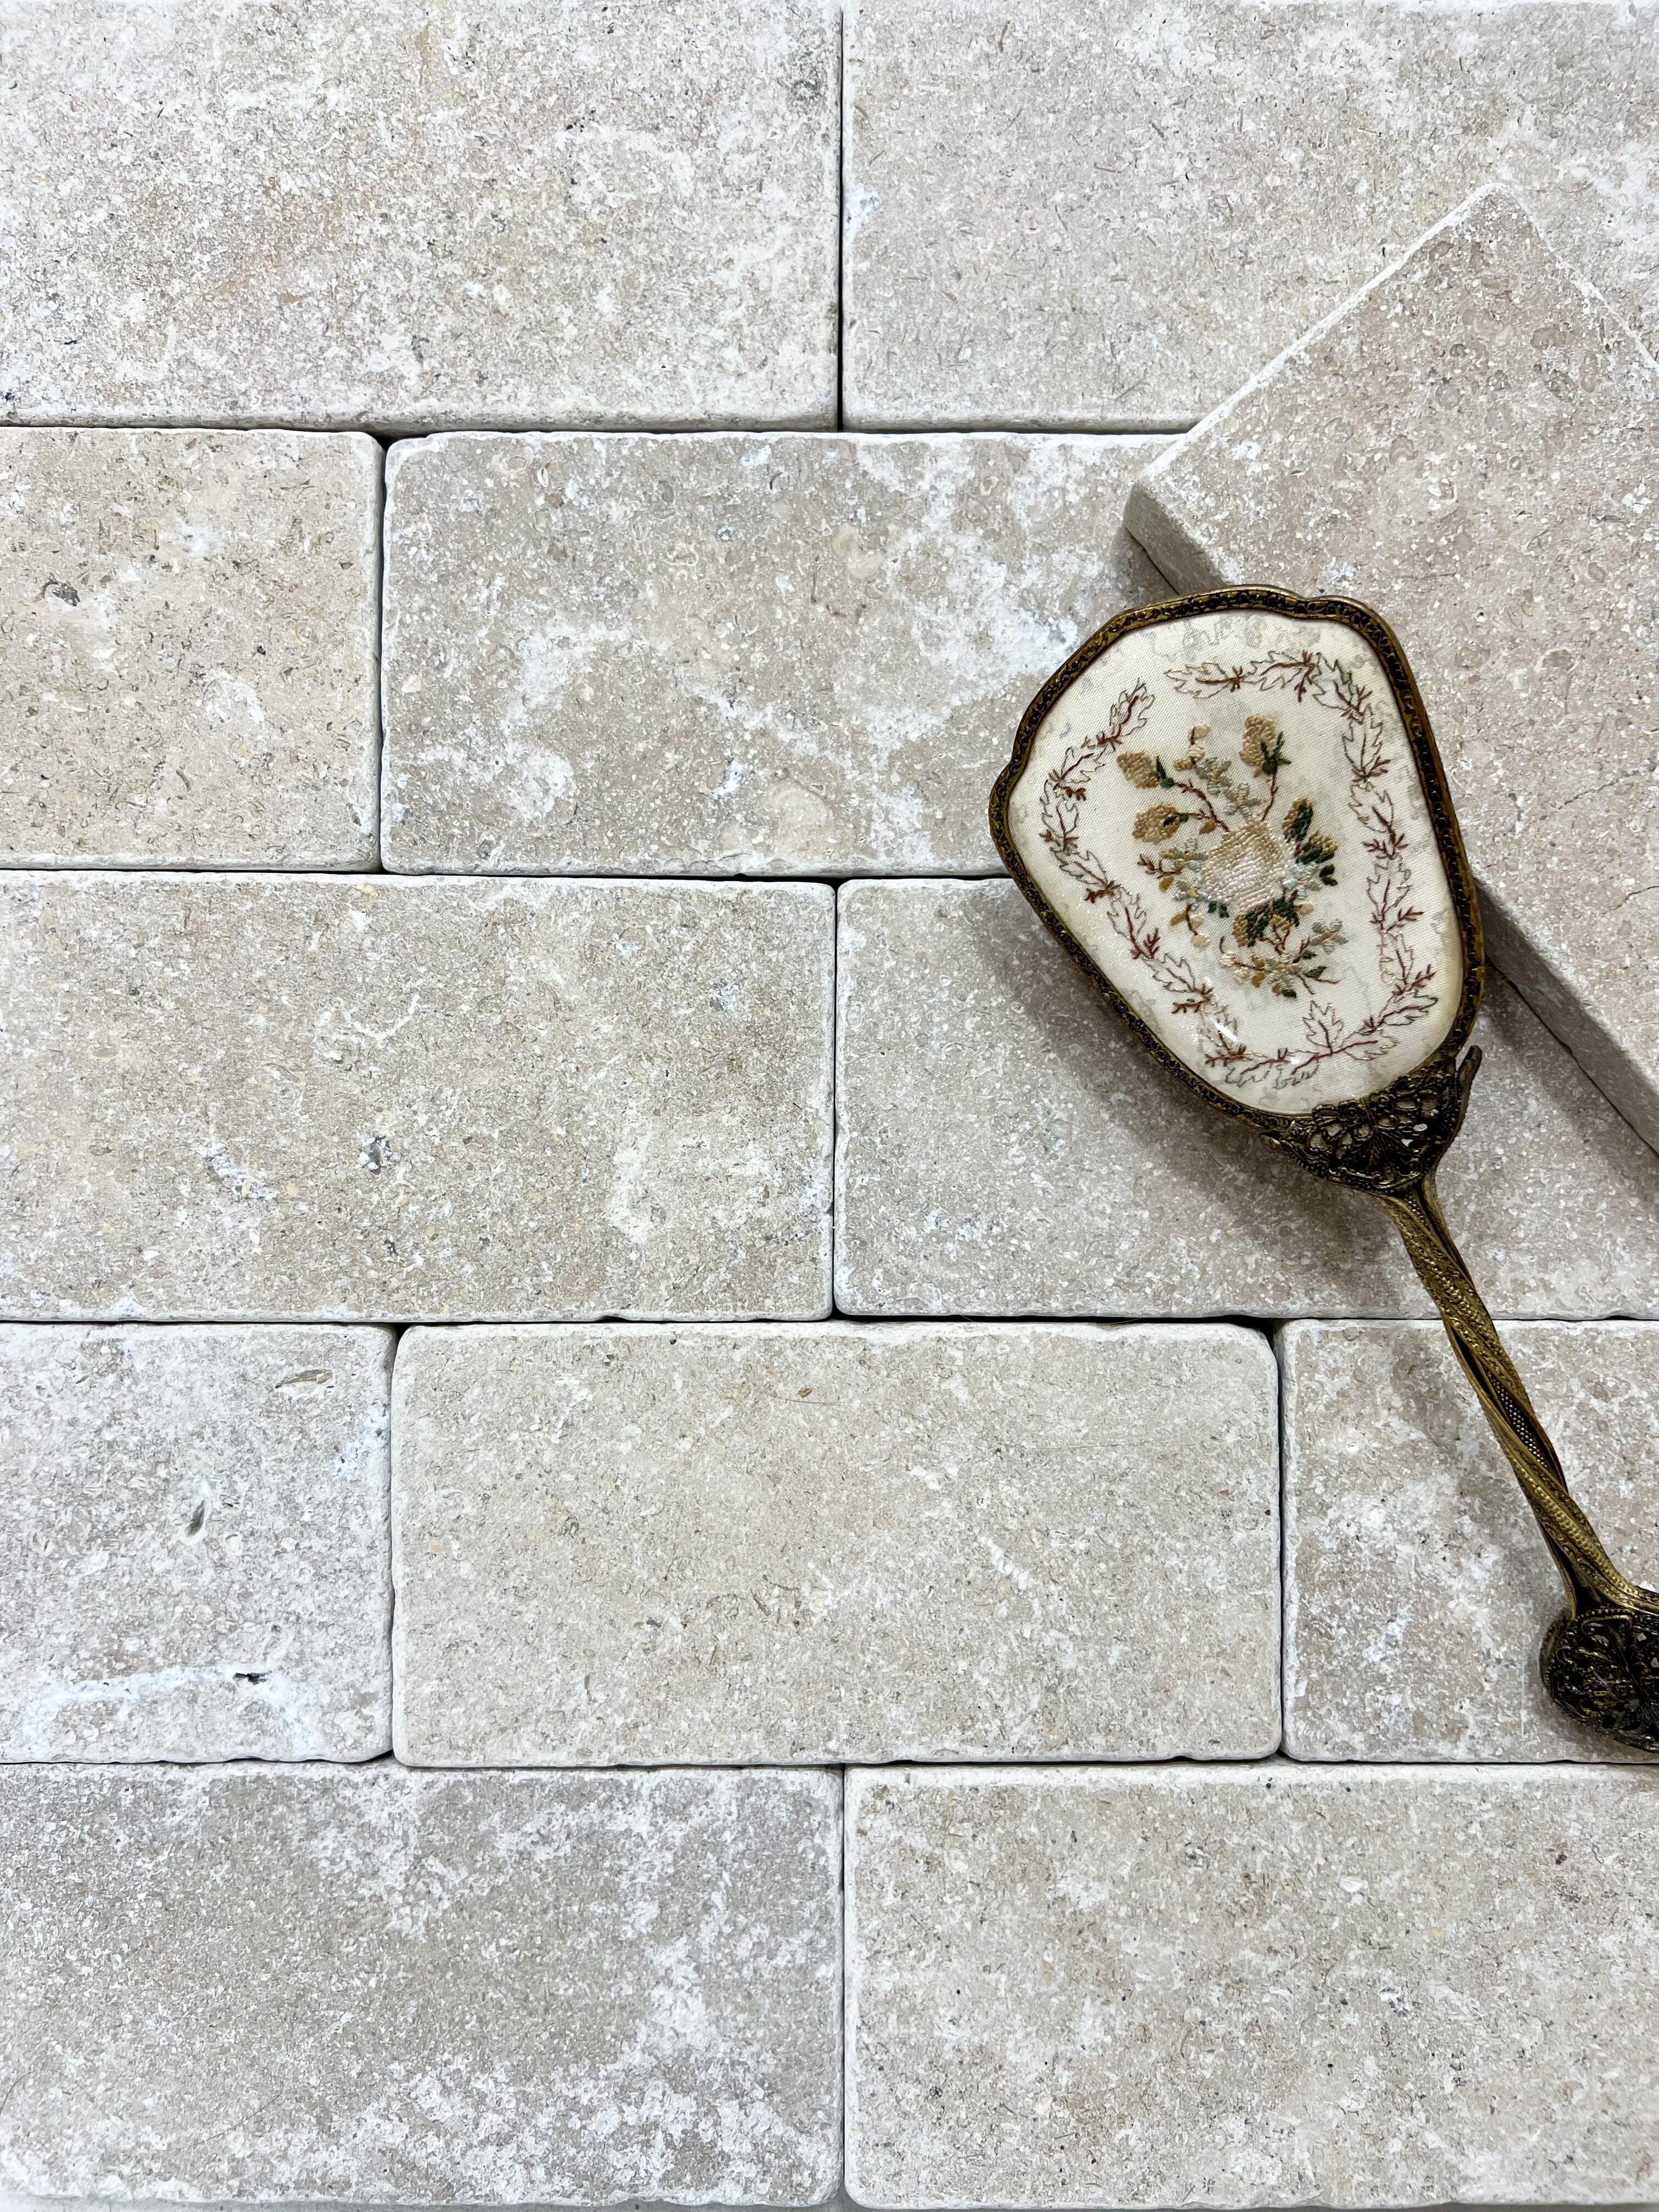
Bring timeless, classic elegance to your outdoor space with our Dijon Limestone Tumbled Finish Cobbles. Sized at a versatile 100 x 200 x 30mm, these natural stone cobbles feature the renowned Dijon limestone, offering a sophisticated blend of soft beige, light grey, and neutral tones.
The tumbled finish lends a gentle, aged appearance, softening the edges and surface texture for a charming, 'lived-in' look that complements both traditional and contemporary designs. Occasional natural fossil and mineral detailing adds unique character to each piece.
Perfect for:
Creating stunning cobbled sections in a patio or garden.
Defining beautiful borders or edgings for larger format paving.
Laying robust and attractive pathways, courtyards, or driveways.
Key Features:
Material: Hardwearing Natural Dijon Limestone (often Egyptian origin).
Finish: Tumbled (Aged/Worn Edge) for a classic, smooth-to-the-touch feel.
Colour: Neutral blend of soft beige and light grey hues.
Size: 100 x 200 x 30mm (Brick format).
Suitability: Durable and frost-resistant for all outdoor applications.
These cobbles offer a durable, forgiving, and high-quality solution to elevate your landscaping project with natural beauty and enduring style.This guide provides a general method for installing natural limestone cobbles on a rigid, full-mortar bed suitable for patios, paths, and low-traffic areas. For driveways, thicker sub-bases and professional consultation are strongly recommended.
Disclaimer: This is a general guide. Always follow local building regulations and consult a qualified professional if you are unsure about any stage of the installation.
Acclimatise: Open all crates and mix cobbles from different packs to ensure a good colour blend across the paved area.
Sub-Grade: The paving surface must be at least 150mm below the property's damp-proof course (DPC).
Excavation: Dig out the area to a depth that accommodates the full build-up:
Finished Level - 30mm (Cobble) - 30mm (Mortar Bed) - 100mm (Sub-Base) \approx 160mm total dig.
Fall/Gradient: Ensure a slight gradient (minimum 1:60 or 17mm per metre) for effective water run-off, sloping away from any buildings.
Edge Restraints: Install concrete haunches or edging stones/blocks on a strong concrete base around the perimeter to prevent the cobbles from shifting later.
Lay a minimum of 100mm of compacted MOT Type 1 hardcore (crushed stone).
Spread the material evenly and compact it thoroughly in layers (< 75mm) using a vibrating plate compactor. A solid, well-compacted sub-base is crucial for longevity.
Mortar Mix: Create a consistent, slightly dry/stiff full-bed mortar using a mix ratio of 4 parts Sharp Sand/Grit to 1 part Cement. The mix should be firm enough to hold its shape but workable. Never use the 'five-spot' dabbing method.
Prime the Cobbles: Natural stone requires a bonding agent to adhere properly to the mortar and prevent 'moisture bleed' or staining.
Mix a slurry primer (proprietary product or an SBR-based cement/water mix) to a paint-like consistency.
Apply a thin, even layer of this primer to the entire underside (back) of each cobble immediately before placing it on the mortar bed.
Work in Sections: Only lay enough mortar for the section you can lay and level within an hour to prevent the mortar from curing prematurely.
Spreading the Bed: Spread a 30mm to 40mm layer of the stiff mortar mix over the compacted sub-base.
Laying: Begin laying the 100 x 200mm cobbles in your desired pattern (e.g., staggered brick bond) along a taut string line.
Place a primed cobble onto the mortar bed.
Use a rubber mallet to gently tap the cobble down until it is fully supported, level with the adjacent cobbles, and meets the required string line height/fall.
Joint Width: Maintain a consistent joint width, typically 10mm to 15mm for natural tumbled cobbles to allow for slight size variations.
Clean As You Go: Immediately wipe off any mortar or slurry primer that gets onto the surface of the cobbles with a clean, damp sponge, as dried cement can be difficult to remove and may stain the stone.
Allow the cobbles to fully cure and set for at least 24 hours before jointing.
Option 1: Traditional Mortar Pointing (Stronger Bond)
Mix a wet, workable mortar (e.g., 3 parts Soft Sand: 1 part Cement).
Fill the joints using a pointing trowel, compacting the mortar firmly into the gaps.
Use a pointing tool or a small brush to finish the joint to a neat, slightly recessed profile.
Crucially, clean the cobble surface immediately to prevent staining.
Option 2: Resin Jointing Compound (Easier and Permeable)
Use an external-grade, all-weather jointing compound (read the product instructions carefully).
This is typically brushed in while the area is wet, and then washed/compacted into the joints. This is a common and faster method for cobbled areas.
Curing: Do not allow foot traffic for at least 24-48 hours (longer for traditional mortar). Allow up to 7 days before heavy use or placing furniture.
Sealing (Recommended): While optional, sealing natural limestone is highly recommended.
Ensure the cobbles are completely clean and dry (usually a few weeks after installation).
Apply a quality natural stone impregnating or colour-enhancing sealer according to the manufacturer's instructions. Sealing will help protect the stone from staining, efflorescence, and general weathering.
Cleaning: Use a mild, pH-neutral stone cleaner. NEVER use acid-based cleaners, as they will damage the limestone.
* Kerbside Economy Service 3-5 Business days after your order
* Next Day | HIAB | Moffet ...etc services also available with an extra cost ''Click For More''
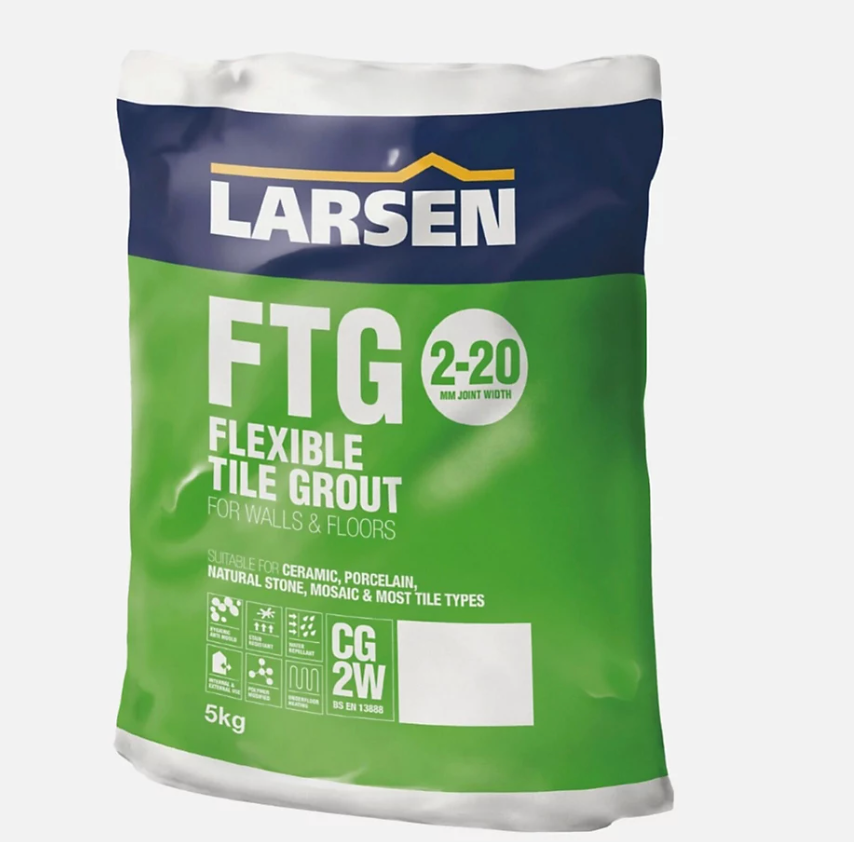 Larsen FTG 2-20 Grout 5kg – Professional Flexible Cement-Based Grout for Wide Joints 2-20mm - Sandstone & Graphite£15.90
 LARSEN Colourfast 360 Tile Grout£15.99
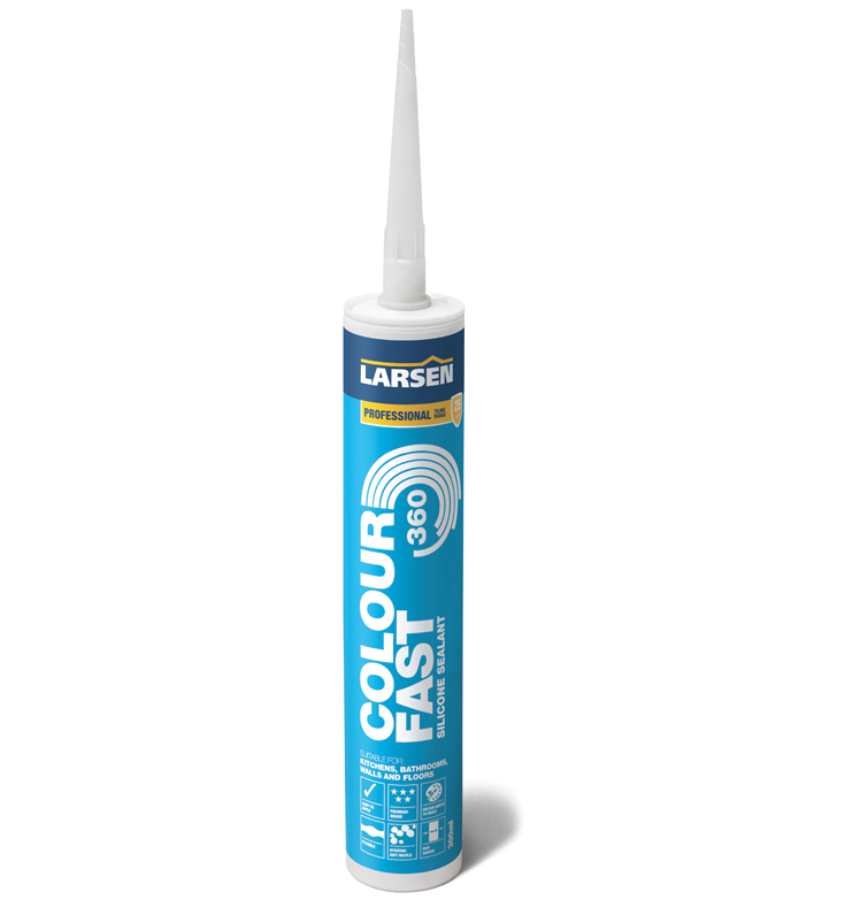 Larsen Colourfast 360 Silicone Sealant 300ml – Premium Flexible Sanitary Sealant for Modern Interiors£12.90
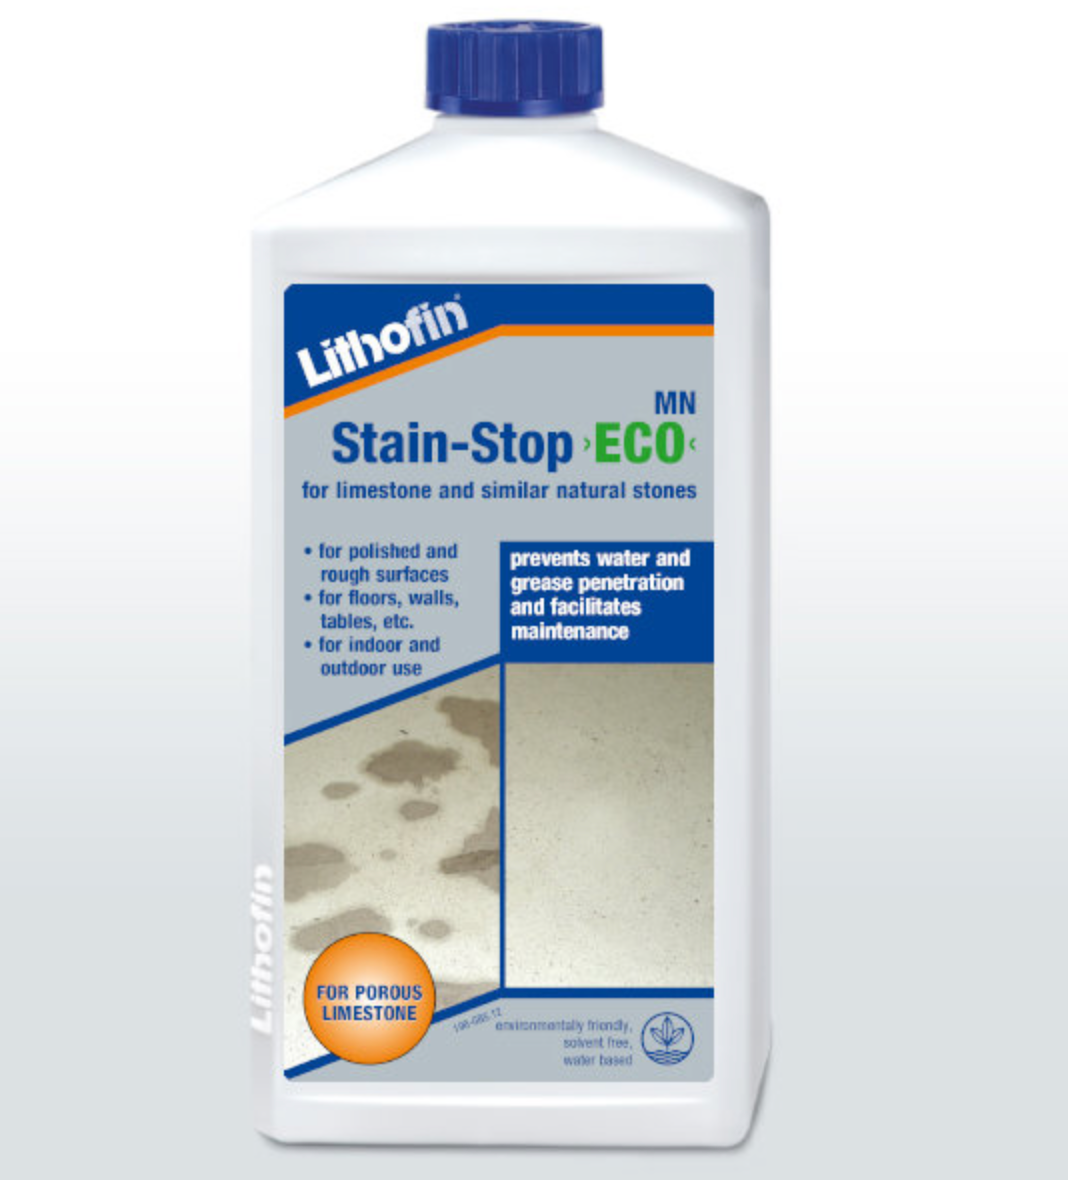 Lithofin MN Stain-Stop ECO£49.90
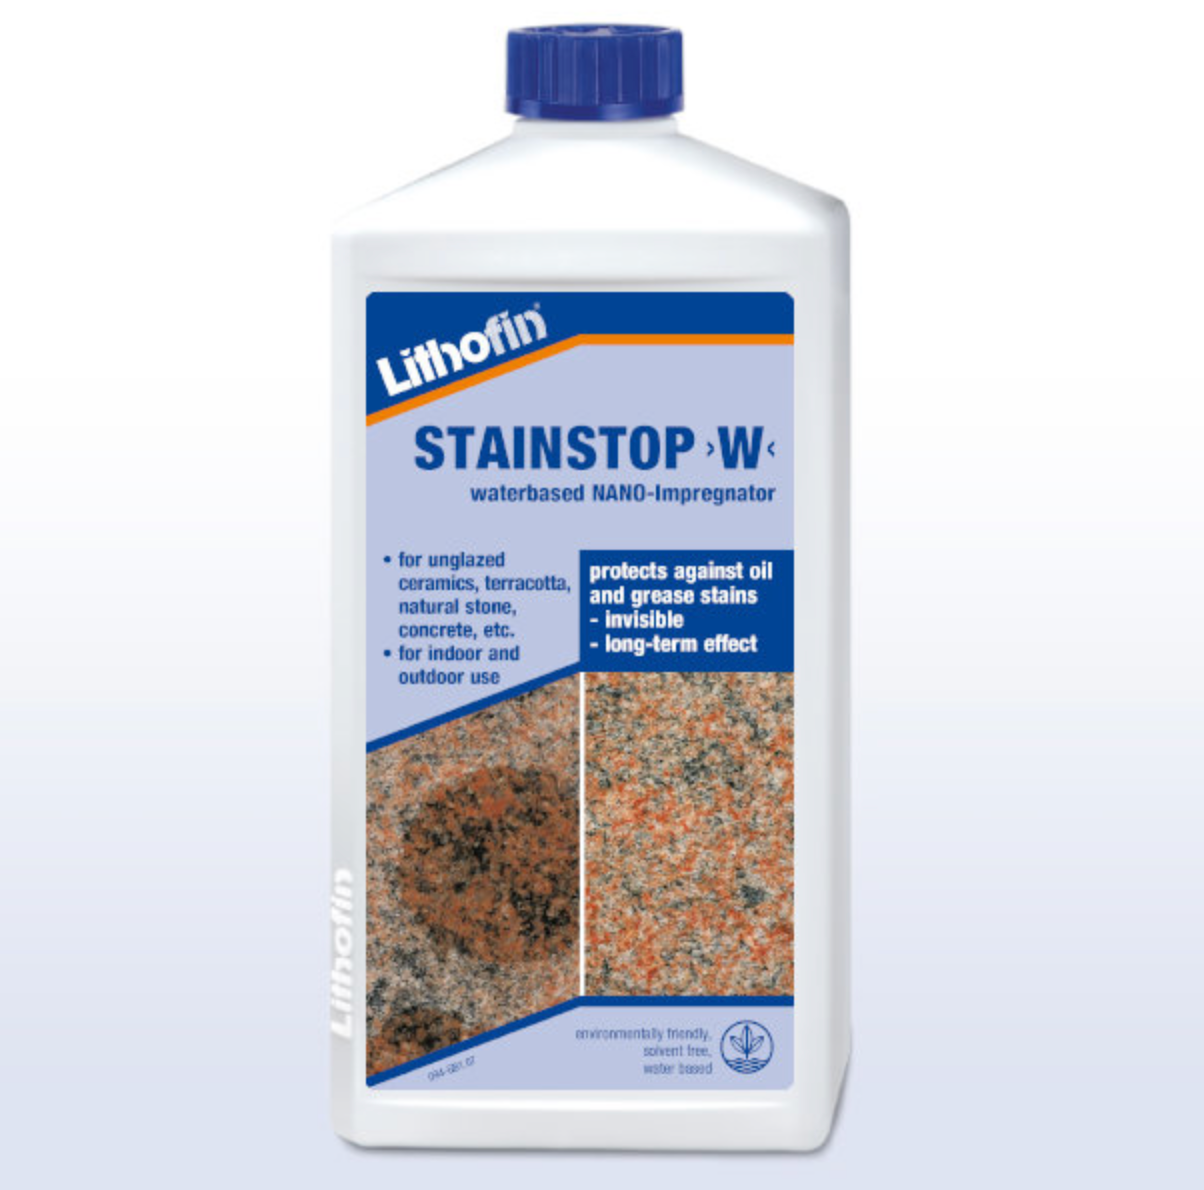 Lithofin Stain Stop W£43.90
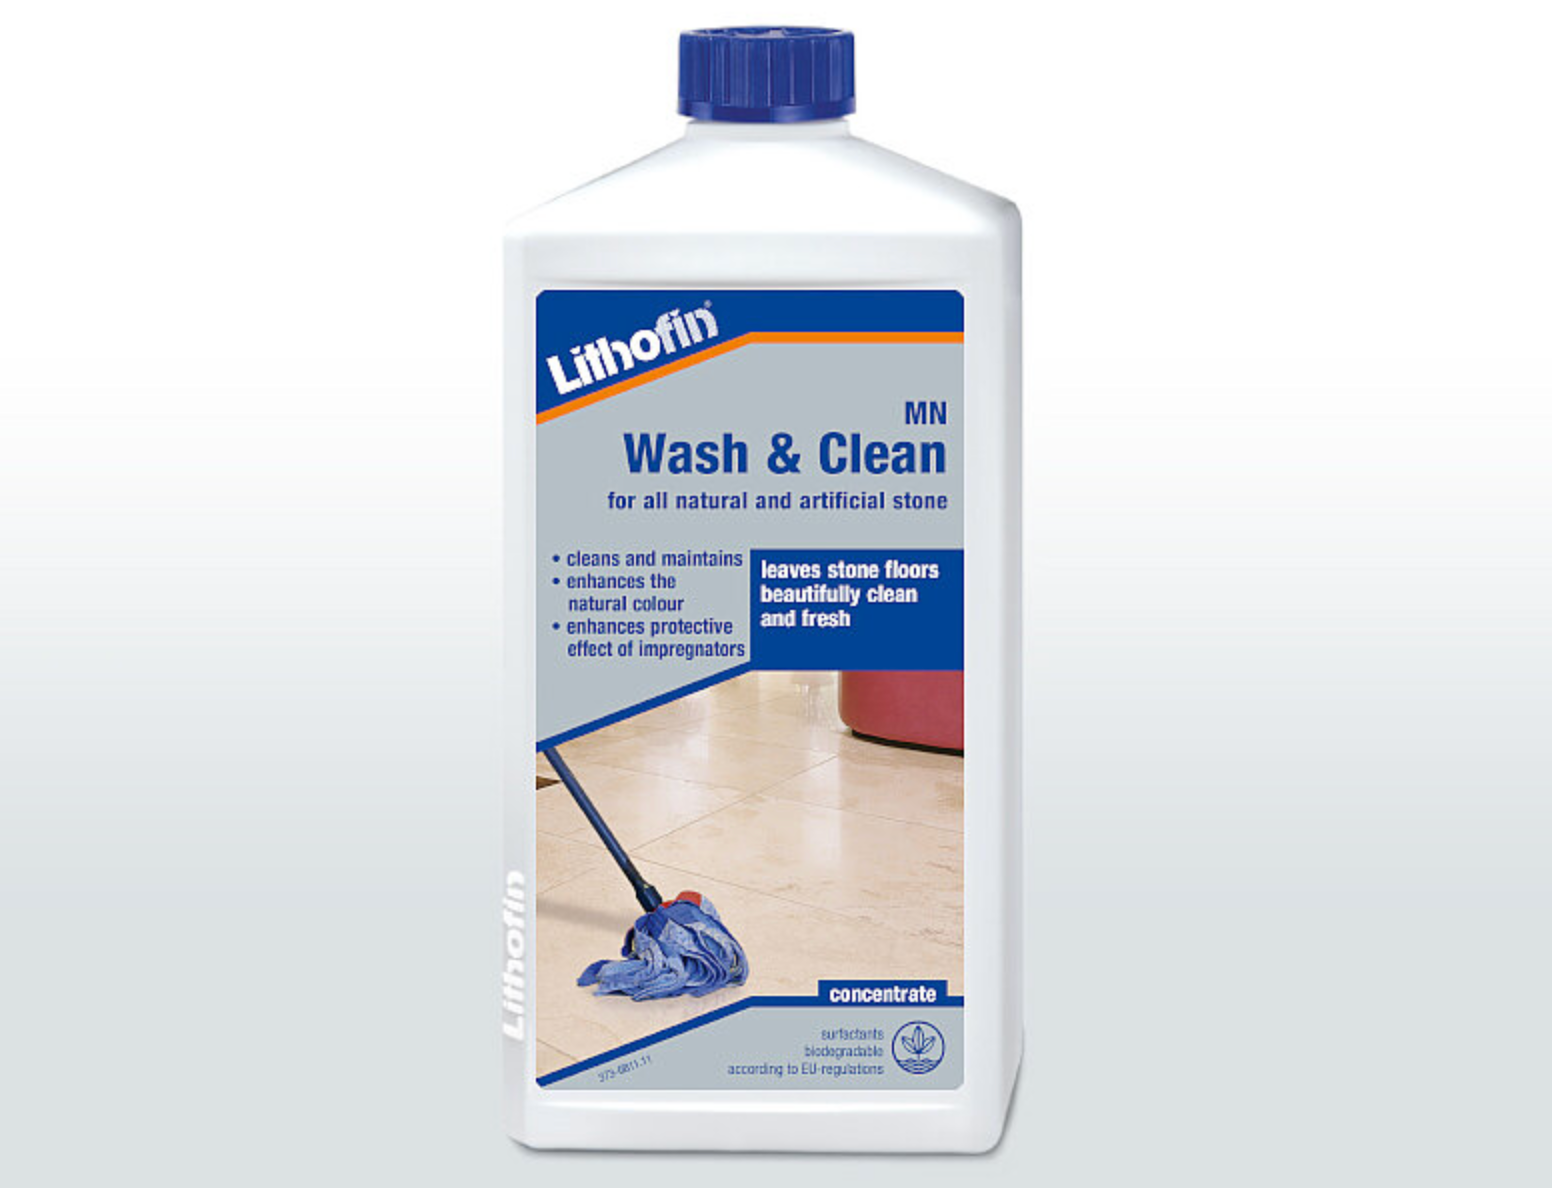 Lithofin Wash&Clean£20.90
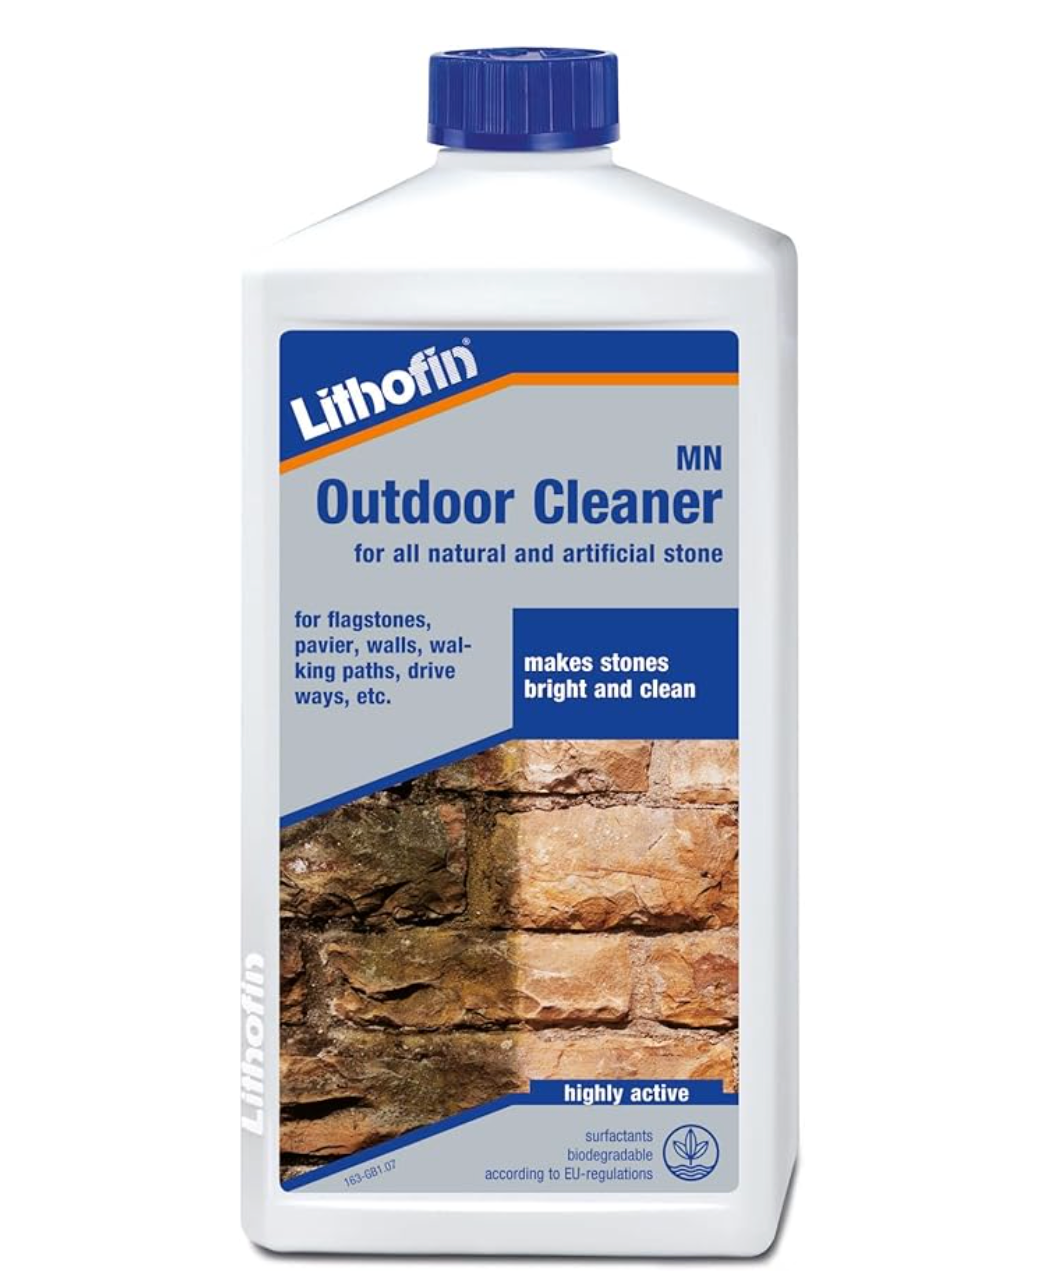 Lithofin MN Outdoor Cleaner£21.90
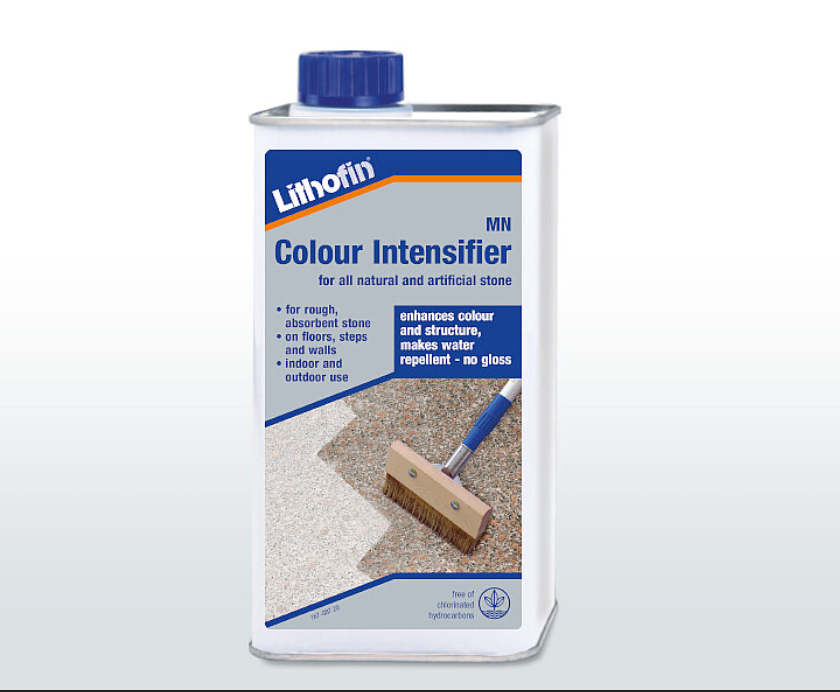 Lithofin MN Colour Intensifier£30.90
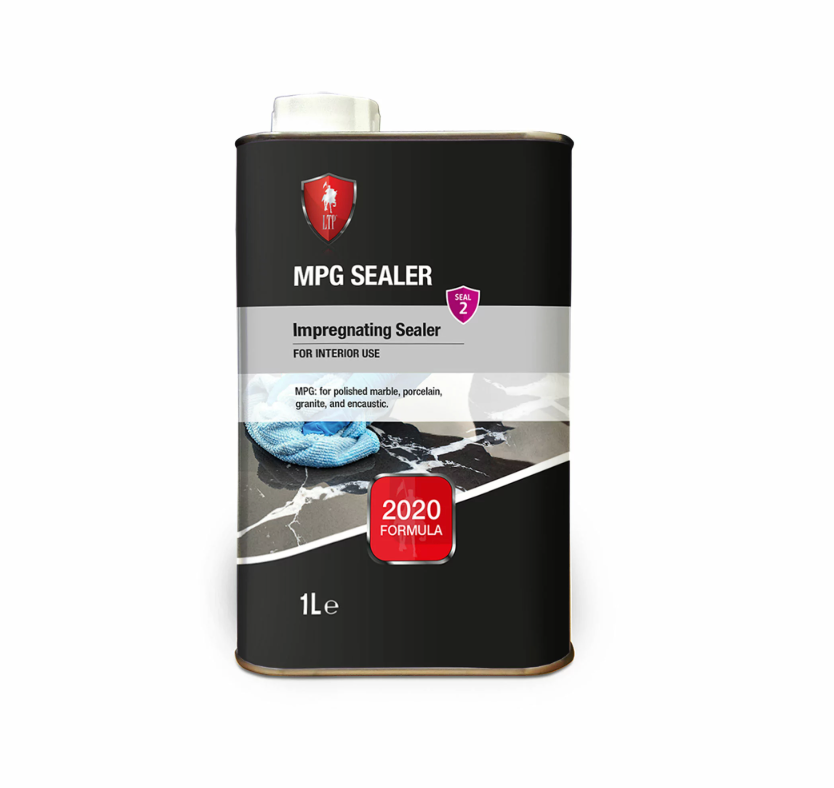 LTP MPG Polished Stone Sealer£19.95
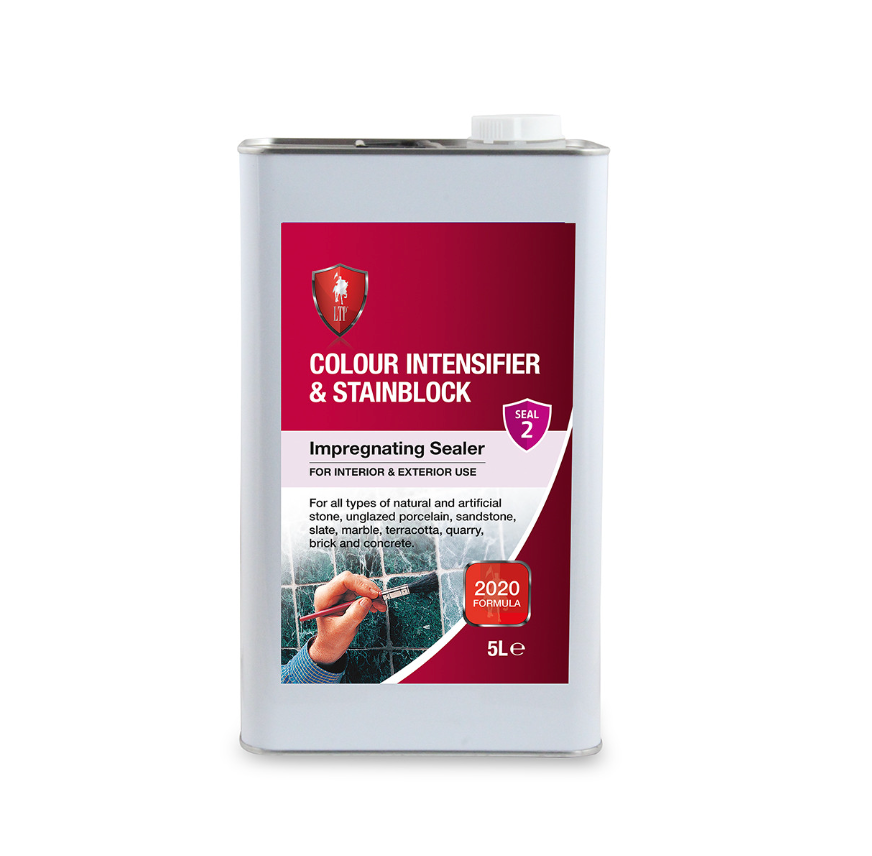 LTP Colour Intensifier and Stainblock£28.99
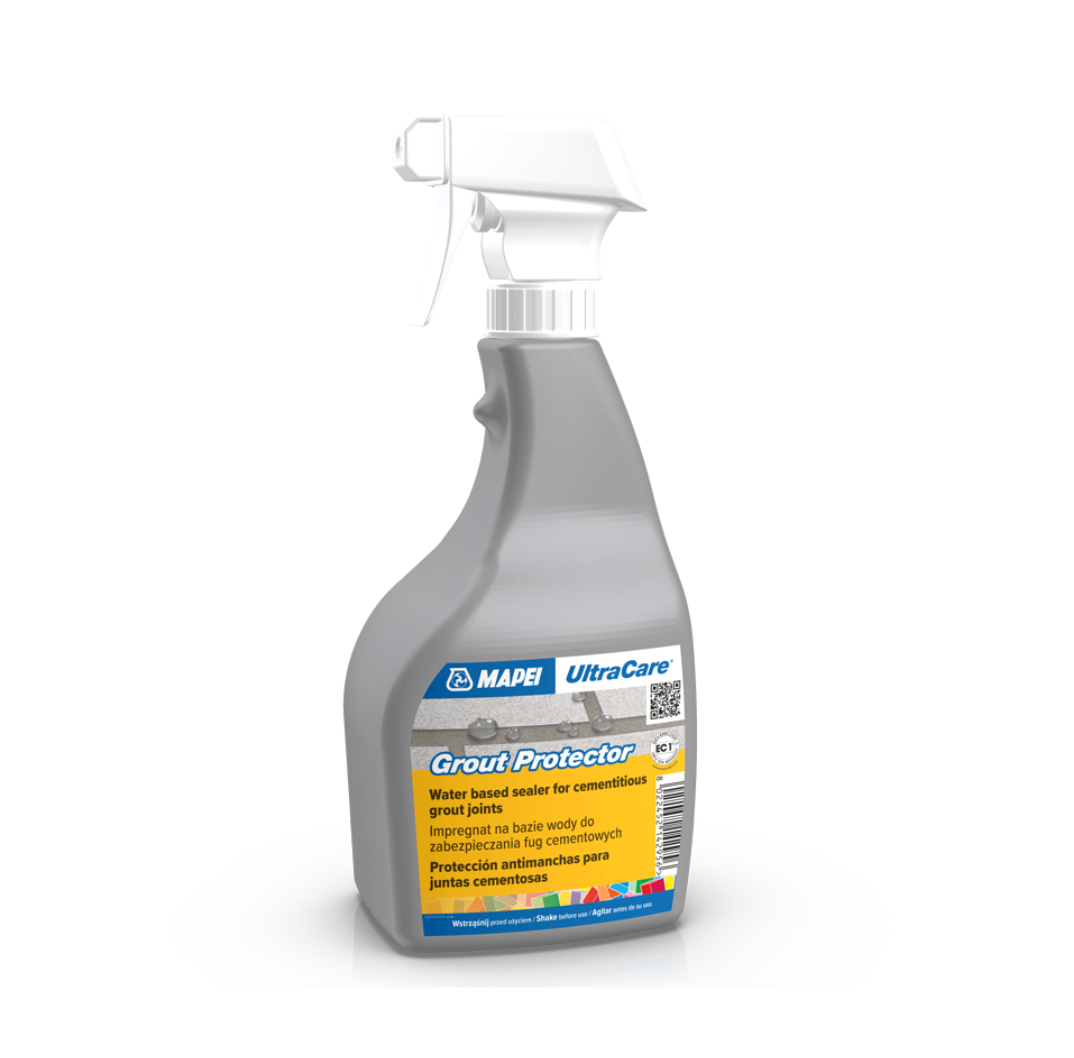 Mapei UltraCare Grout Sealer & Protector - 750ml Spray Bottle£25.90
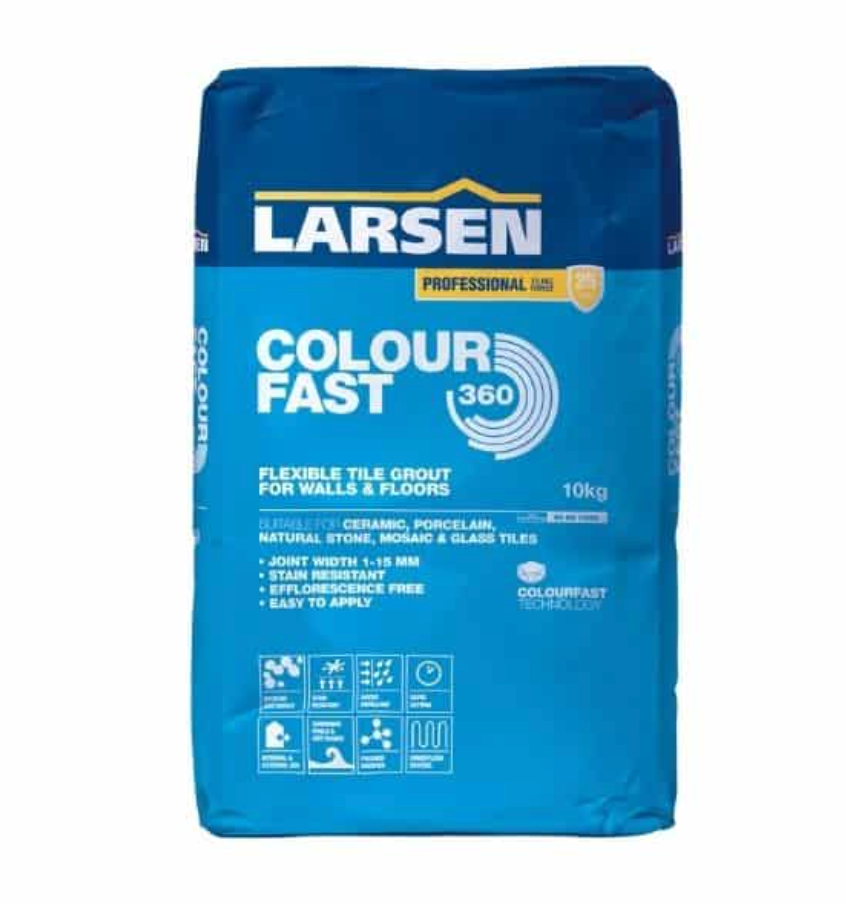 Larsen Colourfast 360 Grout 3kg – Professional Flexible Grout for 1-15mm Joints – Stain, Water & Mould Resistant£15.90
 Paris Grey Limestone Tiles (TUMBLED & SEMI BRUSHED)£34.99
 Egyptian Limestone Tiles ( SEASONED Surface and Tumbled Edges)£34.00
 Paris Grey Limestone Tiles (Riven surface and TUMBLED edge)£34.99
 Jaipur Limestone Tiles (Brushed & Half-Honed)£37.90
 Grey Dijon Limestone Tiles (TUMBLED)£49.90
 Tuscan Limestone Tiles (TUMBLED)£39.99
 Dijon Limestone Parquet (TUMBLED)£39.90
 Galala Light Limestone Parquet (Tumbled)£39.90
 Myra Cream Limestone Tiles (HONED)£36.00
 Galala Limestone PAVING Tiles (Tumbled)£45.60
 CALACATTA WHITE PAVING TEXTURA FINISHED£24.00
 Egyptian Limestone Tiles (Tumbled)£29.99
• Click to view all the Dijon Limestone Range